

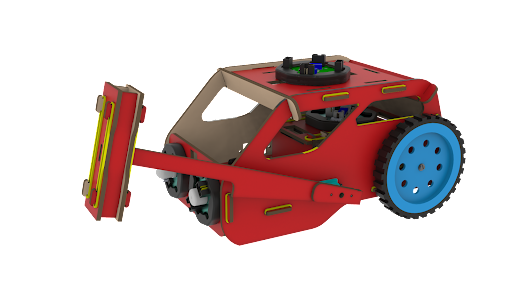
Building a robot car with a servo motor can be a fun and exciting project for those interested in DIY electronics. In this blog, we will guide you through the process of building a hammer and soccer car using a servo motor, one CPU, one motor driver, two Battery Operated motors, and a three-wheel drive system.
Materials Needed
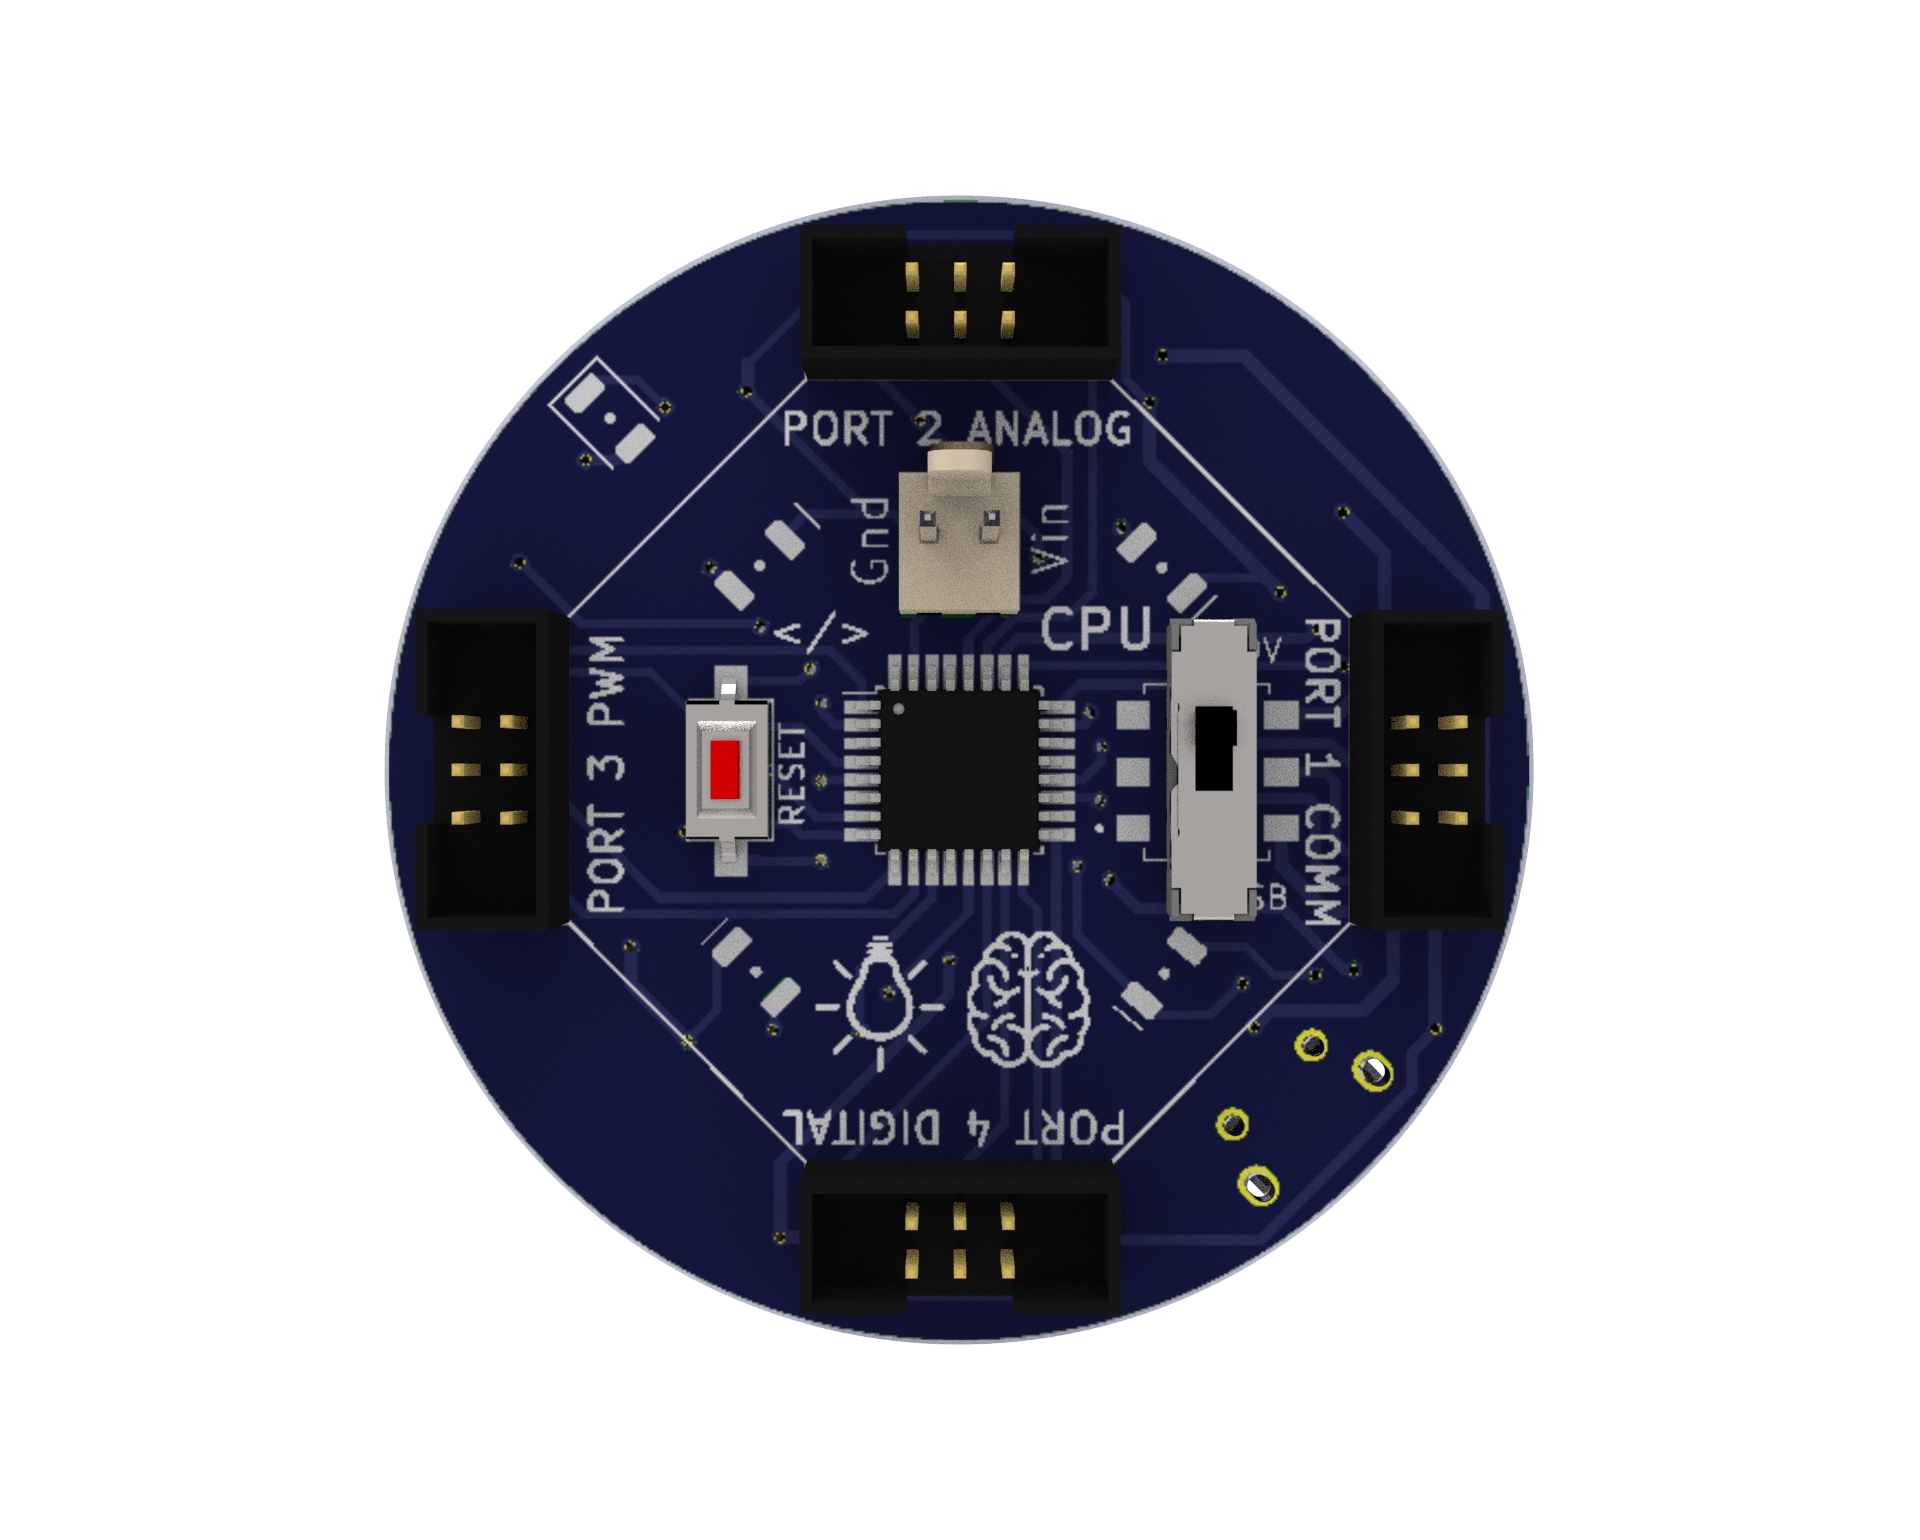
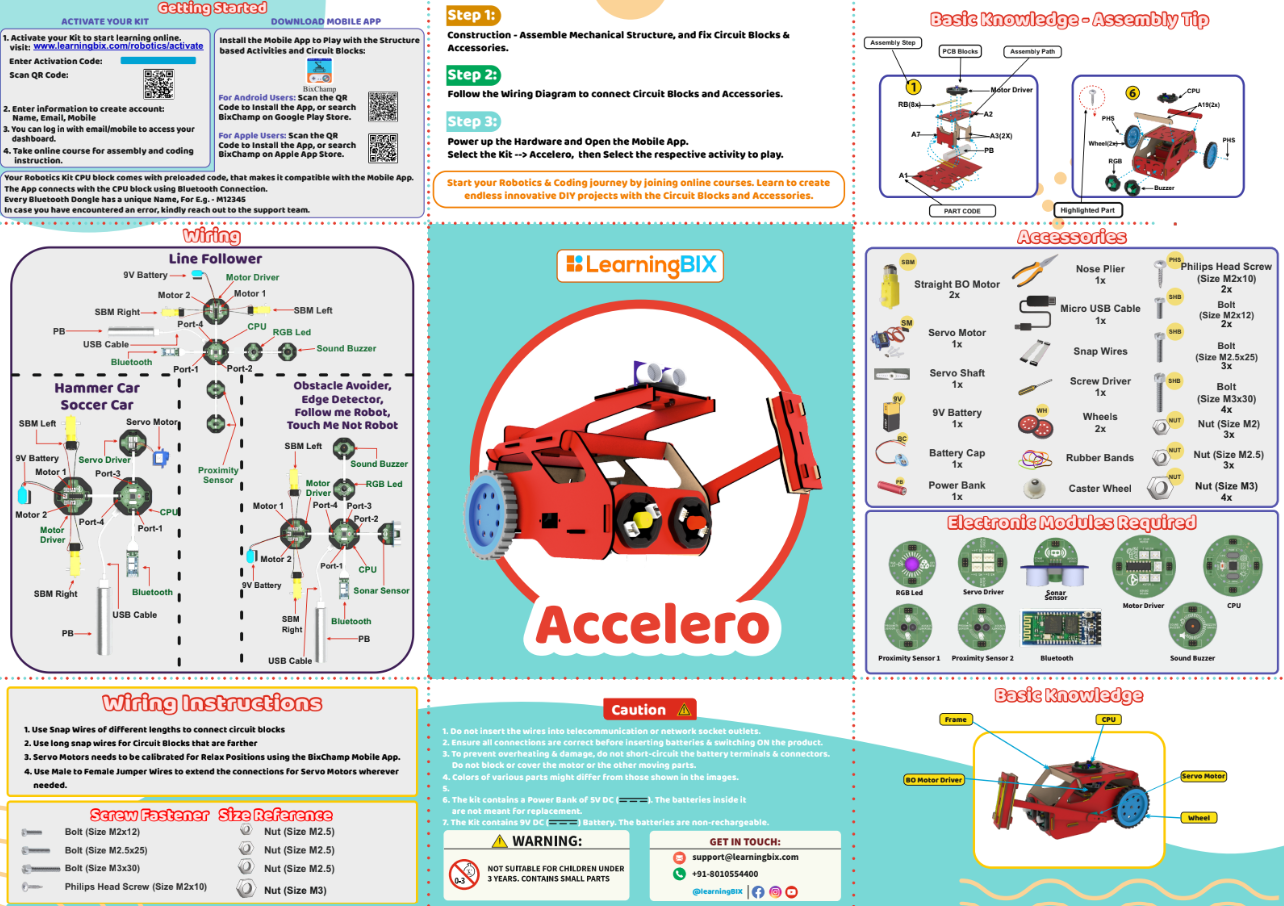
CPU: A microprocessor board used as the robot’s brain that may be programmed or Bluetooth-controlled to do a variety of tasks. We have four ports on this board, and they are each used for various input and output tasks by connecting to various electronic parts.
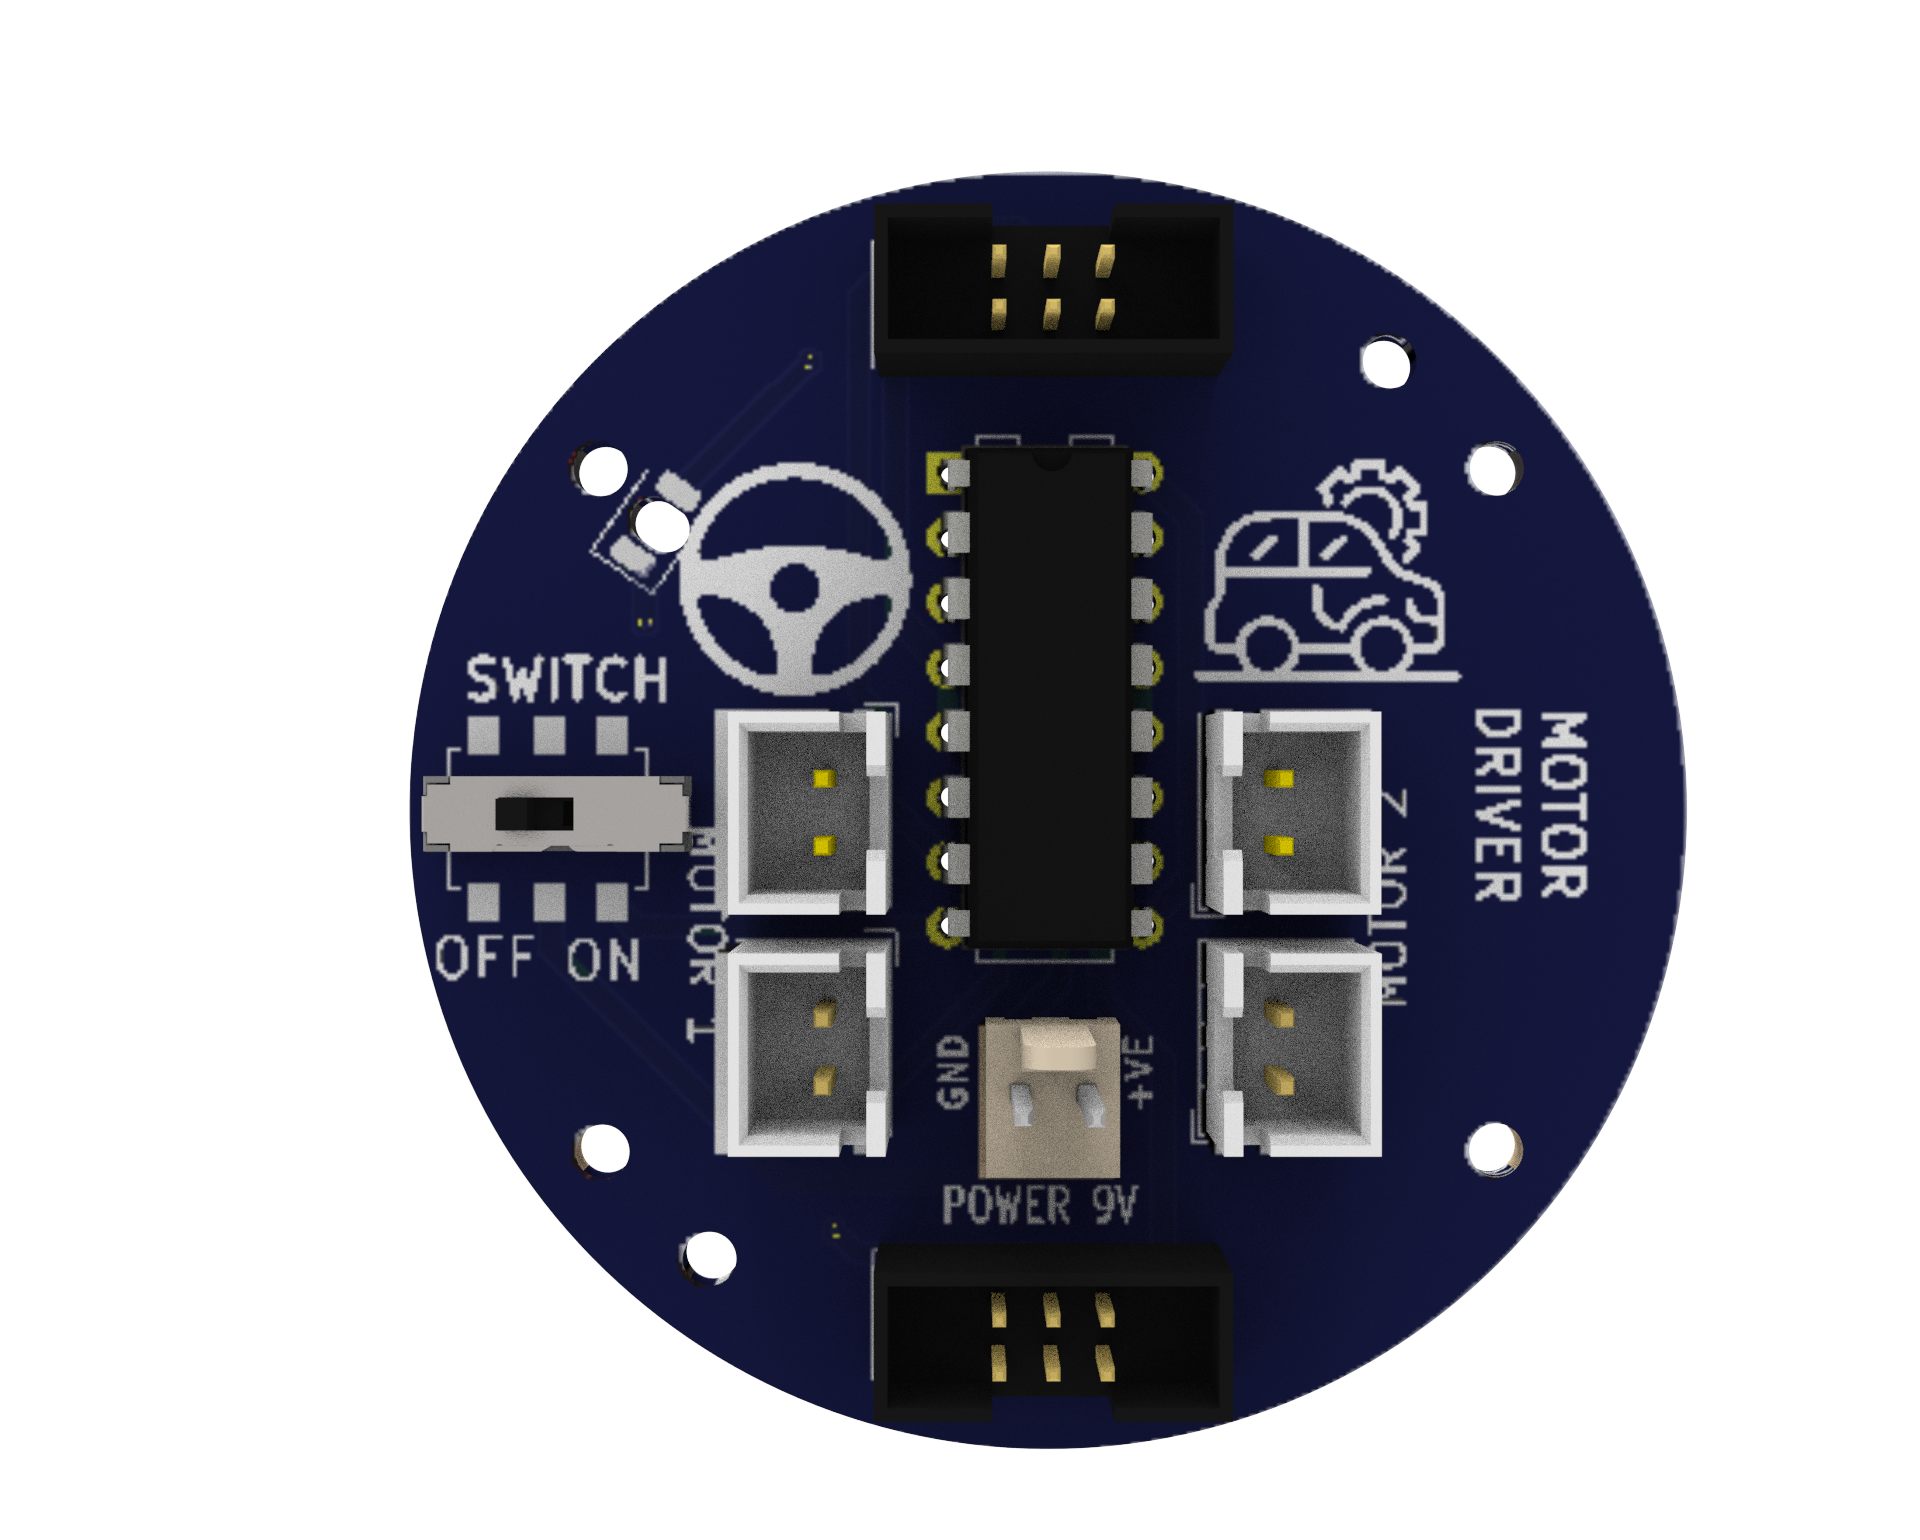
Motor Driver: A circuit that enables the robot to regulate the motors’ speed and direction. It uses a separate 9V battery to supply the motors with the necessary power and voltage.
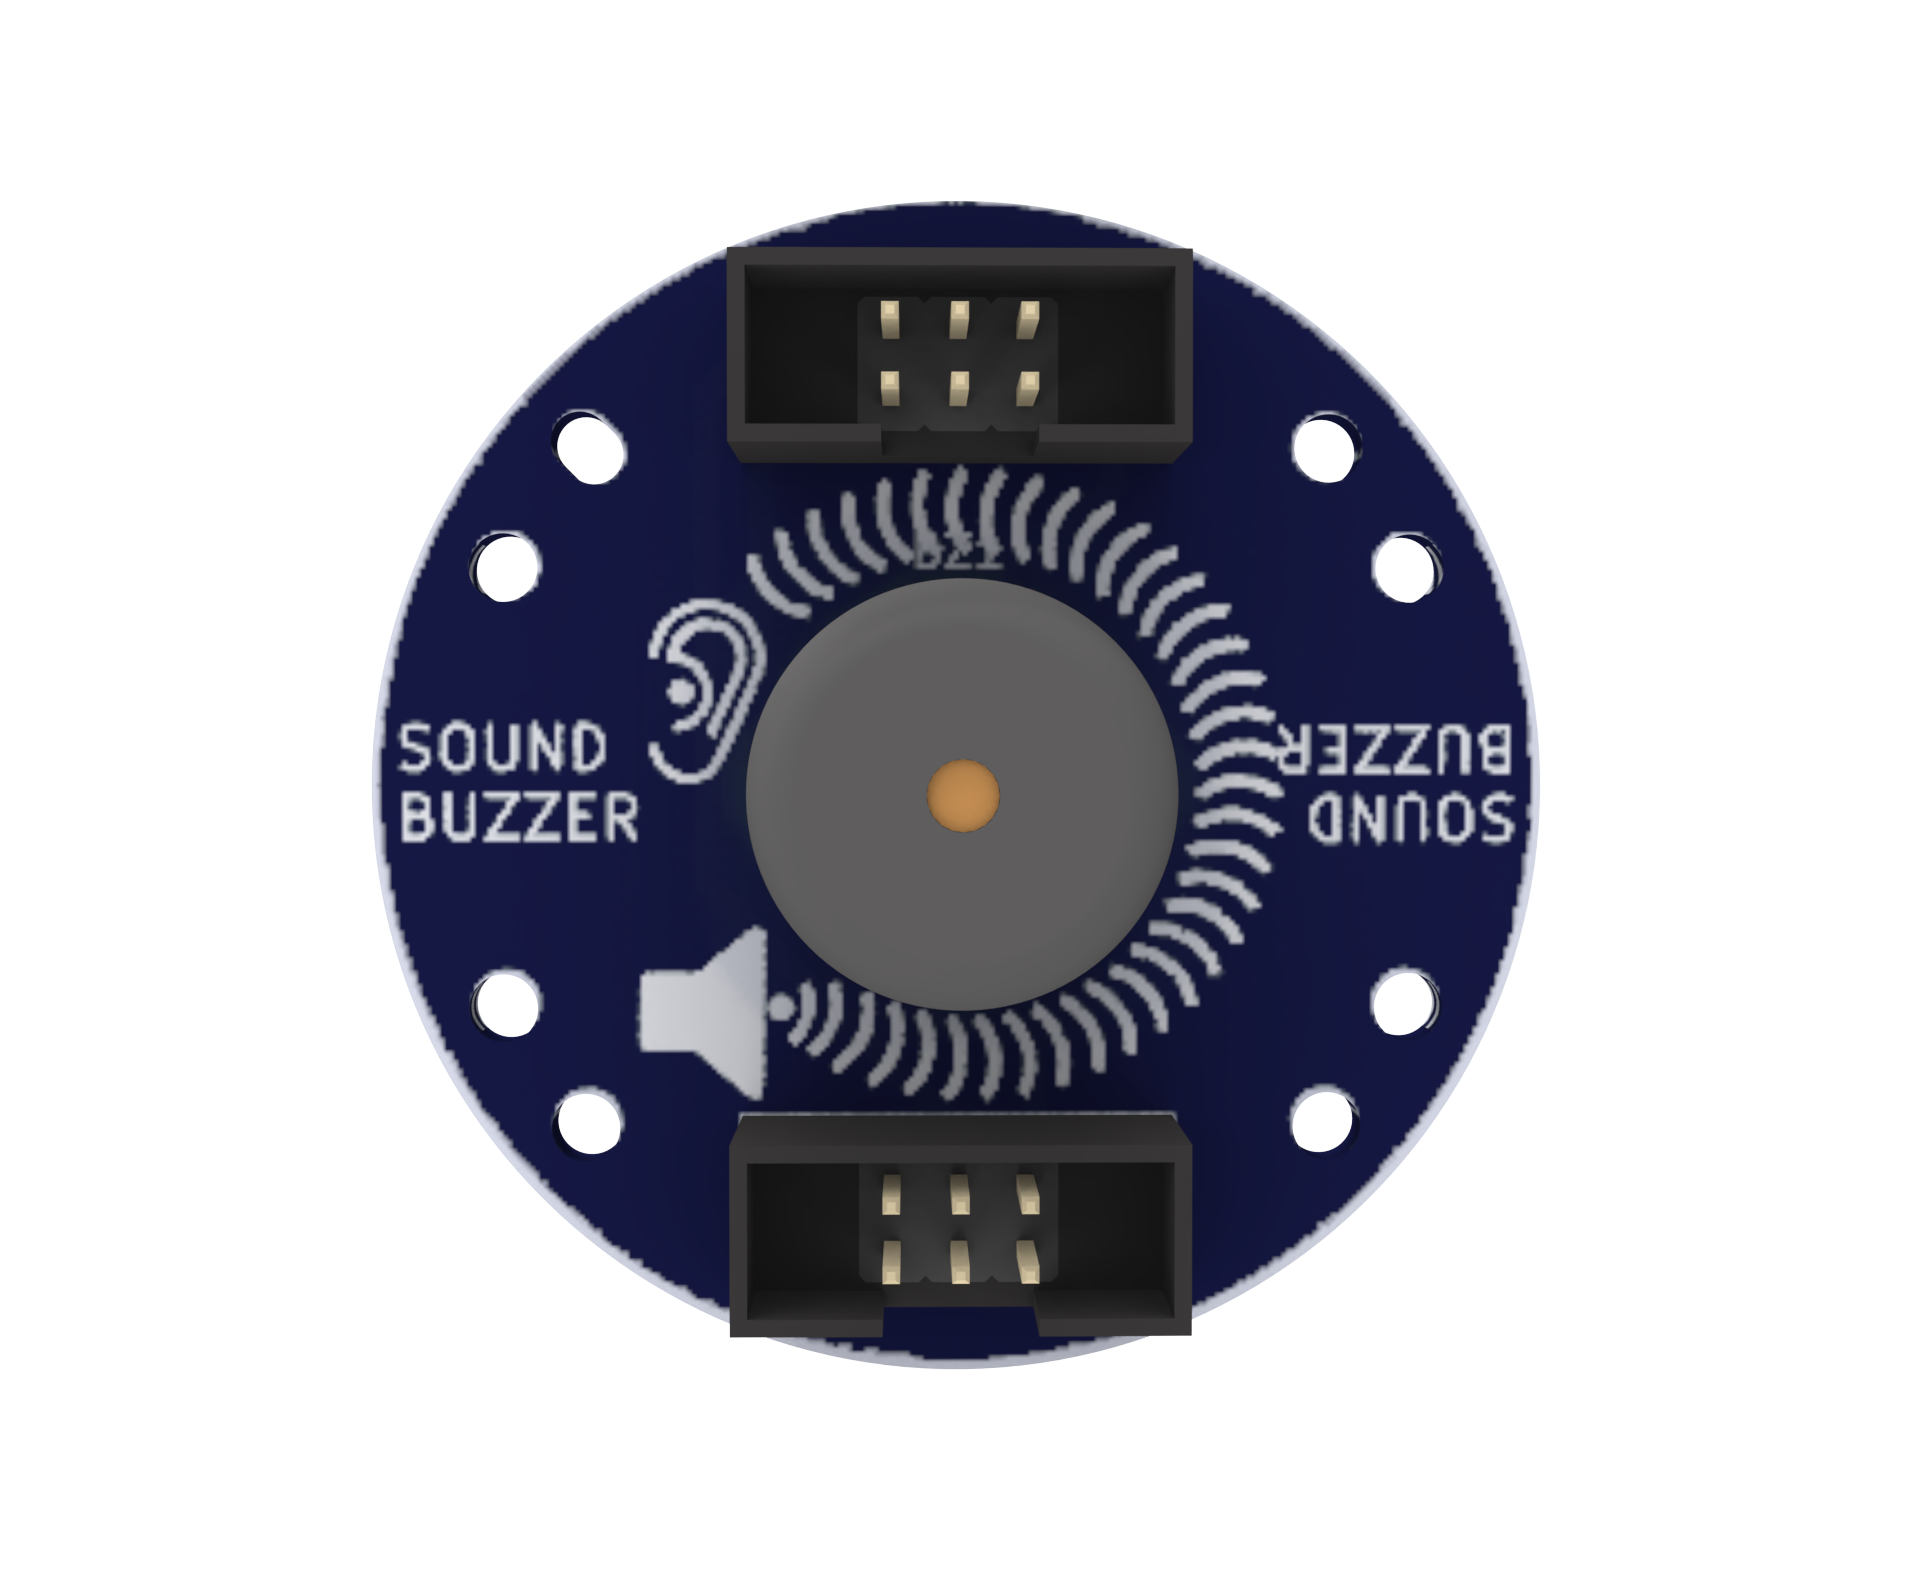
Sound Buzzer: An component that produces an audible sound and can be utilised by the user to produce an audible output at any of the program’s defined frequencies.
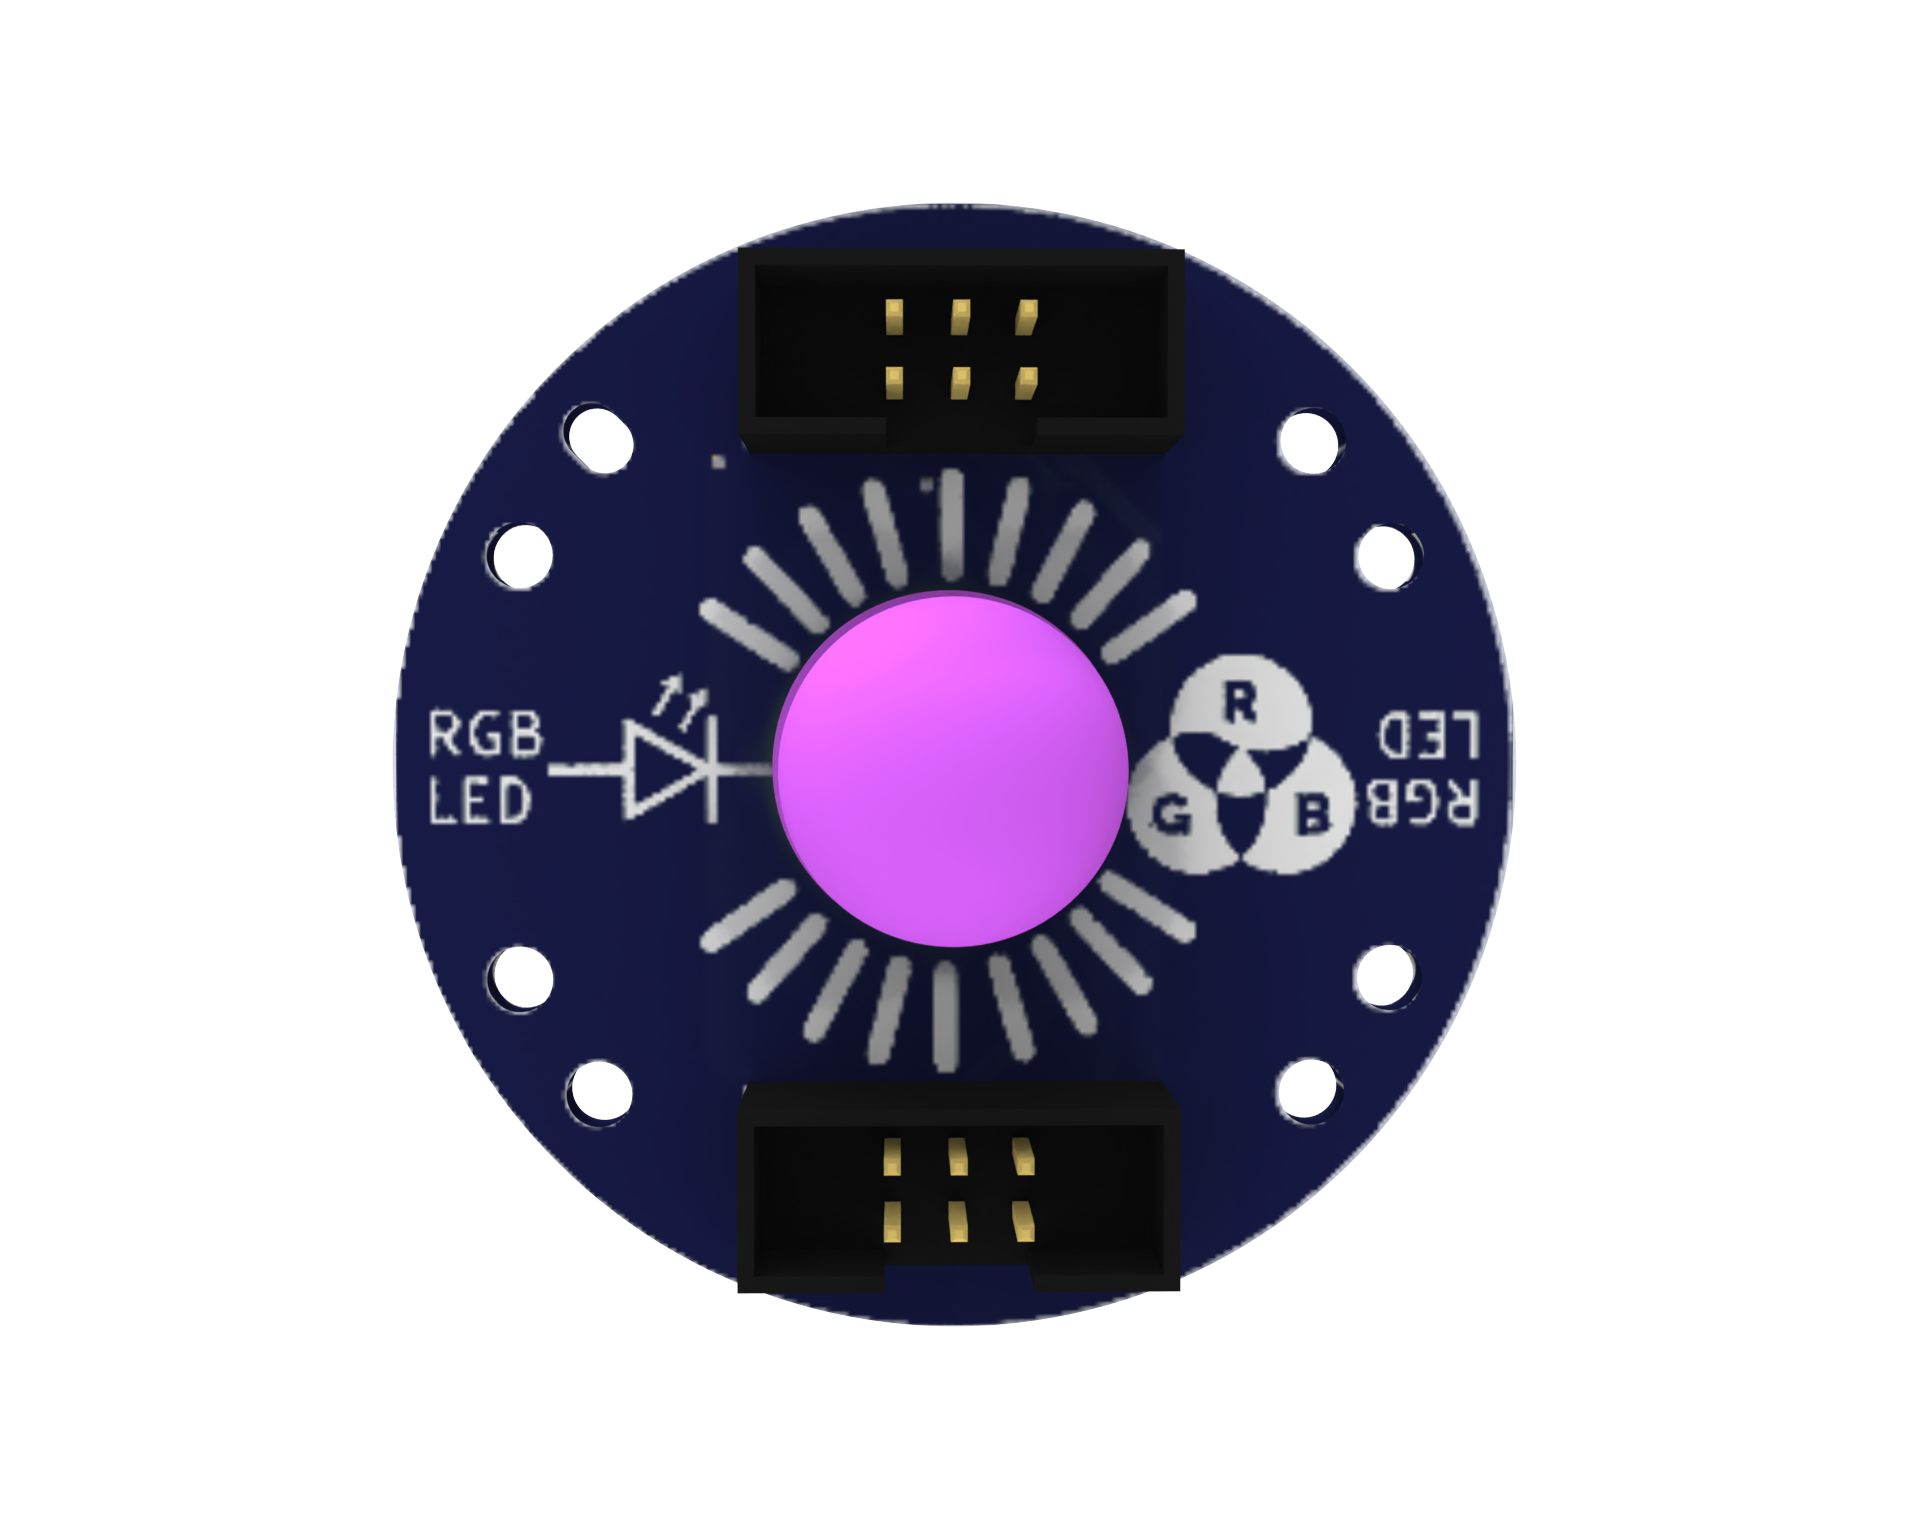
RGB LED: An RGB LED is an LED (Light Emitting Diode) that can be used to give users visual feedback by emitting various combinations of the colours red, green, and blue.
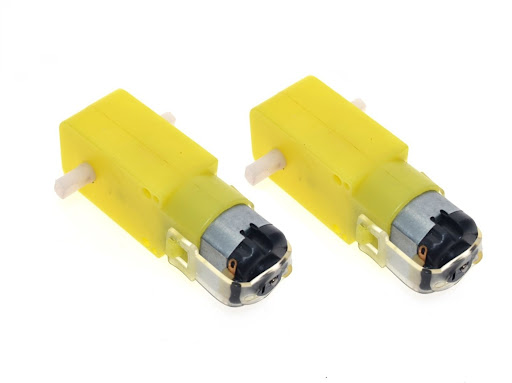
Battery-operated (BO) motors: These are DC (direct current) motors that have a gearbox attached to them, allowing them to operate at lower speeds and with more torque. In robotics and other electrical tasks, they are frequently employed.
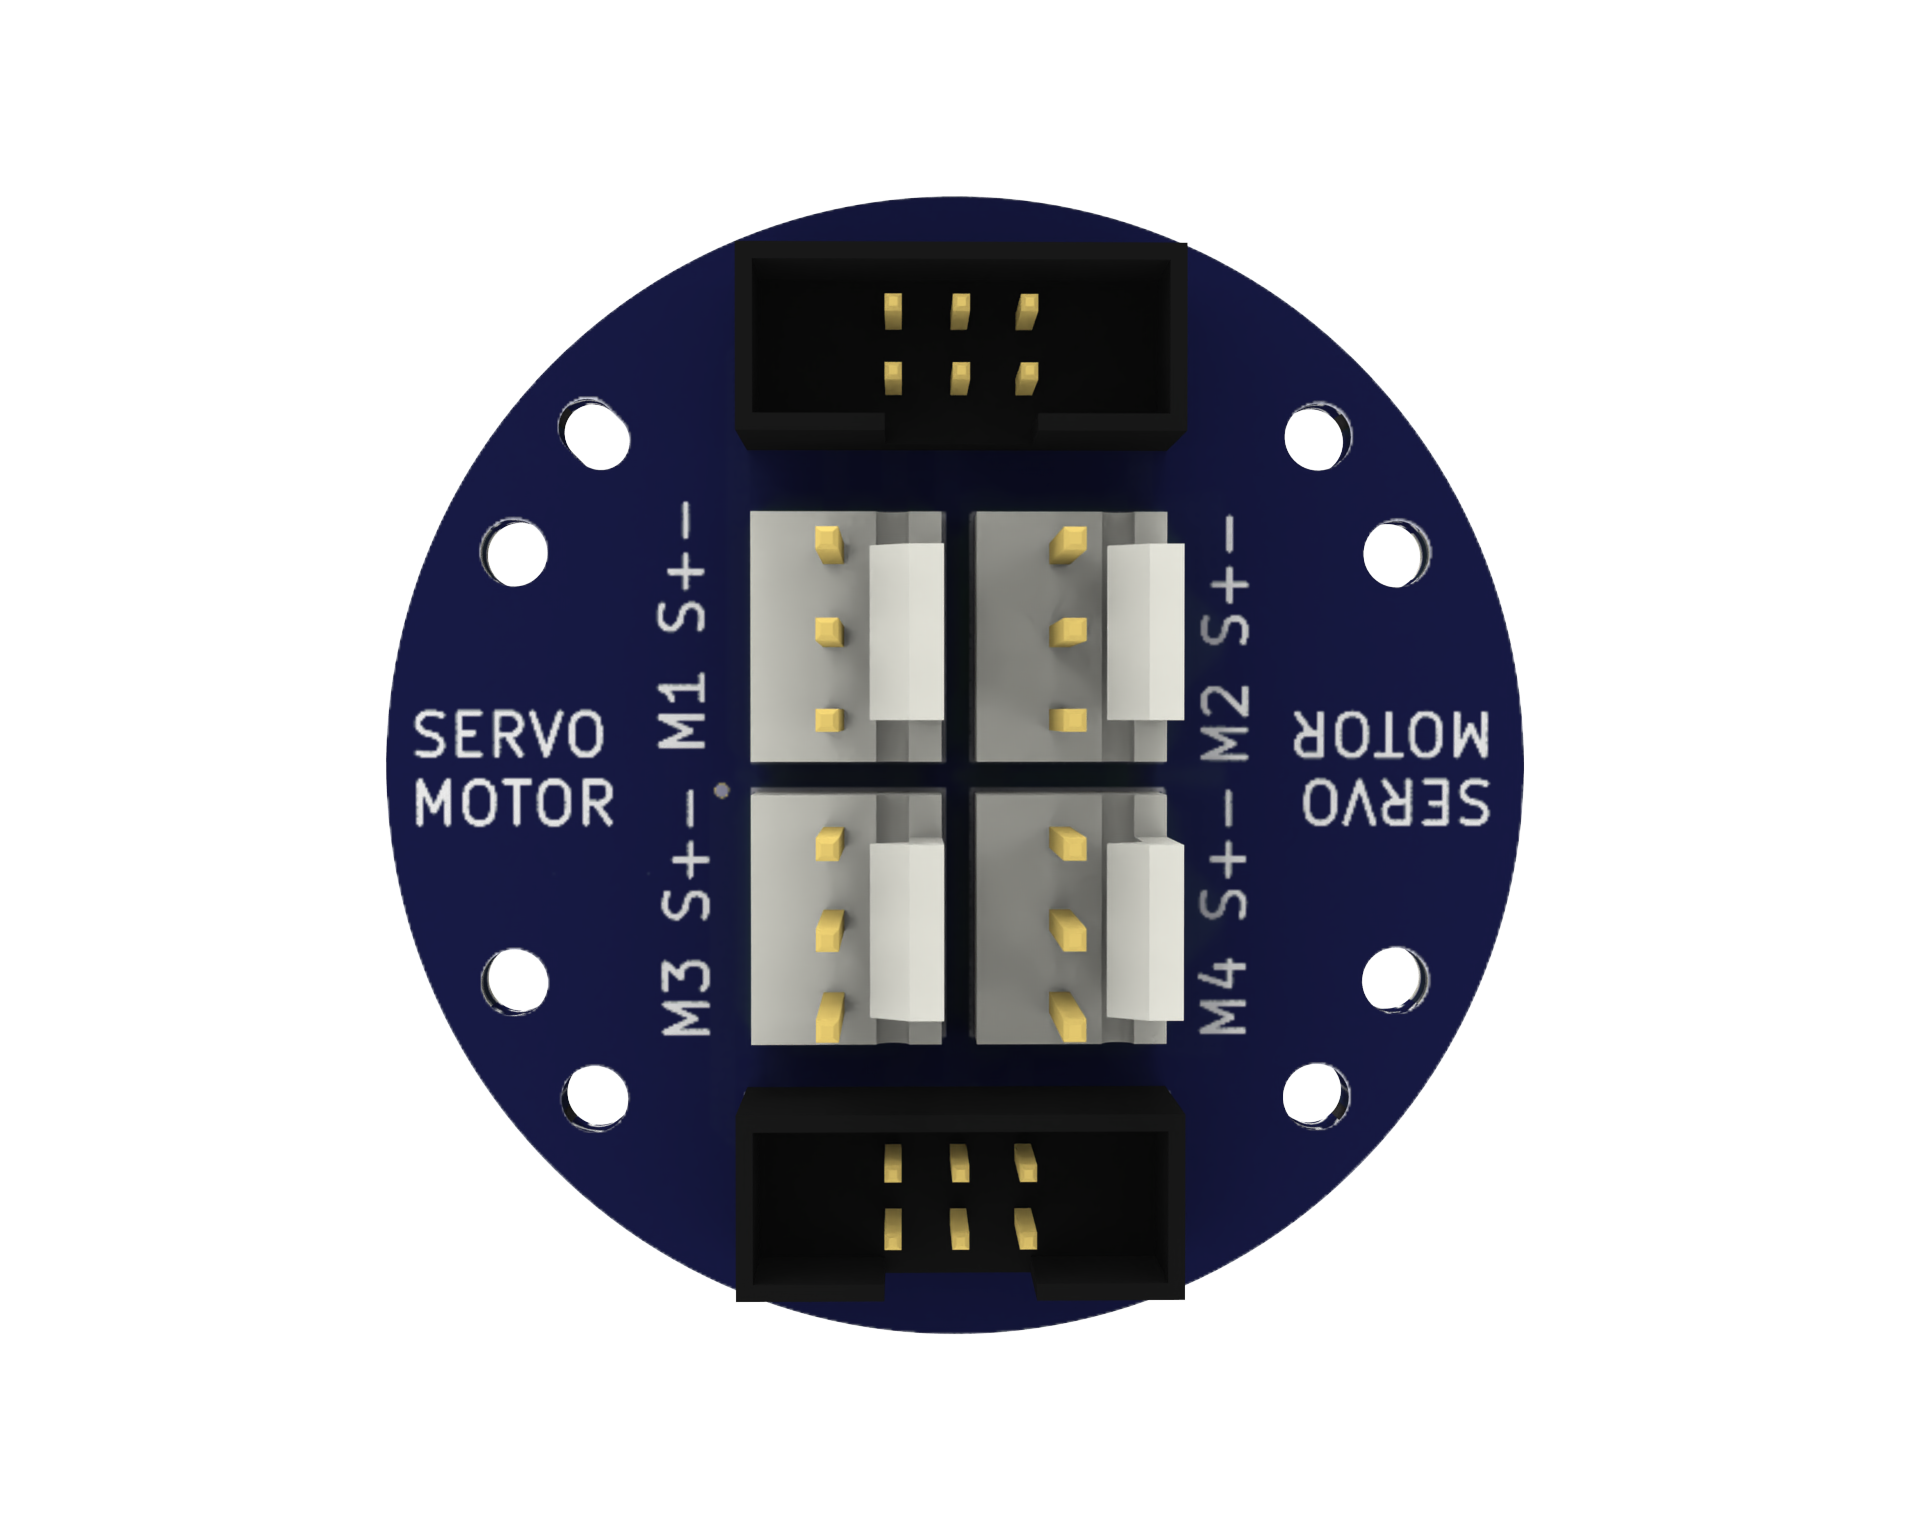
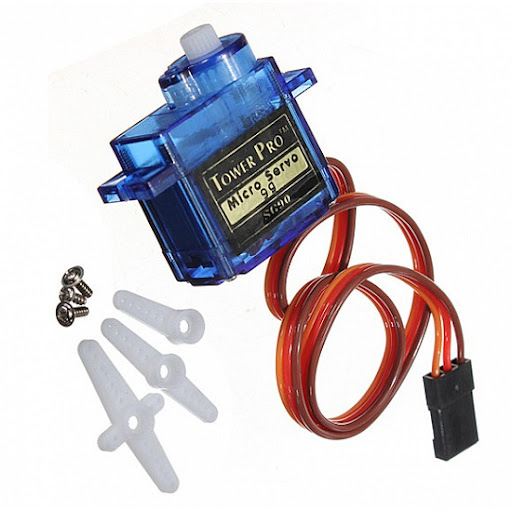
Servo Motor: A servo motor is a type of motor that is controlled by an external device, such as an Arduino or other microcontroller. It is used for precise control over the movement of the motor shaft and is commonly used in robotics, industrial automation, and RC vehicles. It has high torque, low power consumption, and high precision. It consists of a DC motor, a gearbox, and a control circuit. When a signal is received, the control circuit adjusts the position of the motor shaft, allowing for precise movement.
Bluetooth: A wireless communication module that enables the robot to communicate with other devices, such as smartphones.

9V Battery: A common battery used in electronic projects, which provides 9 Volts of power for motor driving.
Micro USB Cable: A cable used to connect the CPU to a computer for programming or to power the CPU with a power bank.
Power Bank: A portable battery pack is used to power the robot.
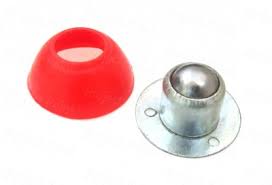
Caster Wheel: A wheel that supports the front of the robot and allows it to turn easily.
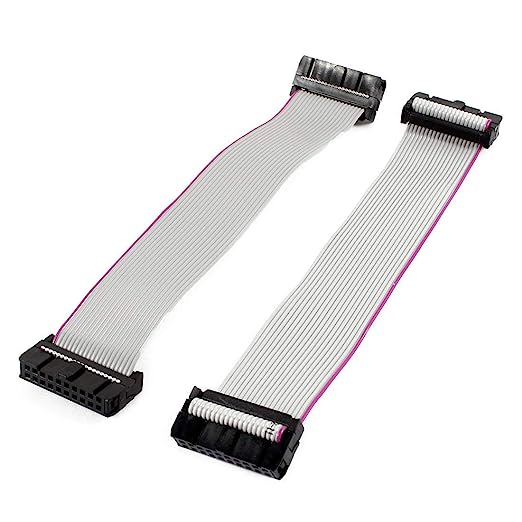
Snap Wires: Wires with pre-attached connectors that can be easily snapped on and off the components, making it easy to connect and disconnect components.
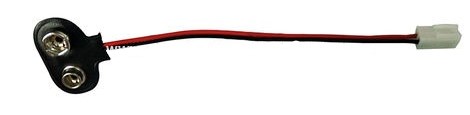
Battery to Snap Connector: A connector that allows the 9V battery to be easily connected to the motor driver.
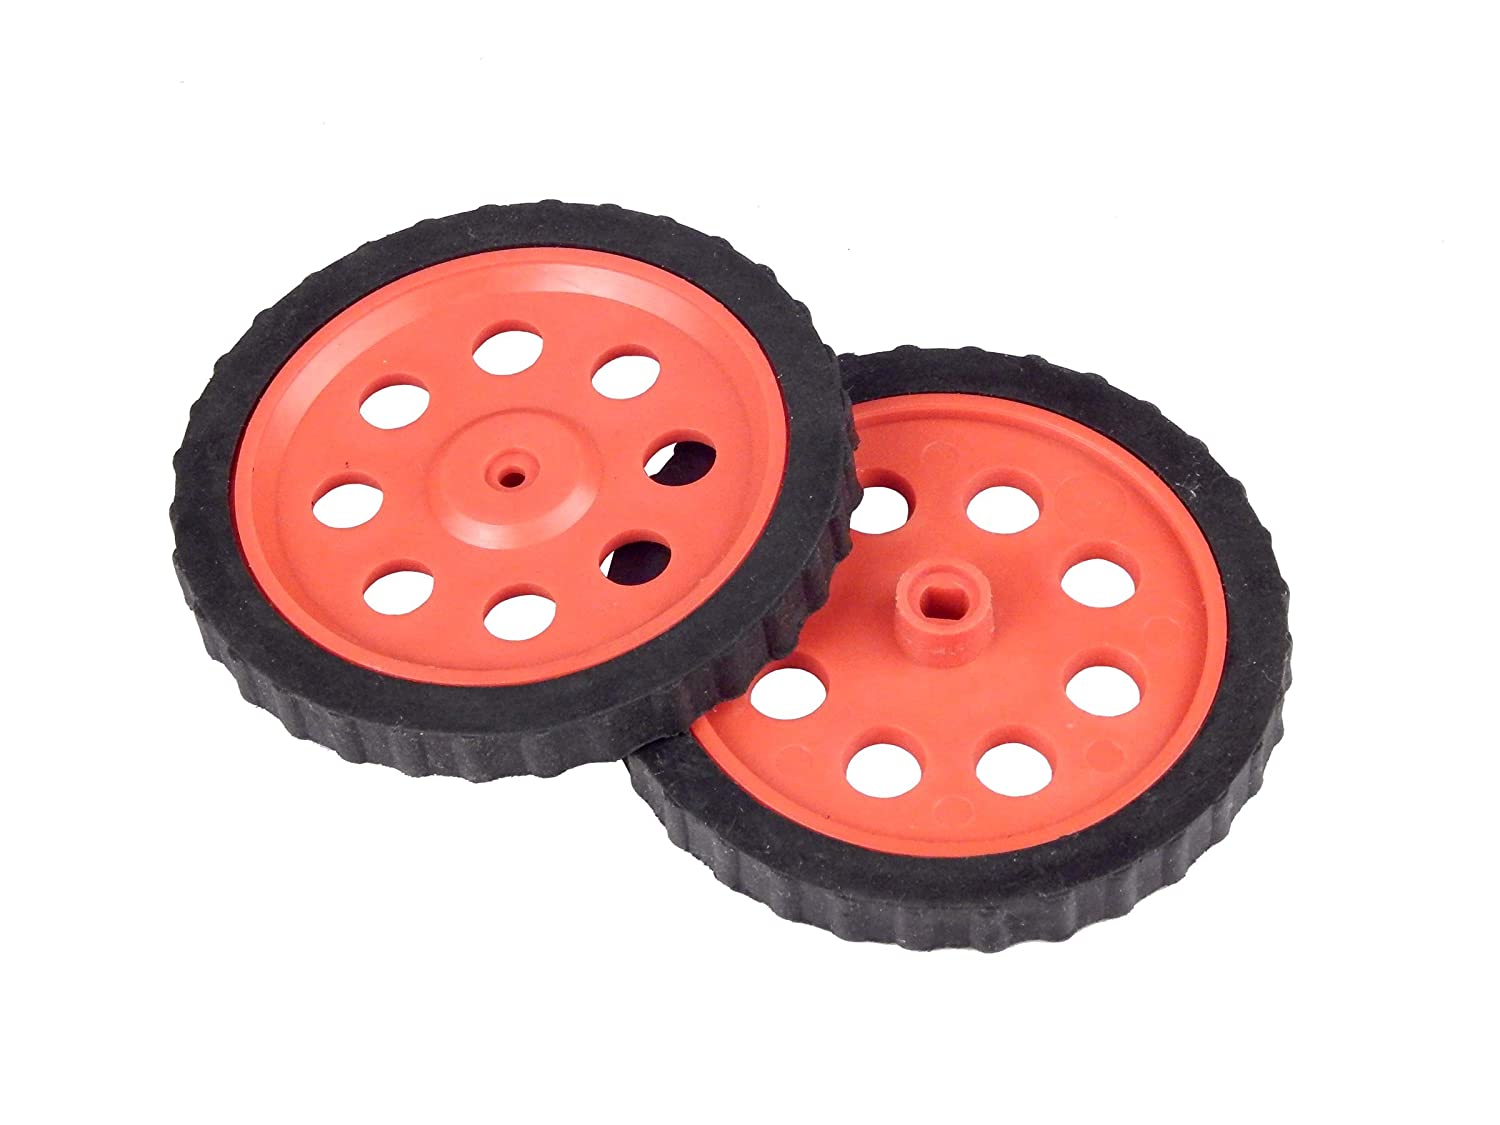
Wheels: Two wheels that drive the robot forward and backward.
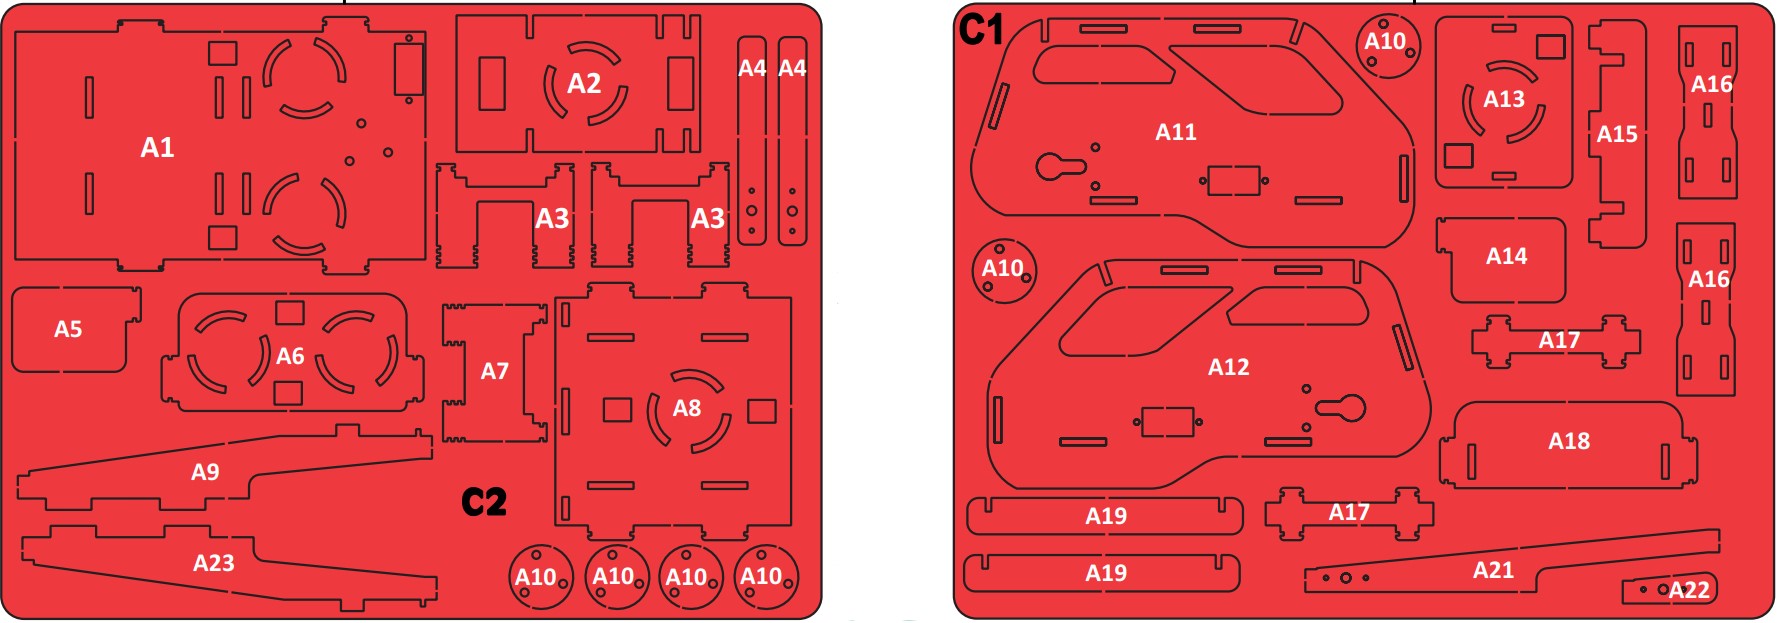
Accelero Body Sheet (C1 and C2): A sheet of MDF material that is used to create the body of the robot.
Rubber Bands: Rubber bands are used to attach the body parts to each other.

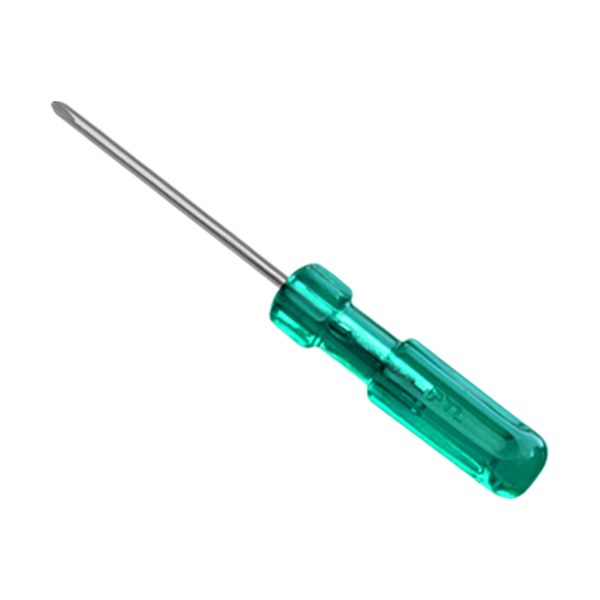
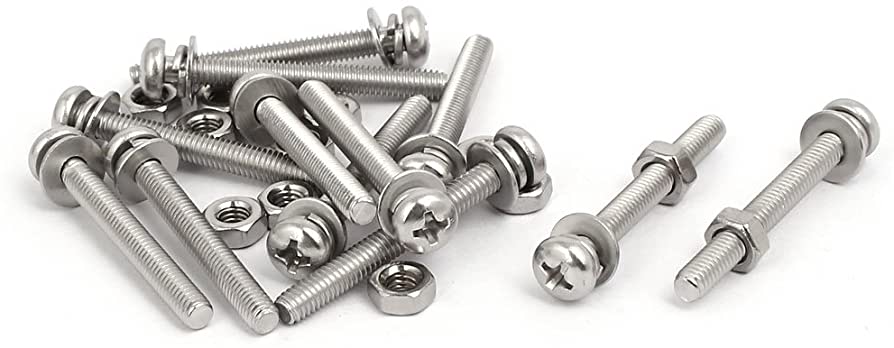
Screwdriver and Screw Fasteners: Used to attach components to the body of the robot.
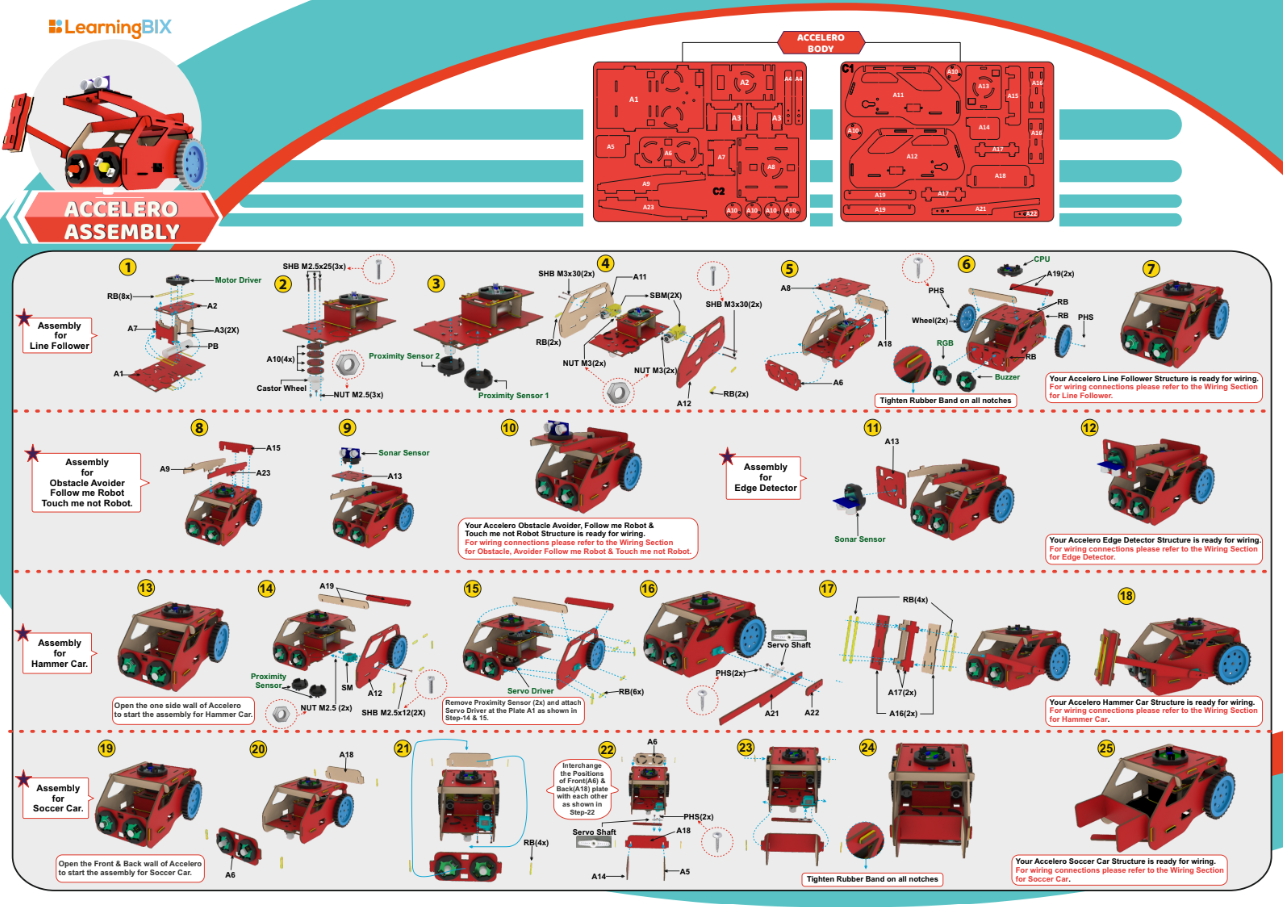
Building the Chassis
The first step is to build the chassis of the robot car using the MDF sheet. Rubber bands will provide a flexible and adjustable solution for holding parts together. Use the caster wheel at the front of the chassis and mount the two BO motors on the back two wheels. Mount all the electronics in their place.
Wiring the Circuit
- Use snap wires of different lengths to connect circuit blocks.
- Use long snap wires for circuit blocks that are farther.
- Servo Motors needs to be calibrated for relaxed positions using the BixChamp2.0 Mobile App.
- Use male to female jumper wires to extend the connections for servo motors wherever needed.
Download Arduino IDE
You can take the following actions to download the Arduino IDE:
- Go to the official Arduino website at: www.arduino.cc
- Click on the “Software” menu item in the top navigation bar.
- Select the “Downloads” option from the drop-down menu.
- Scroll down to find the section for the Arduino IDE and select the appropriate version for your operating system (Windows, Mac, or Linux).
- Click on the download link for the selected version to start the download.
- Once the download is complete, run the installation file and follow the instructions to install the Arduino IDE on your computer.
Following installation, you may launch the Arduino IDE and begin CPU programming.
Writing the Code Hammer And Soccer Car
The methodology behind the programming for a hammer and soccer car employing servo motors, Bluetooth, and a smartphone app is described as follows:
Define the Pins: The first step is to specify the pins that are utilised by the Bluetooth module and servo motors. This enables effective communication between the code and the module and servo motors.
Install the code: The pins are configured as outputs or inputs as necessary in the void setup() method. For instance, the Bluetooth module pins are configured to accept data from the mobile app, and the servo motor pins are set as outputs to control the position of the servo motors.
Getting Commands from a Mobile App: A smartphone app can be used to remotely operate the robot by sending commands to the Bluetooth module on the device. The void loop() function in the code keeps an eye out for these commands and reacts appropriately. For instance, the code instructs the servo motor to rotate to the proper position to lift the hammer if the mobile app provides a command to move it up.
Determine the Movement of the Car: soccer mode and hammer mode. These modes will determine the robot’s movement. In soccer mode, the robot uses its servo motors to move forward, backward, and turn left and right. While in hammer mode, the robot raises a hammer and strikes it in front of it to strike something.
Use of Motor Control Functions: The robot’s movement is controlled by helper functions. For example, the lift_hammer() function instructs the servo motor to lift the hammer while the move_forward() function instructs the servo motors to move the robot forward.
Test and Improve the Code: The robot’s performance is evaluated after the code has been uploaded to the microcontroller. Changes to the code can be made to the robot’s code if it is not moving or reacting to commands as expected.
Using servo motors to control the robot’s movement and activities is the main idea behind the code for a hammer and soccer robot that uses Bluetooth and a mobile app. A mobile app can be used to remotely operate the robot by sending commands to its Bluetooth module. The user can remotely control the robot’s movement and actions since the programming listens for these commands and acts accordingly. The code is made easier to understand and more modular by using the auxiliary functions.
Soccer Car Code
Hammer Car Code
Uploading Code
After downloading the .ino file to your computer, you need to open it in the Arduino IDE and upload it to the CPU. Here are the steps to do so:
- Open the Arduino IDE software on your computer.
- Connect your CPU to the computer using a USB cable.
- In the Arduino IDE, click on “File” and then “Open“.
- Browse and select the .ino file that you downloaded.
- The code will open in a new window in the Arduino IDE.
- Before uploading the code to the CPU, make sure that the correct board type and serial port are selected from the “Tools” menu.
- To upload the code, click on the “Upload” button (right-pointing arrow) in the Arduino IDE toolbar. The IDE will compile the code, and if there are no errors, it will upload the code to the CPU.
- After uploading the code, the Arduino board will start running the program automatically.
Note: During the upload process, you may see some messages in the bottom section of the Arduino IDE. If the upload is successful, you will see a “Done uploading” message.
In summary, after downloading the .ino file, you need to open it in the Arduino IDE, select the correct board type and serial port, and then upload the code to the CPU. Once the upload is successful, the code will start running on the CPU.
Testing the Robot Car
-
Upload the line follower code to the CPU.
- Power on the CPU using the power bank power source.
- Make sure the motor driver is connected to the CPU and the motors are connected to the motor driver.
- A 9-volt battery must be connected to the motor driver battery pin.
- Connect to the Bixchamp2.0 app.
- Test the robot’s hammer mechanism by placing a small object in front of it and see if the hammer strikes the object.
- Test the robot’s soccer mechanism by placing a small ball in front of it and see if it can move the ball using its servo motor.
Conclusion
Building a hammer and soccer robot car with a servo motor can be a fun and challenging project for electronics enthusiasts. By following these steps and using the materials listed above, you can create a unique and interactive robot car that can be used for play or education. With some creativity and imagination, the possibilities for this project are endless.
