

Burglar Alarm
Security is one of the most important concerns for homeowners and business owners alike. With the rise of burglaries and break-ins, it is essential to have a reliable burglar alarm system in place. In this blog, we will discuss how to create a simple burglar alarm using a CPU, proximity sensor, and buzzer. This project can be easily implemented in homes, offices, and other small spaces to protect against burglars.
Materials Needed
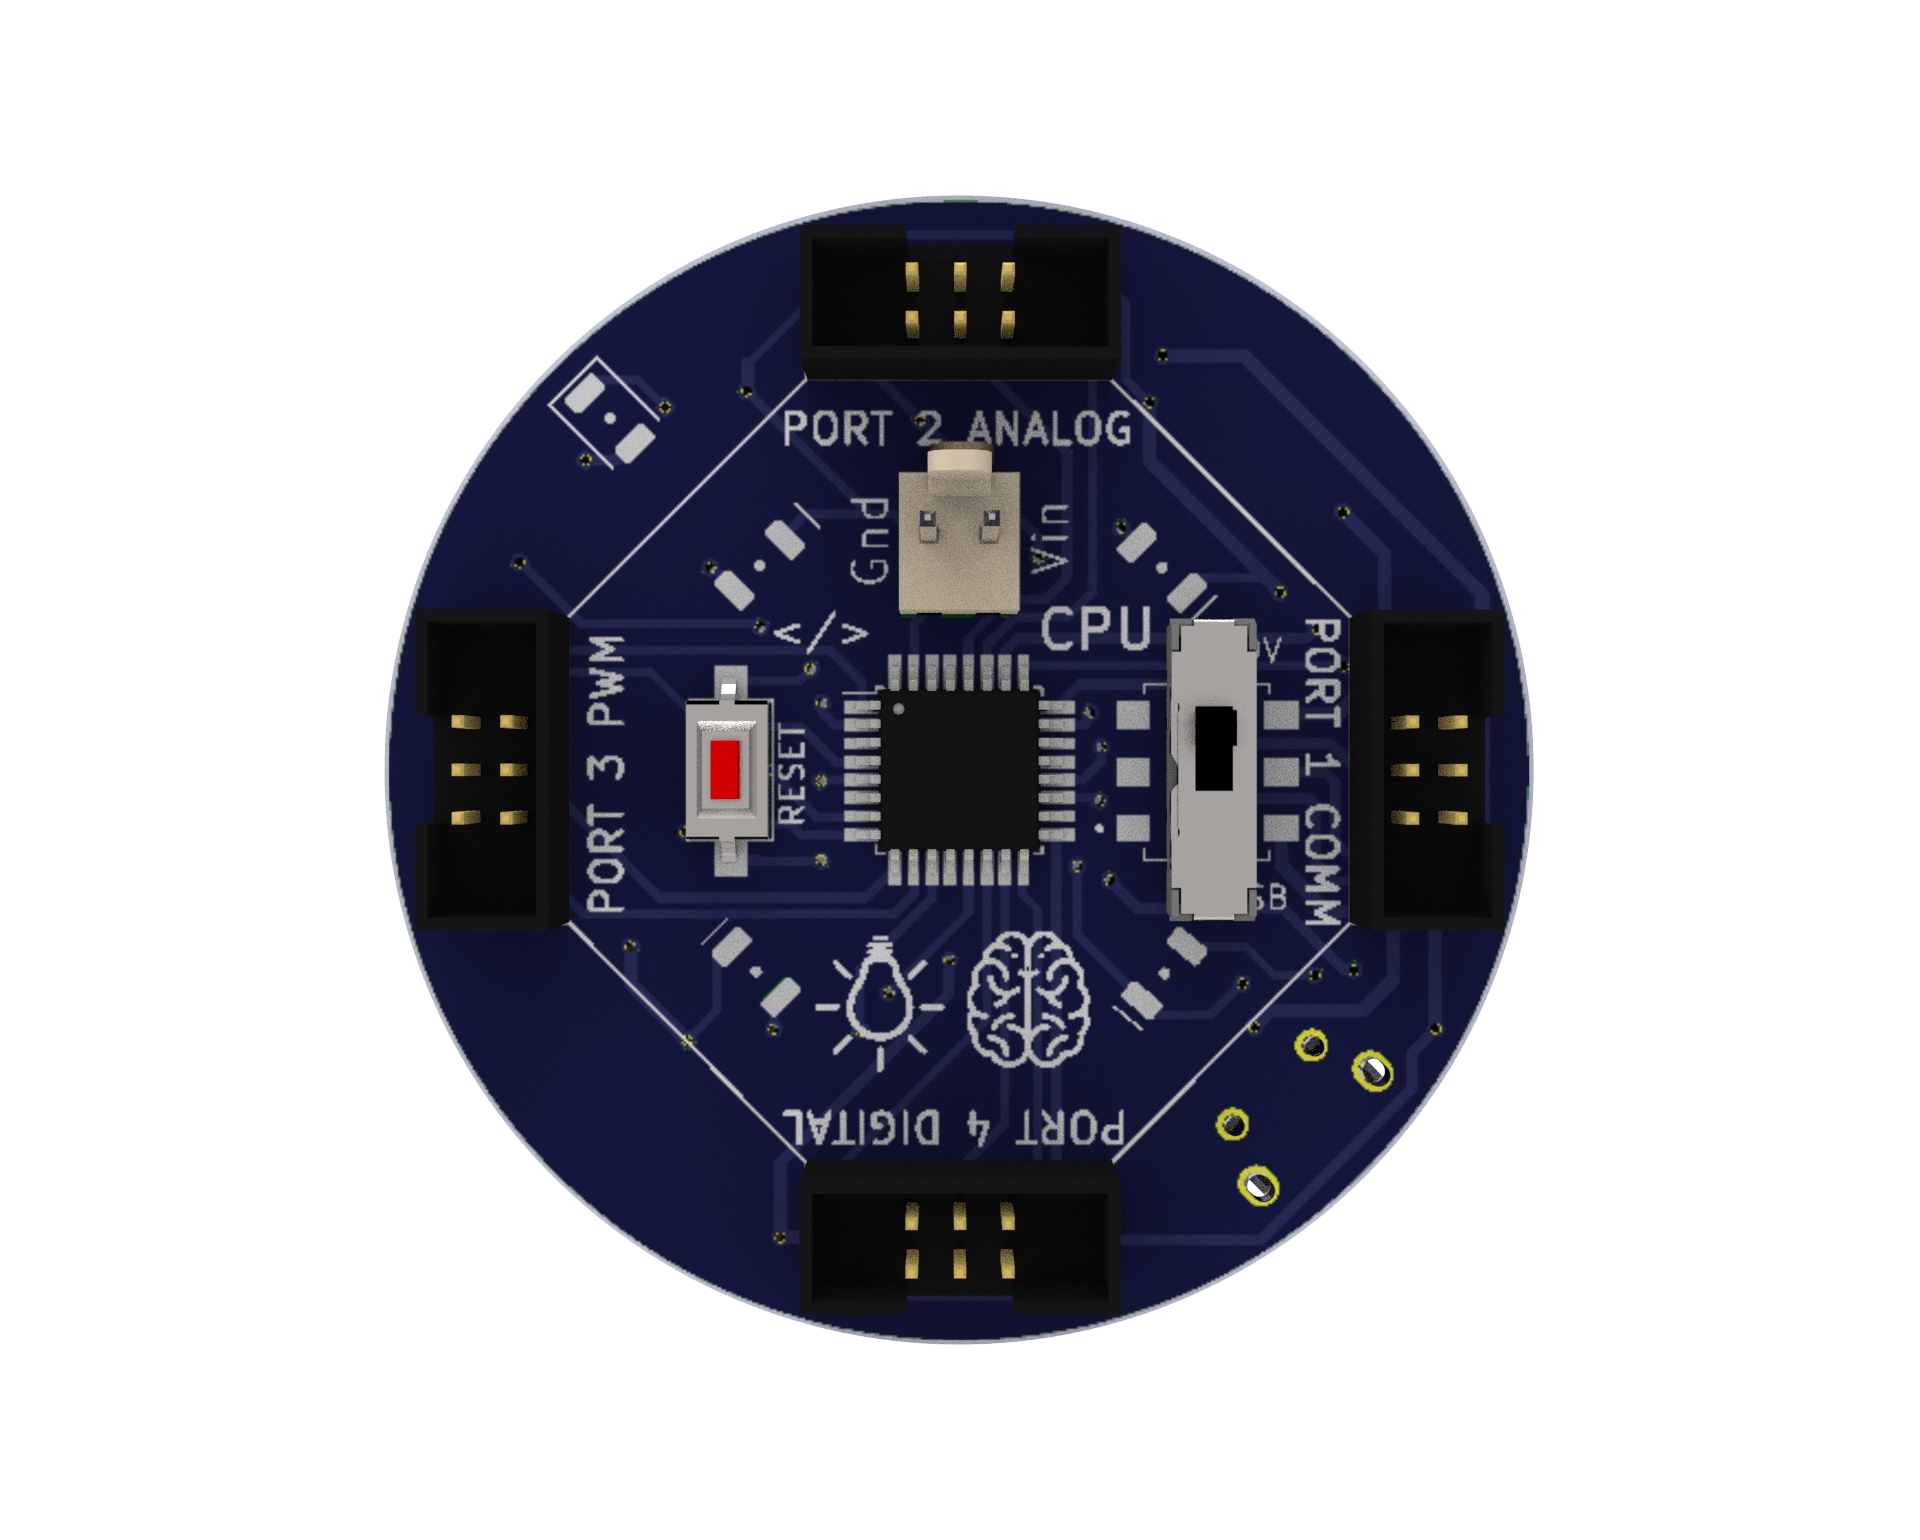
CPU: A microcontroller board that serves as the brain of the robot and can be programmed or Bluetooth-controlled for various functions of the robot.
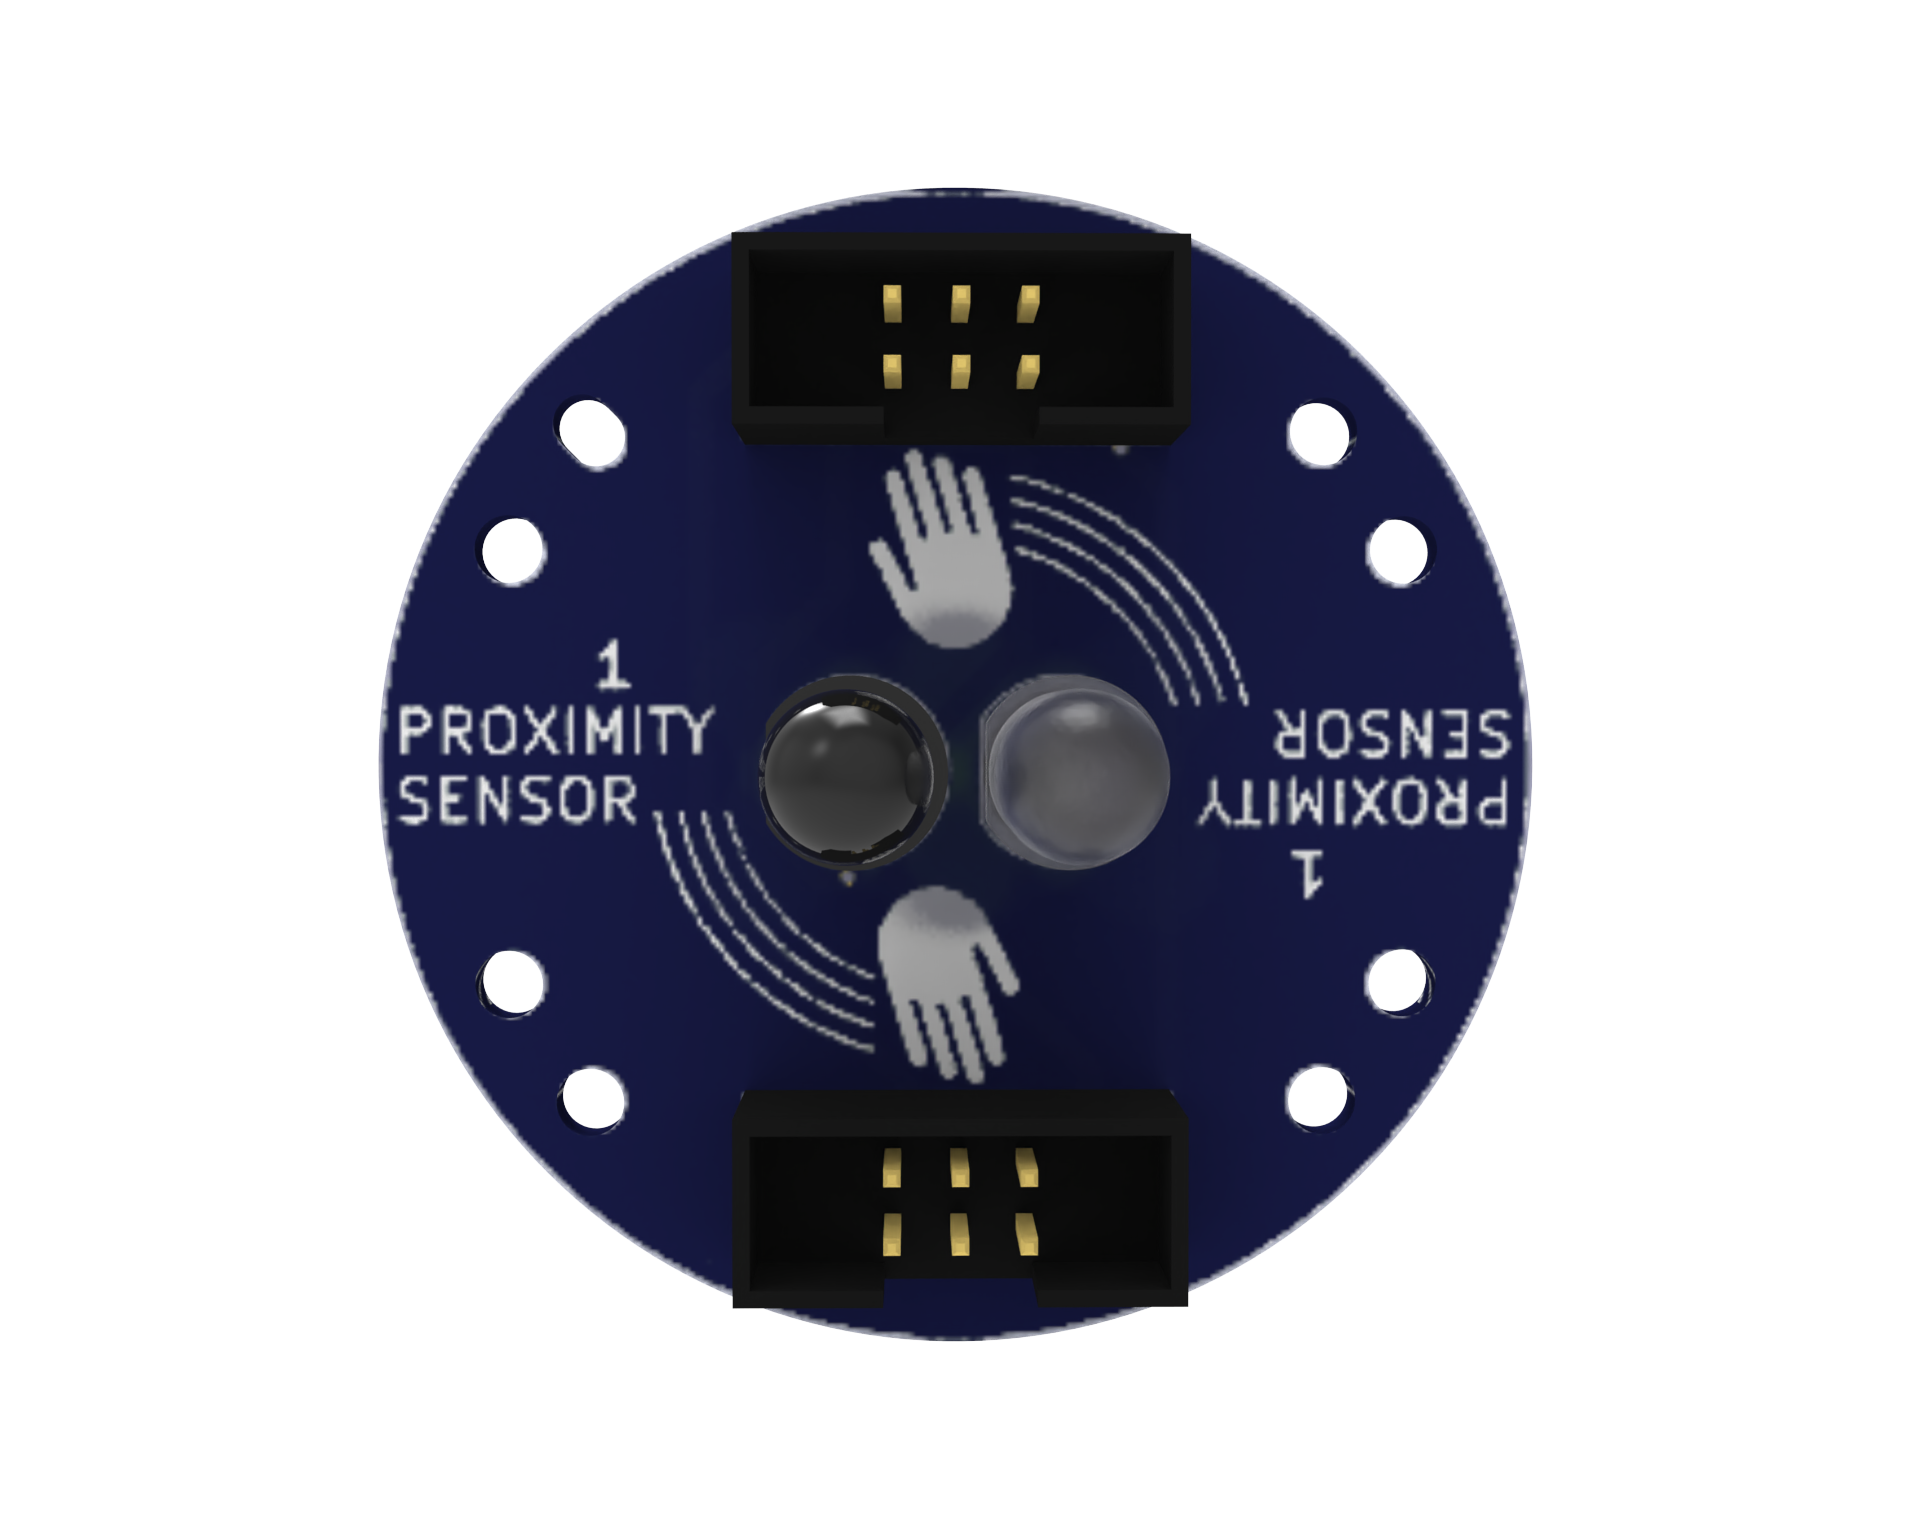
Proximity Sensors: An IR analog proximity sensor is a type of sensor that detects the presence of an object by emitting and measuring infrared light. It provides a continuous output signal, allowing for precise control of the system. It can be used in various applications, including robotics and burglar alarm project.
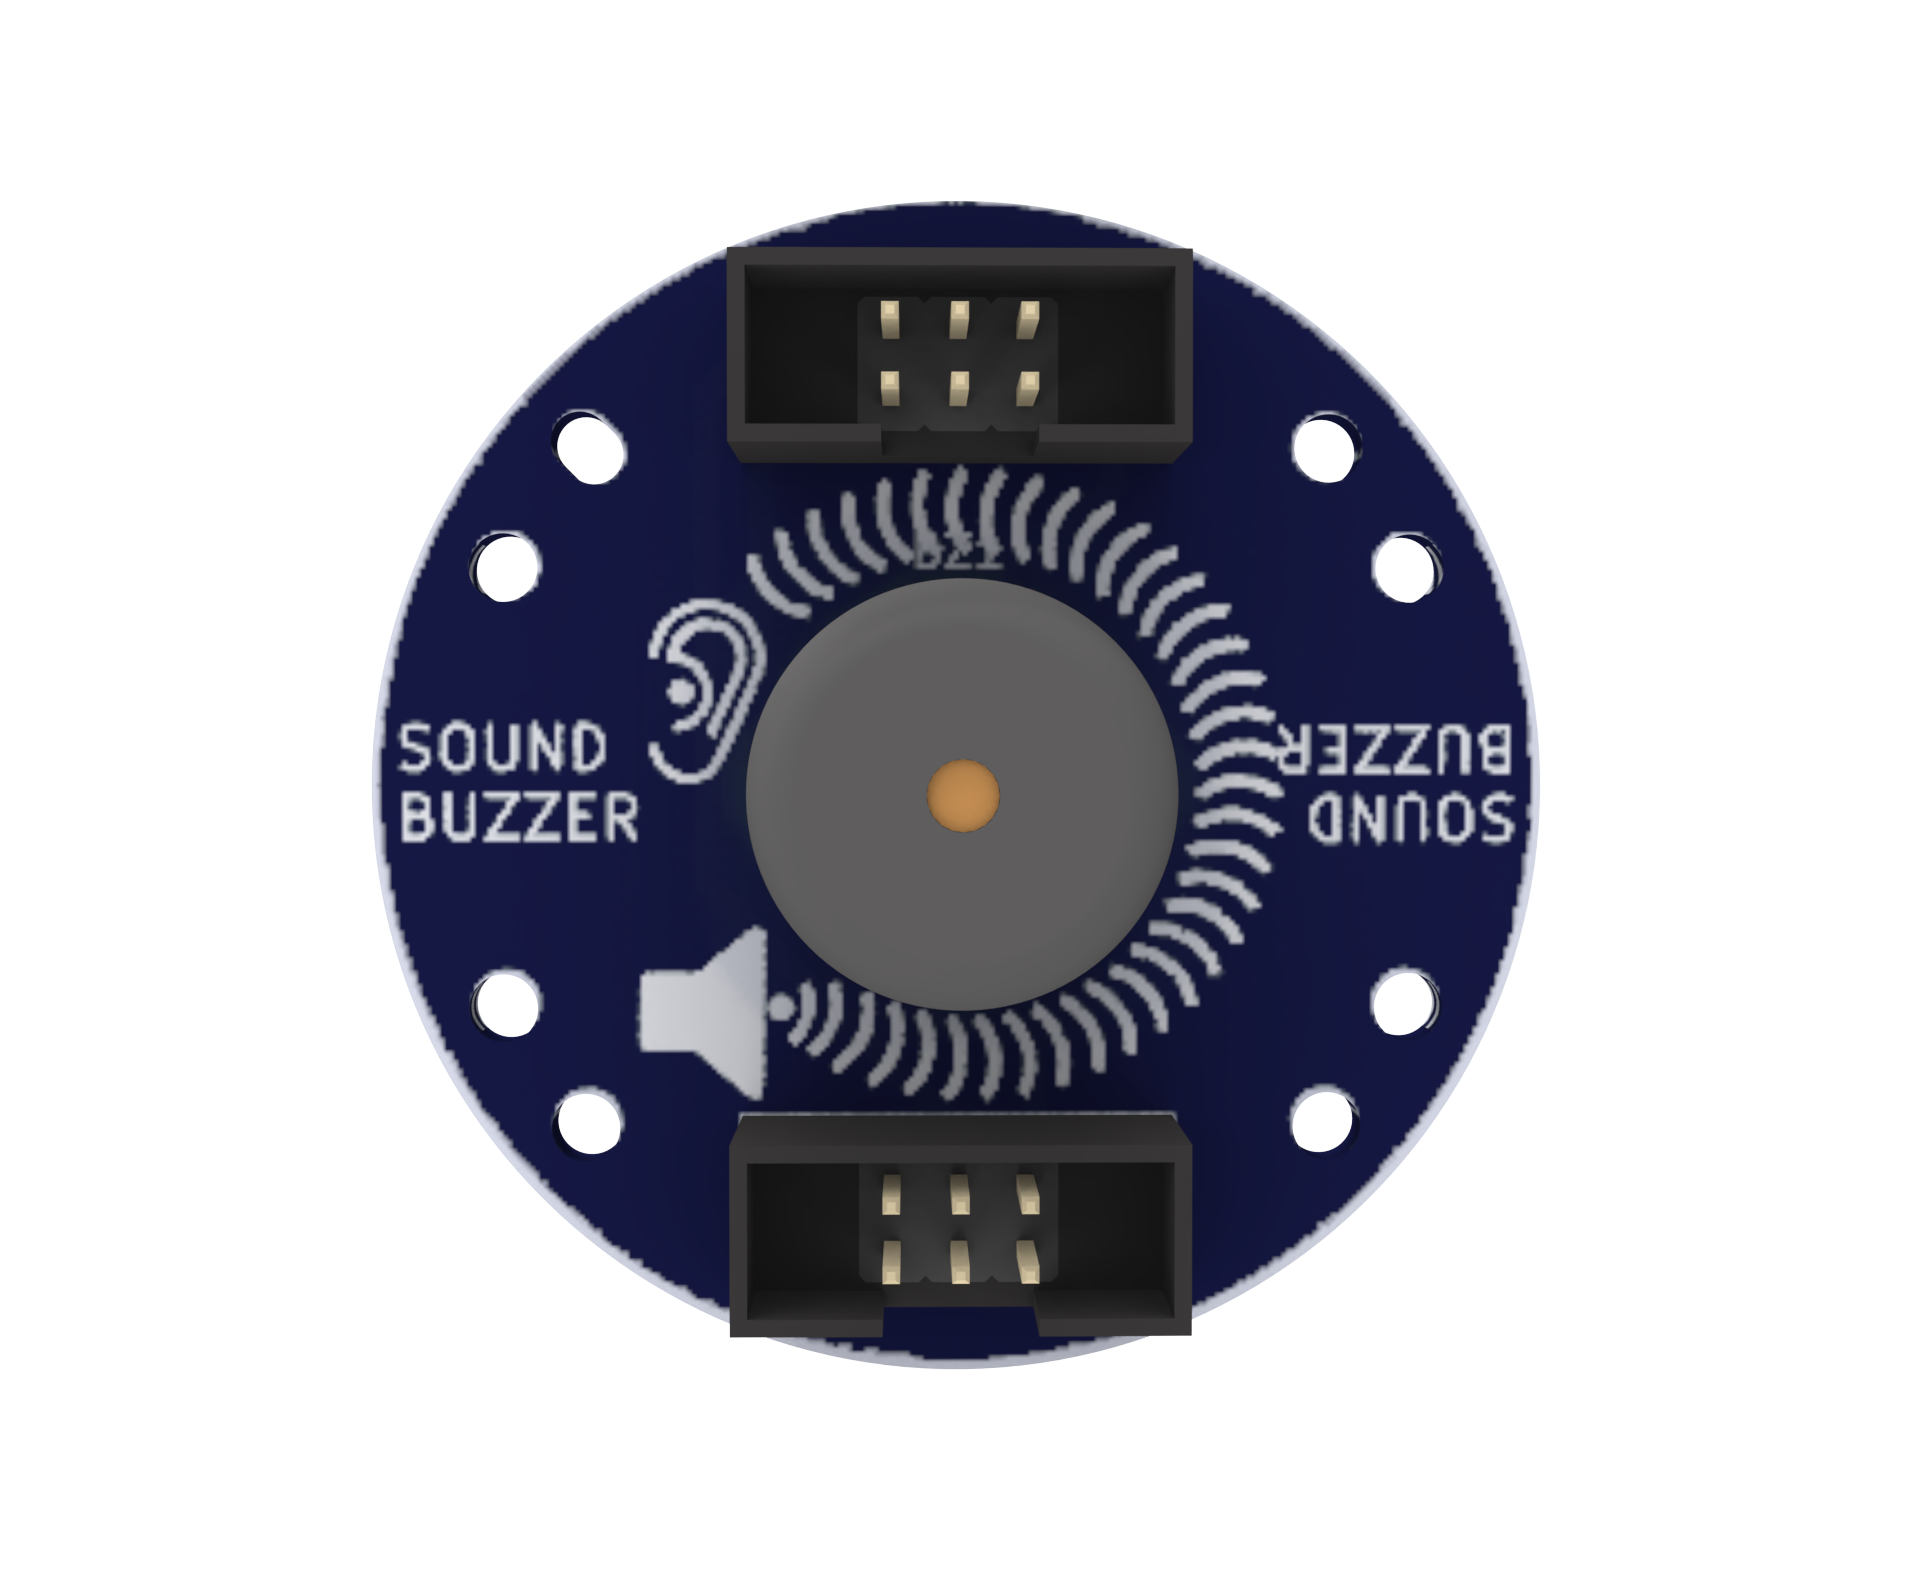
Sound Buzzer: A component that generates an audible sound, which can be used to provide audible feedback to the user in burglar alarm.
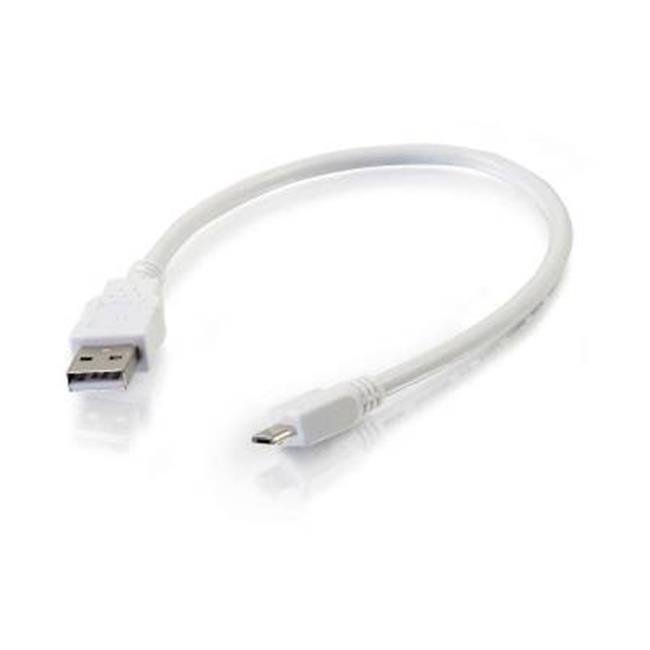
Micro USB Cable: A cable used to connect the CPU to a computer for programming or to power the CPU with a power bank.
Power Bank: A portable battery pack is used to power the CPU.

Snap Wires: Wires with pre-attached connectors that can be easily snapped on and off the components, making it easy to connect and disconnect components.
Wiring the Circuit
-
Connect the sonar sensor to port no. 2 of the CPU,
- Use the snap wires to make the connections from the CPU to the sonar sensor.
Download Arduino IDE
You can take the following actions to download the Arduino IDE:
- Go to the official Arduino website at: www.arduino.cc
- Click on the “Software” menu item in the top navigation bar.
- Select the “Downloads” option from the drop-down menu.
- Scroll down to find the section for the Arduino IDE and select the appropriate version for your operating system (Windows, Mac, or Linux).
- Click on the download link for the selected version to start the download.
- Once the download is complete, run the installation file and follow the instructions to install the Arduino IDE on your computer.
- You can launch the Arduino IDE and begin configuring your Arduino board after installation.
Install Library in Arduino IDE
Libraries are pre-written code modules that can be used to extend the functionality of the Arduino IDE and make it easier to write code for the Arduino boards. Installing a library saves time and effort as you don’t have to write the code for the required functionality from scratch. You can simply use the pre-written code in the library and modify it according to your needs.
To install the ZIP library in the Arduino IDE, you can follow these steps:
- Download the ZIP library from a trusted source such as the official Arduino library repository or a verified third-party library repository.
- Open the Arduino IDE on your computer.
- Click on the “Sketch” menu and select “Include Library” and then “Add .ZIP Library“.
- Navigate to the location where you saved the downloaded ZIP library, select the ZIP file, and click on the “Open” button.
- Wait for the installation process to complete. You will see a notification in the Arduino IDE indicating that the library was successfully installed.
Note: Download and install the libraries given below. Ignore if already installed.
Writing the Code
We will be using the Modular library in Arduino IDE for this project. In the setup function, we initialize the proximity sensor and the buzzer using the proximityOneBegin and buzzerBegin functions, respectively. In the loop function, we read the value of the proximity sensor using the proximityOneRead function and store it in the ‘value’ variable. If the value is greater than 50 (which indicates that an object is within the range of the sensor), we turn on the buzzer using the buzzerSet function and delay for 1 second. If the value is less than or equal to 50, we turn off the buzzer using the buzzerSet function.
The if-else statement is a conditional statement that allows us to execute different blocks of code depending on whether a condition is true or false. In the burglar alarm code, the if-else statement is used to check the value of the proximity sensor.
Here’s how it works:
- The variable value is assigned the value of the proximity sensor reading using the mybot.proximityOneRead() function.
- The if statement checks whether the value of value is greater than 50, which indicates that an object is within 50 cm of the sensor.
- If the condition in the if statement is true, the mybot.buzzerSet() function is called with the arguments 3 and 1. This sets the buzzer on port 3 to a high state, which activates the buzzer to sound an alarm.
- If the condition in the if statement is false, meaning the value of value is less than or equal to 50, the else statement is executed. The mybot.buzzerSet() function is called with the arguments 3 and 0, which sets the buzzer on port 3 to a low state, turning off the alarm.
- In summary, the if-else statement in the burglar alarm code is used to check whether an object is within 50 cm of the proximity sensor, and activate or deactivate the buzzer alarm accordingly.
Full Code for Burglar Alarm
Code Uploading
After downloading the .ino file to your computer, you need to open it in the Arduino IDE and upload it to the CPU. Here are the steps to do so:
- Open the Arduino IDE software on your computer.
- Connect your CPU to the computer using a USB cable.
- In the Arduino IDE, click on “File” and then “Open”.
- Browse and select the .ino file that you downloaded.
- The code will open in a new window in the Arduino IDE.
- Before uploading the code to the CPU, make sure that the correct board type and serial port are selected from the “Tools” menu.
- To upload the code, click on the “Upload” button (right-pointing arrow) in the Arduino IDE toolbar. The IDE will compile the code, and if there are no errors, it will upload the code to the CPU.
- After uploading the code, the Arduino board will start running the program automatically.
Note: During the upload process, you may see some messages in the bottom section of the Arduino IDE. If the upload is successful, you will see a “Done uploading” message.
In summary, after downloading the .ino file, you need to open it in the Arduino IDE, select the correct board type and serial port, and then upload the code to the CPU. Once the upload is successful, the code will start running on the CPU.
Testing?
To test the burglar alarm, we need to connect the CPU board, IR-based proximity sensor, and buzzer as per the circuit diagram. Then, we need to upload the code to the CPU board using the Arduino IDE. Once the code is uploaded, we can test the burglar alarm by placing our hand or an object close to the proximity sensor. If the distance is less than the threshold value, the buzzer will sound, indicating a possible break-in.
Conclusion
In this blog, we learned how to make a simple burglar alarm using an IR-based proximity sensor and an Arduino board. The burglar alarm can help to alert people in the vicinity of a possible break-in and can act as a deterrent to burglars. With some modifications and additional components, the burglar alarm system can be enhanced to make it more effective and secure.
