

About This Project
In this tutorial, we will learn what is touch sensor and its working.
Project Info
- Difficulty: Easy
- Estimated Time: 30 min
- Category: Breadboard
- Tags: Touch sensor, LEDs, resistors, Bread Board, Jumper wires, Battery
Watch the video for the touch sensor here.
Introduction
Breadboard is a rectangular plastic board with a large number of small holes in which you can easily insert electronic components for building the early version of electronic circuits. These breadboards are available in different shapes, sizes, and colors. The most commonly used breadboard is the full-sized breadboard. half-sized breadboard and mini breadboards. Also, there are breadboards that come with tabs and notches on the sides to help snap multiple boards together.
What is Capacitive Touch Sensor?
The capacitive Touch Sensor is a type of sensor that contains two electrode conductors with an insulator between them. These electrode conductor’s plates act as a capacitor with a capacitance value ‘0’. When the conductor’s plates come in contact with our fingers, it acts as a conductive object and starts to flow electric current.
A capacitive touch sensor is a type of sensor that can detect the presence or absence of an object by measuring changes in the electrical capacitance of a capacitive sensing element. Capacitive touch sensors are commonly used in touchscreens and touchpads in mobile phones, tablets, and other electronic devices.
The basic principle of a capacitive touch sensor is that when an object, such as a finger, approaches a conductive surface, it alters the electrical field around the surface, which in turn changes the capacitance of the sensing element. This change in capacitance is detected by a controller circuit, which then processes the information and translates it into a specific action or response.
Capacitive touch sensors can be either self-capacitive or mutual-capacitive. Self-capacitive sensors use a single sensing element and detect changes in capacitance caused by the proximity of an object, while mutual-capacitive sensors use multiple sensing elements and detect changes in capacitance caused by the proximity of an object that alters the electrical field between the sensing elements.
Capacitive touch sensors are generally more reliable and durable than other types of touch sensors, such as resistive touch sensors, because they have no moving parts and are less susceptible to wear and tear. They also offer greater sensitivity and accuracy, and can detect multiple touch points simultaneously, making them ideal for use in multi-touch applications.
Components Required
| IMAGE | COMPONENT | QUANTITY |
|---|
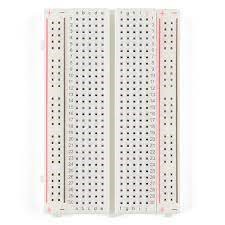
Breadboard
1
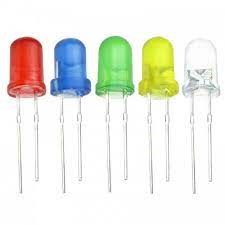
LEDs
1
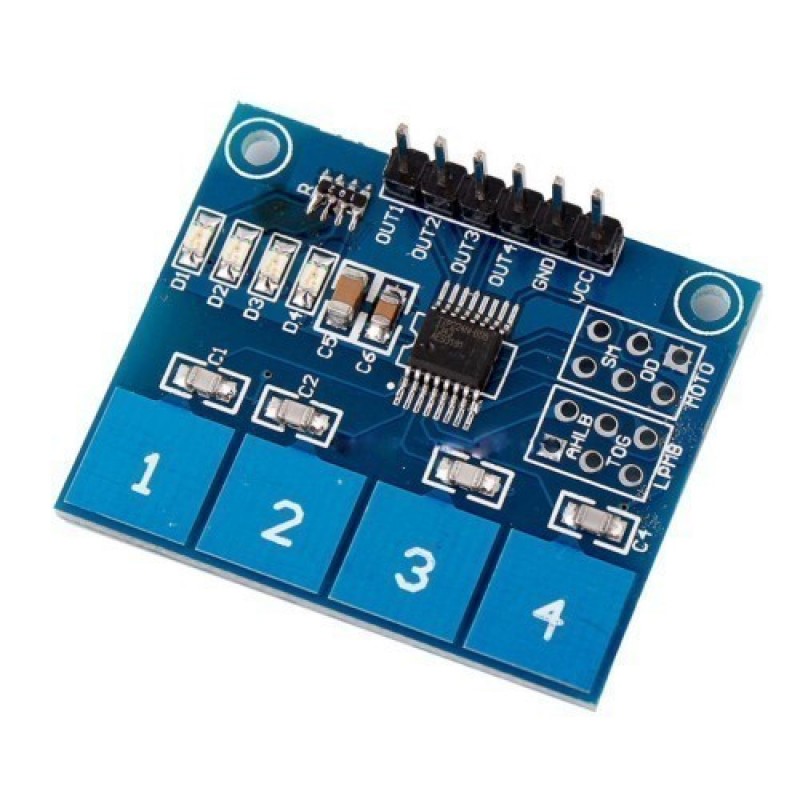
Touch Sensor
1
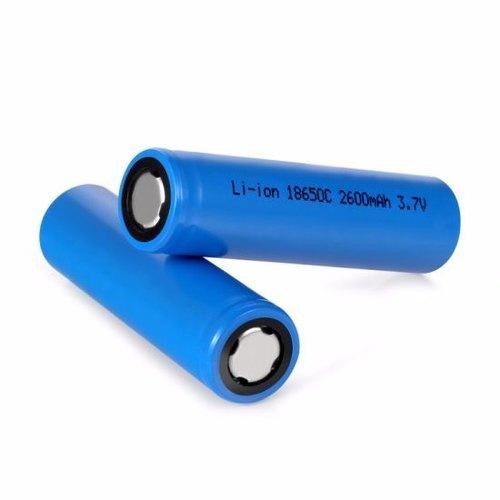
Battery
1
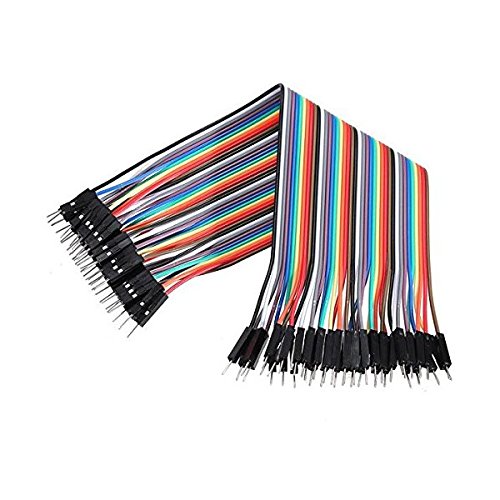
Jumper Wires
As Per Requirement
Building Guide
Step 1: Circuitry of the Robot
- Assemble all the components required

- Connect Jumper wires to the touch sensor.
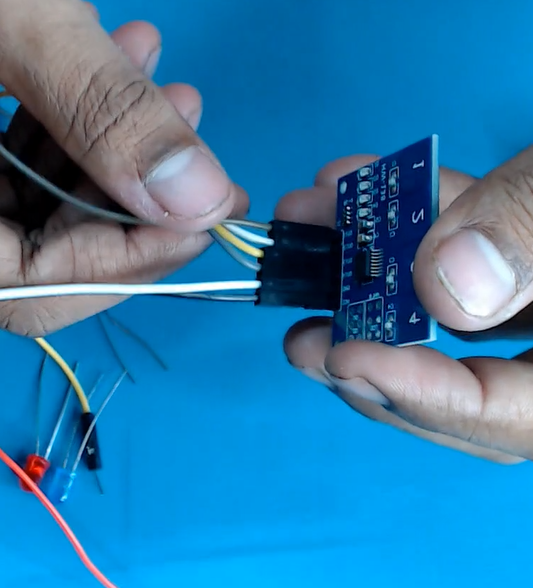
- Powering the touch sensor.
- Attach LED to the breadboard.
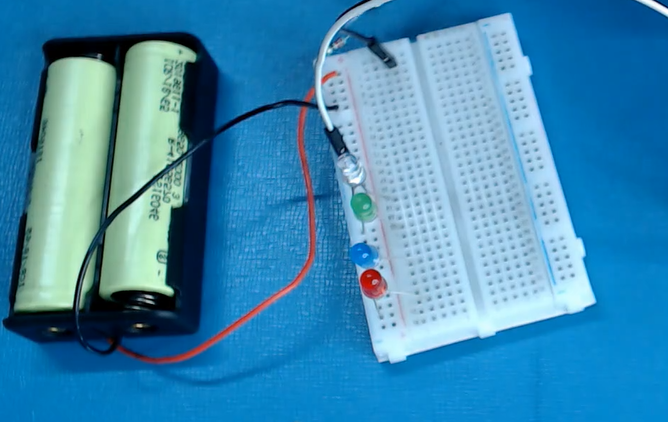
- Now connect the output of the touch sensor to the positive pins of the LED’s.
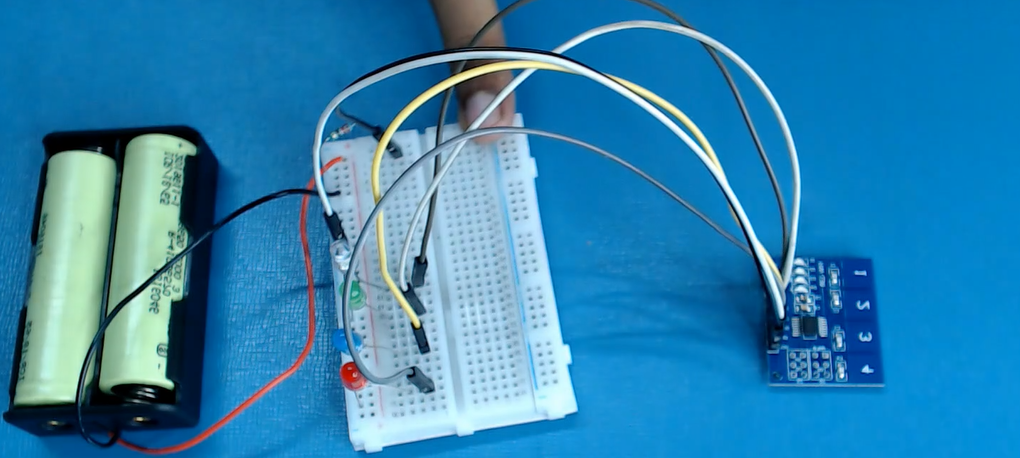
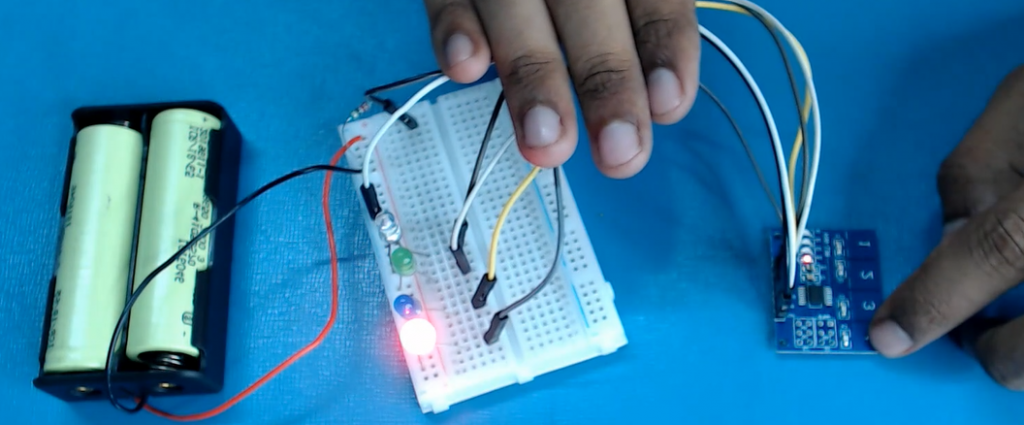
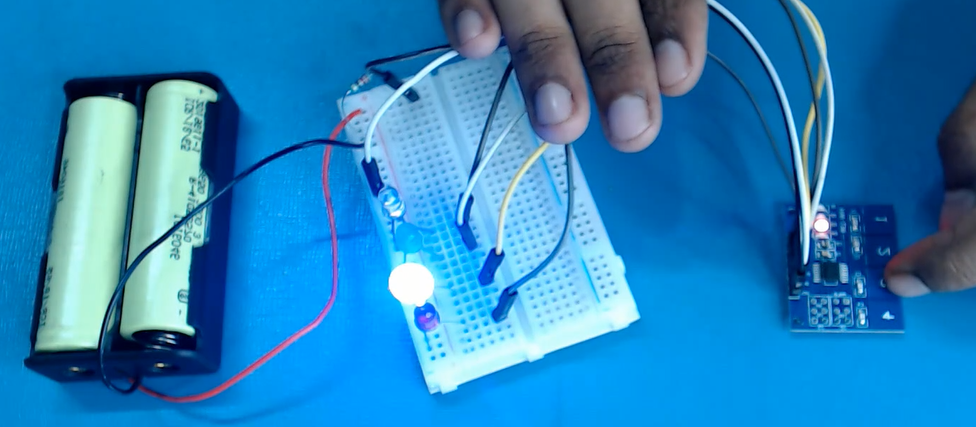
- Press the output pads of the touch sensor to turn on and off the LED’s.
Step 2: Circuitry of the Robot
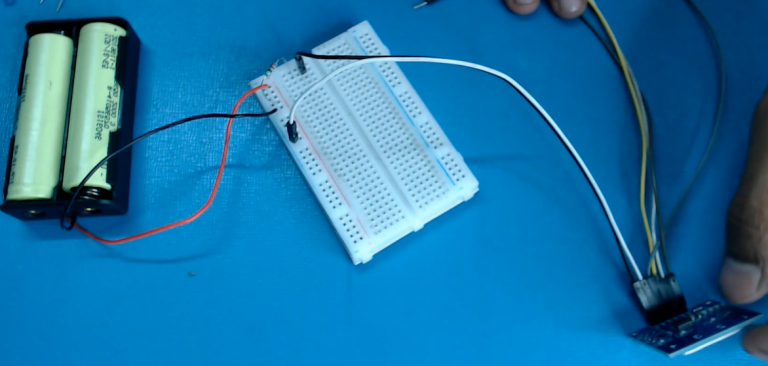
- Powering the components
- Powering the Touch sensors
- VCC to 5V
- GND / to GND
- Output1 to White LED positive pin.
- Output2 to GREEN LED positive pin.
- Output3 to BLUE LED positive pin.
- Output4 to RED LED positive pin.
- LED pins
- Negative to GND.
- Positive to Output of Touch sensor.
With this, we have come to an end of the project. Have you got an understanding of what is capacitive touch-sensor and how it works? Do let us know by leaving a comment below.
