

About This Project
In this tutorial, we will learn how to make a basic LED circuit on a breadboard.
Project Info
- Difficulty: Easy
- Estimated Time: 30 min
- Category: Breadboard
- Tags: LED, Breadboard, Battery, Resistor, Jumper wire.
Introduction
Breadboard is a rectangular plastic board with a large number of small holes in which you can easily insert electronic components for building the early version of electronic circuits. These breadboards are available in different shapes, sizes, and colors. The most commonly used breadboard is the full-sized breadboard. half-sized breadboard
LED: LED (light-emitting diode) is a semiconductor device that emits light when an electric current flows through it. When current passes through an LED, the electrons recombine with holes emitting light in the process. LEDs allow the current to flow in the forward direction and blocks the current in the reverse direction.
Jumper Wire-A jump cable is an electrical cable, or group of them in a cable, with a connector or legs at each end, which is typically used to connect the components of a breadboard or other prototype or experiment.
Battery– A battery is a device that converts chemical energy contained within its active accouterments directly into electric energy by the expedient of an electrochemical oxidation-reduction (redox) response. This type of response involves the transfer of electrons from one material to another via an electric circuit.
Resistor– It is a passive two-terminal electrical element that implements electrical resistance as a circuit element. In electronic circuits, resistors are used to reduce current inflow, acclimate signal category, divide voltages, bias active rudiments, and terminate transmission lines, among other uses.
Project: How to make a basic LED Circuit on a breadboard
Now that we have a clear understanding of the project and the components used, let’s start the project.
Components Required
| Image | Component | Quantity |
|---|---|---|
 |
Breadboard | 1 |
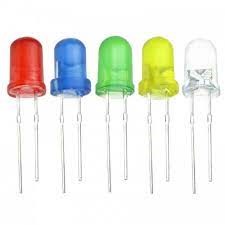 |
LED’s | 1/2 |
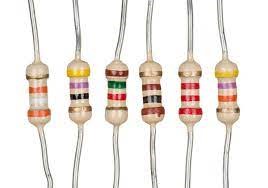 |
Resistor 220 ohm | 1/2 |
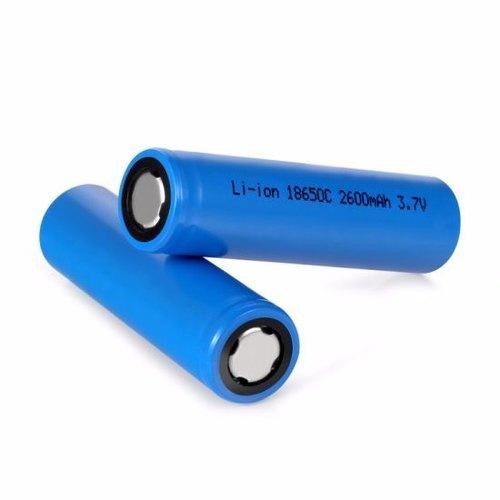 |
Battery | 2 |
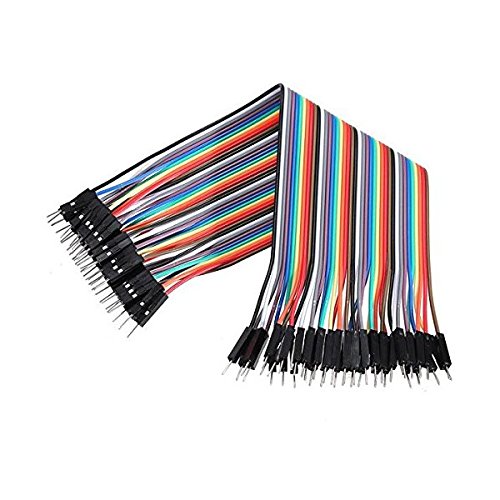 |
Jumper Wires | 5-6 |
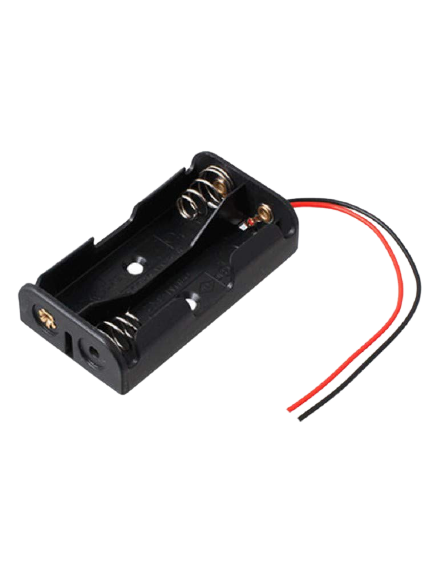 |
Battery Holder | 1 |
Building Guide
Step 1: Circuitry of the Breadboard
- Powering the components
- Powering the LED
- VCC to 5V
- GND / to GND
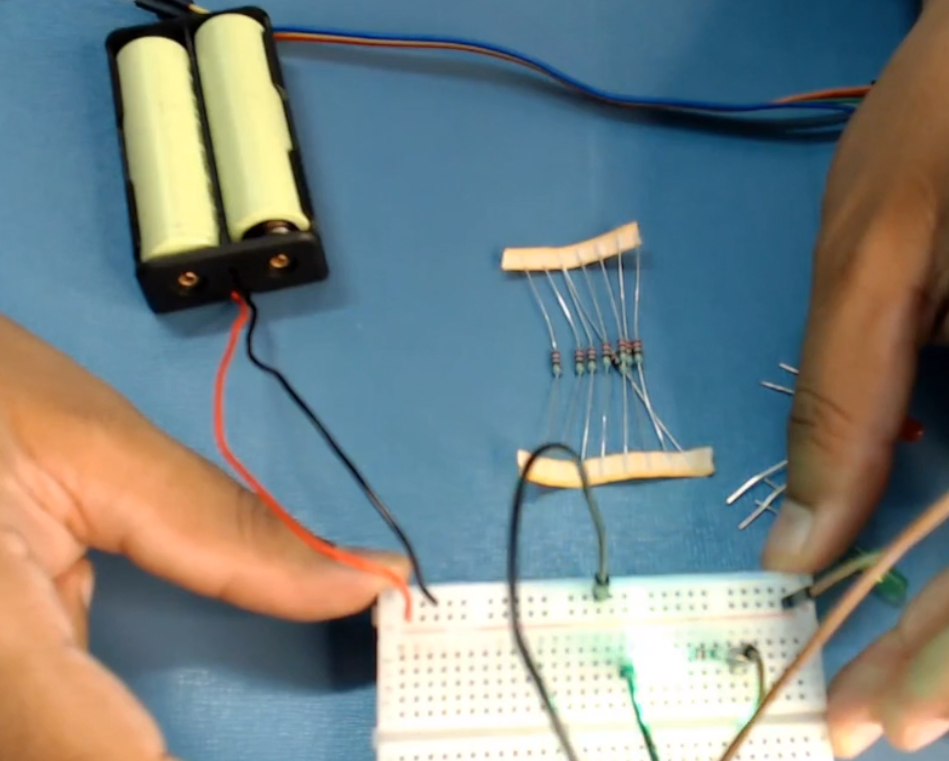
Step 2: Assembly
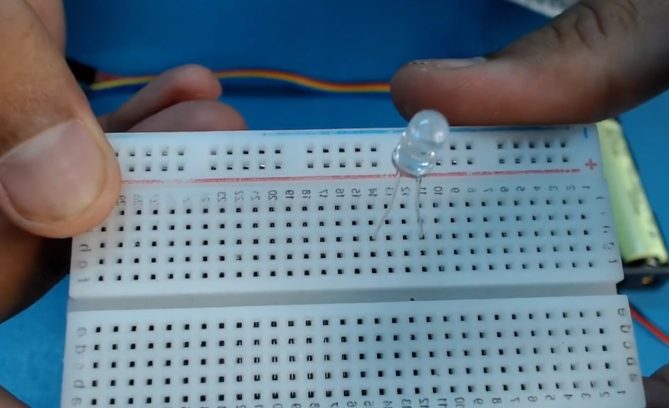
- Assemble all the components required.

- Insert LED on the breadboard.
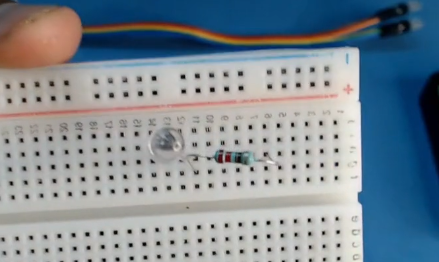
- Connect a Resistor with the LED
- Connect the jumper wire from the LED and resistor to the positive and negative rail on the breadboard.
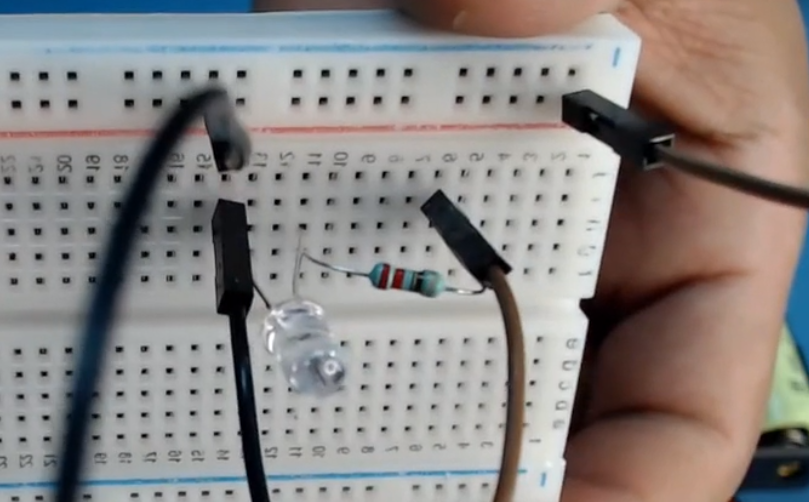
- Power up the breadboard by providing positive and negative supplies from the battery.
That’s all for this project. Hope you understood how to make a basic LED circuit on a Breadboard. All you got to do is follow the simple steps mentioned above and you are done.
