About This Project
In this project tutorial, we will learn home automation using Arduino and how to automate home appliances using mobile phones.
Project Info
- Programming Platform: Arduino IDE
- Difficulty: Intermediate
- Estimated Time: 3 Hr
- Category: Arduino
- Tags: Bulb Holder, Bulb, Bluetooth, Arduino, 2 channel Relay, twisted wire, Jumper Wires.
Watch the video for home automation using Arduino and Bluetooth here.
Introduction
This tutorial is about making home automation using Arduino and Relay as the main components. Household appliances like TV, Refrigerator, washing machines, Light bulbs and many more can be controlled by this simple project. It is a fun, interesting, and worthwhile project.
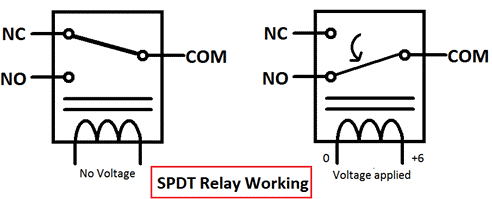
Two-channel relay: A relay is an electrical switch that can be controlled with high voltage with a very little electrical signal. It is a touchless switch operated automatically within itself when voltage is present. It is in the OFF state in the normal condition, and when a voltage is experienced it will automatically be turned ON.
Bluetooth: Bluetooth Module is a wireless communication module that can transmit and receive data between two devices. It is a device that works under the Host Controller Interface(HCI). We will be using Bluetooth home automation using Arduino.
Arduino: Arduino is an open-source programmable electronics platform that is based on easy-to-use hardware and software. It is a well-known component for building electronics and robotics projects. It works together with a piece of software called Arduino IDE (Integrated Development Environment) that runs on the computer to write a program and upload it to the Arduino board. Its operating voltage is ranging from 3.3v to 5v.
Components Required
| Sr.no. | Image | Component | Quantity |
|---|---|---|---|
| 1 | 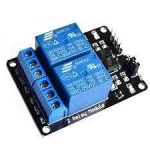 |
Two-channel Relay | 1 |
| 2 | 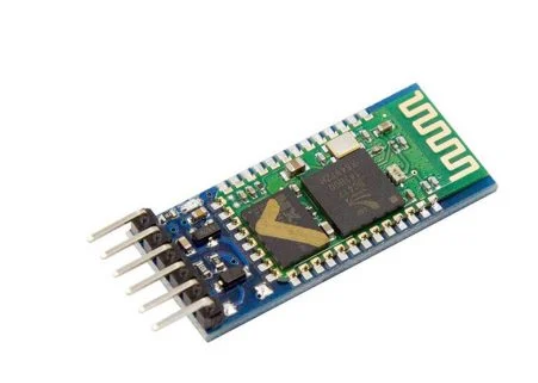 |
Bluetooth | 1 |
| 3 |  |
Jumper Wires | As Per Requirement |
| 4 |  |
Bulb | 1 |
| 5 |  |
Bulb Holder | 1 |
| 6 |  |
Twisted Wire | 1 |
| 7 |  |
Arduino | 1 |
| 8 |  |
Mobile | 1 |
Building Guide
Step 1: Relays
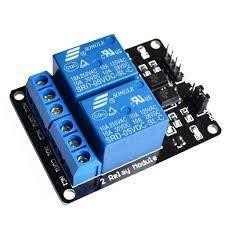
Specifications of relay
- 5V TTL control signal.
- Maximum AC current and voltage: 10A 250VAC.
- Maximum DC current and voltage: 10A 30VDC.
- The 5V relay used in this example has 4 pins that are to be connected with Arduino . These pins are GND, VCC and Signal 1,Signal 2.
- The module also has an on board LED that glows whenever NO and COM gets connected.
Connections between Relay and Arduino
- +5V(Arduino) to VCC(Relay)
- GND(Arduino) to GND(Relay)
- Digital Pin 8(Arduino) to IN1(Relay)
- Digital Pin 9(Arduino) to IN2(Relay)
Step 2: Connections between Bluetooth Module and Arduino
- +5V(Arduino) to +5V(Bluetooth)
- GND(Arduino) to GND(Bluetooth)
- RX(Arduino) to TX(Bluetooth)
- TX(Arduino) to RX(Bluetooth)
Circuit diagram
The image below shows the circuit diagram of the relay with Arduino for controlling an electrical bulb. Here VCC and GND of the relay are connected to 5V and GND of Arduino respectively and the Signal pin is connected to digital pin 13 on Arduino.
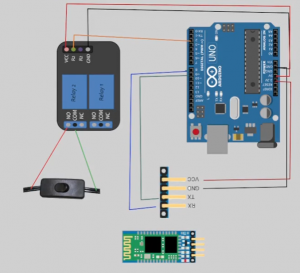
You can use the AC supply plug available in your home to power the bulb. There are two wires, connect one to the COM of the relay and one directly to the bulb holder.
Step 3: Code
- Setting the pins.

- GIve command for connecting Bluetooth.

- After connecting the Bluetooth, apply the logic to turn on and to turn off the bulb.

After Applying the logic, send data 1 to turn on and send data 0 to turn off the Bulb.
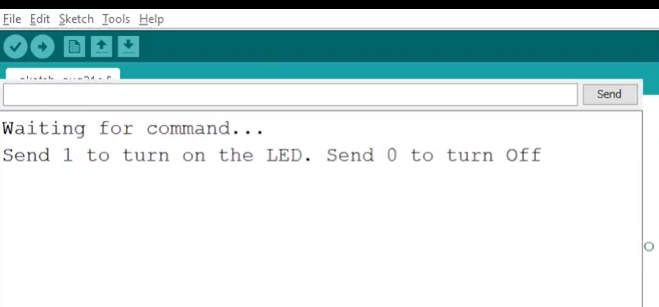
The following code will help you to make home automation using Arduino
With this, we have come to an end of home automation using Arduino project. Hope you like the project.
Code
Description
Download Code


