
About This Project
In this tutorial, we will learn how to create a Distance Calculator and distance measurement using arduino
Project Info
- Programming Platform: Arduino IDE
- Difficulty: Intermediate
- Estimated Time: 1 Hr
- Category: Arduino
- Tags: Ultrasonic Sensor, Resistor, Buzzer, Arduino, Breadboard, and Jumper wire.
Watch the video for distance measurement using an ultrasonic sensor here.
Introduction
Ultrasonic Distance Measurement is fast becoming a useful tool in measuring the distance, positioning, locating, dimensioning, checking the water level, and much more. These sensors are used to measure small distances without making any physical contact. Regardless of shape, colour, or surface texture, these can measure the distance to a wide range of objects. Other than this, these sensors can also measure an approaching or receding object.
The ultrasonic sensors use the concept of ECHO to measure the distance. In this project, we’ll learn how to interface HC-SR04 ultrasonic sensor modules with Arduino and measure the distance which can be displayed on the LCD i.e. distance measurement using arduino
Arduino
Arduino is an open-source programmable electronics platform that is based on easy-to-use hardware and software. It is a well-known component for building electronics and robotics projects. It works together with a piece of software called Arduino IDE (Integrated Development Environment) that runs on the computer to write a program and upload it to the Arduino board. Its operating voltage is ranging from 3.3v to 5v.
Buzzer
Buzzer is a mini speaker that produces a beeping sound when the required voltage flows across its positive and negative terminals. Its operating voltage is ranging from 3.3v to 5v.
The buzzer is widely used in electronics projects such as security alarms, warning alarms, anti-theft, and many more.
Resistor
The resistor is an electronic component that opposes the flow of electric current. Its unit is Ohm (Ω).
We will be using the above-listed components for distance measurement using Arduino project
Project: Making Distance Measurement Using Arduino and Ultrasonic Sensor
Components Required
| Sr. no. | Image | Component | Quantity |
|---|---|---|---|
| 1 | 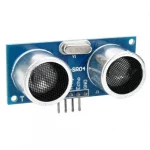 |
Ultrasonic Sensor | 1 |
| 2 |  |
Resistor | 1 (220 ohm) |
| 3 |  |
Jumper Wires | As Per Requirement |
| 4 | 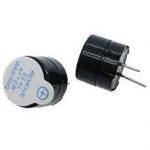 |
Buzzer | 1 |
| 5 | 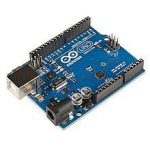 |
Arduino | 1 |
| 6 |  |
USB cable A to B | 1 |
| 7 |  |
Battery | 1 |
| 8 |  |
Breadboard | 1 |
Building Guide
Step 1: Assembly
- Start by assembling all the components required for the project.
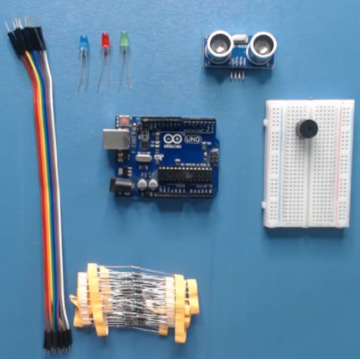
- Now, connect the Ultrasonic sensor with the Arduino.
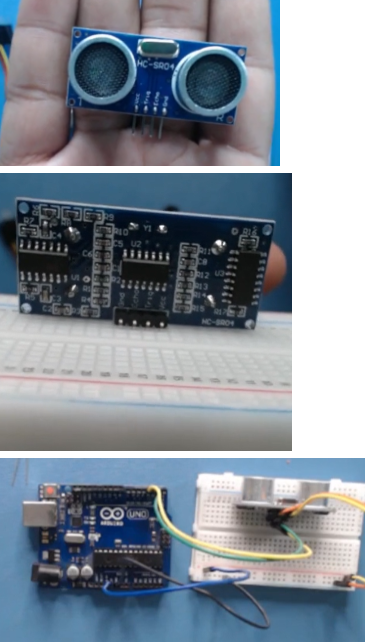
- Add LEDs to determine if the object is far or near.
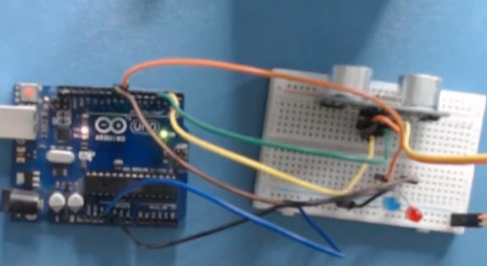
Step 1: Circuitry of the Robot
- Power the components
- Power up the Ultrasonic sensors
- VCC to 5V
- GND / to GND
- Trigger to 3
- Echo to 2
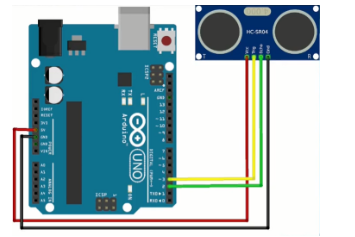
- Connecting the LED (RED)
- Positive to digital pin 8
- Negative to GND.
- Connecting the LED (BLUE)
- Positive to digital pin 9
- Negative to GND.
Step 3: Logic
- If the ultrasonic sensor detects an object in the range of 10cm then the red led will grow.
- Otherwise, the blue LED will grow if the distance is greater than 10cm.
Step 4: Code
- Include the library of the ultrasonic sensor.
- Go to Sketch → Include Library → Manage Libraries.
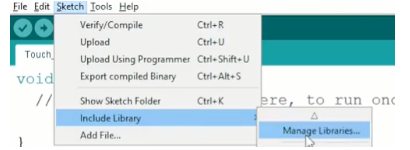
- Search for the ultrasonic sensor and install the library.
- Go to Example → Ultrasonic → Ultrasonic simple.
- Open the ultrasonic simple sketch.
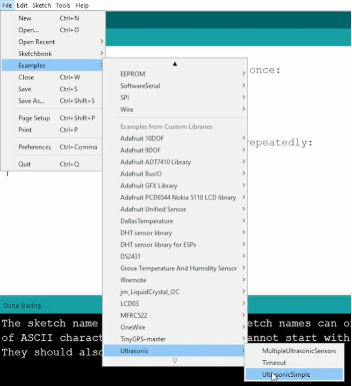
- Start by including the library and declaring an ultrasonic object.

- Read or fetch the value from the ultrasonic sensor and show it on the serial monitor

- Now using the conditional operator, turn on and off an LED by identifying whether an object is close or far.
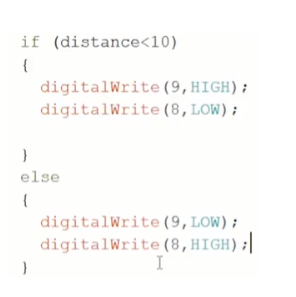
The following code will help you to make a Distance Measurement Using Arduino and Ultrasonic Sensor.
Code
Description
Download Code
Libraries
Description
Download Code
When done, we will be able to see the distance measured displayed on the LCD. Did you try working on distance measurement using Arduino project? Was this tutorial helpful? Let us know about your project or queries if you have any.

