

About This Project
In this project, we will be making a Capacitive-Touch Arduino Keyboard Piano.
Project Info
- Programming Platform: Arduino IDE
- Difficulty: Intermediate
- Estimated Time: 1 Hr
- Category: Arduino
- Tags: Capacitive touch, buzzer, Arduino, Breadboard, Resistor, Battery and jumper wire.
Watch the video for the capacitive touch Arduino keyboard piano here.
Introduction
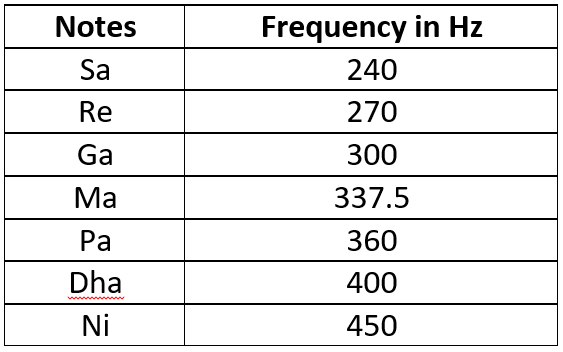
In this project, we will make an eight-key DIY piano using capacitive touch. The sound will be generated using a buzzer. We will generate 8 basic tones (Sargam)- Sa, Re, Ga, Ma, Pa, Dha, Ni, Sa in Hindi. You will need the frequency of each note to make a DIY capacitive-touch arduino keyboard piano.
Capacitive Touch Sensor: The capacitive Touch Sensor is a type of sensor that contains two electrode conductors with an insulator between them. These electrode conductor’s plates act as a capacitor with a capacitance value ‘0’. When the conductor’s plates come in contact with our fingers, it acts as conductive object and starts to flow electric current.
Arduino: Arduino is an open-source programmable electronics platform that is based on easy-to-use hardware and software. It is a well-known component for building electronics and robotics projects. It works together with a piece of software called Arduino IDE (Integrated Development Environment) that runs in the computer to write a program and upload to the Arduino board. Its operating voltage is ranging from 3.3v to 5v.
On the basis of constructions, Arduino has three different types viz. Arduino Nano, Arduino Uno and Arduino Mega. All three boards have different numbers of Input and Output Pins regardless of the same working principles. The Arduino IDE is a simplified version of the C++ programming language, and it is easier to learn to program. The central part of an Arduino board is the Microcontroller which is responsible for Input/Output, Read/Write, storing data, and most importantly processing.
Buzzer: The buzzer is a mini speaker that produces a beeping sound when the required voltage flows across its positive and negative terminals of it. Its operating voltage is ranging from 3.3v to 5v. It is widely used in electronics projects such as security alarms, warning alarms, anti-theft and many more.
Components Required
| Sr. no. | Image | Component | Quantity |
|---|---|---|---|
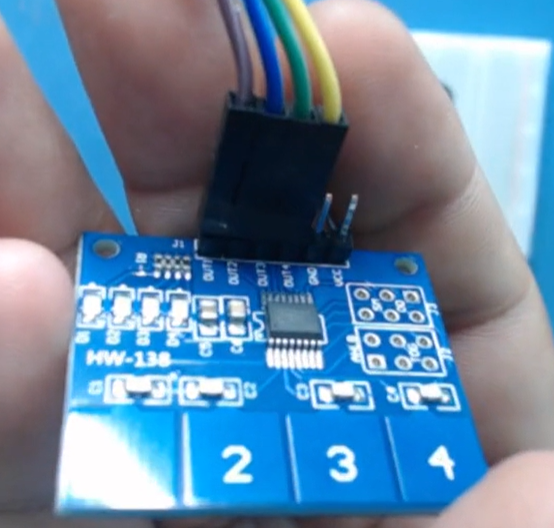
| 1 |  |
Capacitive Touch Sensor | 1 |
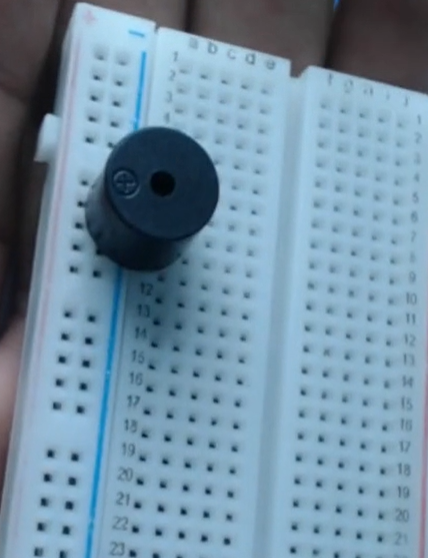
| 2 | 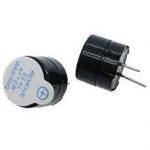 |
Buzzer | 1 |
| 3 | 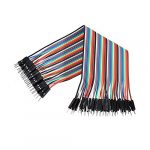 |
Jumper Wires | As Per Requirement |
| 4 | 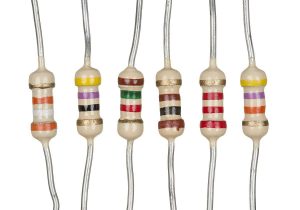 |
Resistor | 1 |
| 5 |  |
Arduino | 1 |
| 6 |  |
USB cable A to B | 1 |
| 7 | 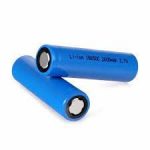 |
Battery | 1 |
| 8 | 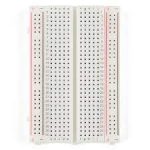 |
Breadboard | 1 |
Building Guide
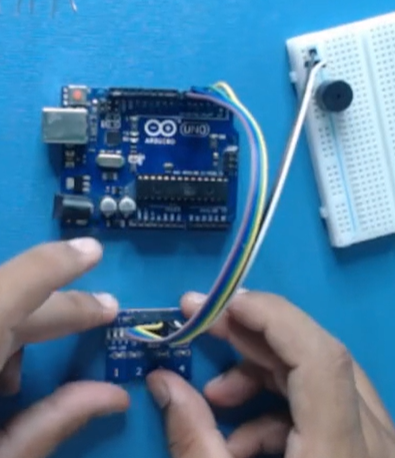
Step 1: Assembly
- Start by assembling all the components for capacitive-touch Arduino keyboard piano project
- Put the Buzzer on the breadboard.
- Capacitive touch sensor signal pin is connected to Arduino digital pin.
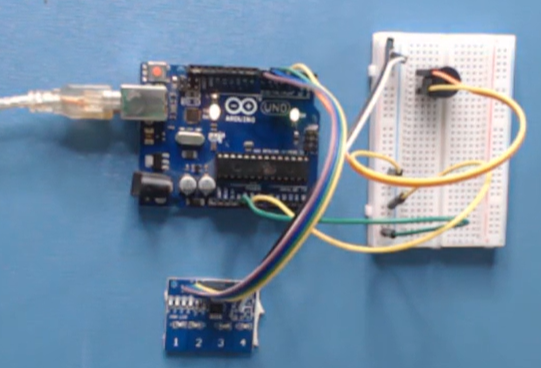
Step 1: Circuitry of the Robot
- Powering the components
- Powering the capacitive touch sensor with Arduino.
Step 2: Coding
Now Start coding pin declaration Arduino pins for capacitive touch sensor and Buzzer.
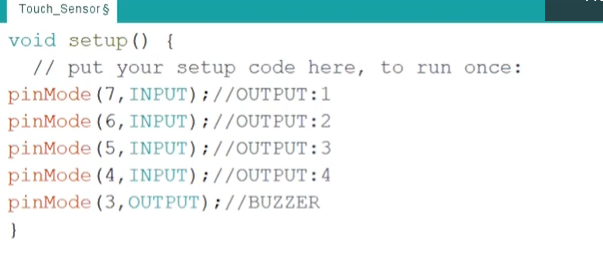
- After pin declaration, apply logic and set frequency tone on Arduino pins.
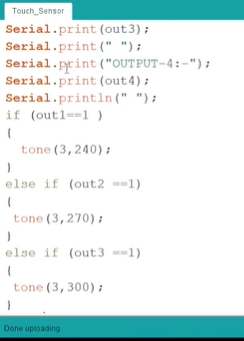
- Now connect a USB cable in Arduino and select Board and port, upload the code.
The following code will help you to make Capacitive-Touch Arduino Keyboard Piano Code.
Code
Description
Download Code
