

About This Project
Learn about LDR (Light Dependent Resistor), the working of these circuits, and how we can make circuits using LDR.
Project Info
- Difficulty: Beginner
- Estimated Time: 30 minutes
- Category: Snap Circuit
- Tags: LDR, Light Dependent Resistor
What is Light Dependent Resistor?
LDR, also known as photoresistor is a device that is made up of high resistance semiconductor material. This electronic component is responsive to light, when light falls on it, then the resistance decreases, and it increases in the dark. When an LDR is kept in a dark place, its resistance is high and, when the LDR is kept in the light, its resistance will decrease.
Light Dependent Resistor Symbol
LDR symbol is similar to Resistor symbol. The only difference is that it has inward arrows. These arrows indicate the light signal.

Types of Light Dependent Resistor (LDR)
Based on the materials used to construct, LDR is categorized into two types. Intrinsic photoresistors and Extrinsic photoresistors. Intrinsic photoresistor is made of un-doped pure semiconductor materials like silicon or germanium while Extrinsic photoresistors is made of semiconductor of materials doped with impurities. These photoresistors are used for long wavelengths.
Advantages of Light Dependent Resistor (LDR)
- The Light Dependent Resistors have high sensitivity.
- Inexpensive electronic components with no union potential.
- Their light-dark resistance ratio is high.
Applications of Light Dependent Resistor (LDR)
LDRs are simple and low-cost electronic devices used in situations where there is a need to sense the presence and absence of light is necessary. These devices can be used as light sensors and can be used in different devices like alarm clocks, street lights, and light intensity meters, etc.
Project: What is Light Dependent Resistor(LDR): Circuit & Its Working
We now have a fair idea of the project and the components used. Let’s now start the project.
Components Required
|
|---|
Overview Of The Components Used
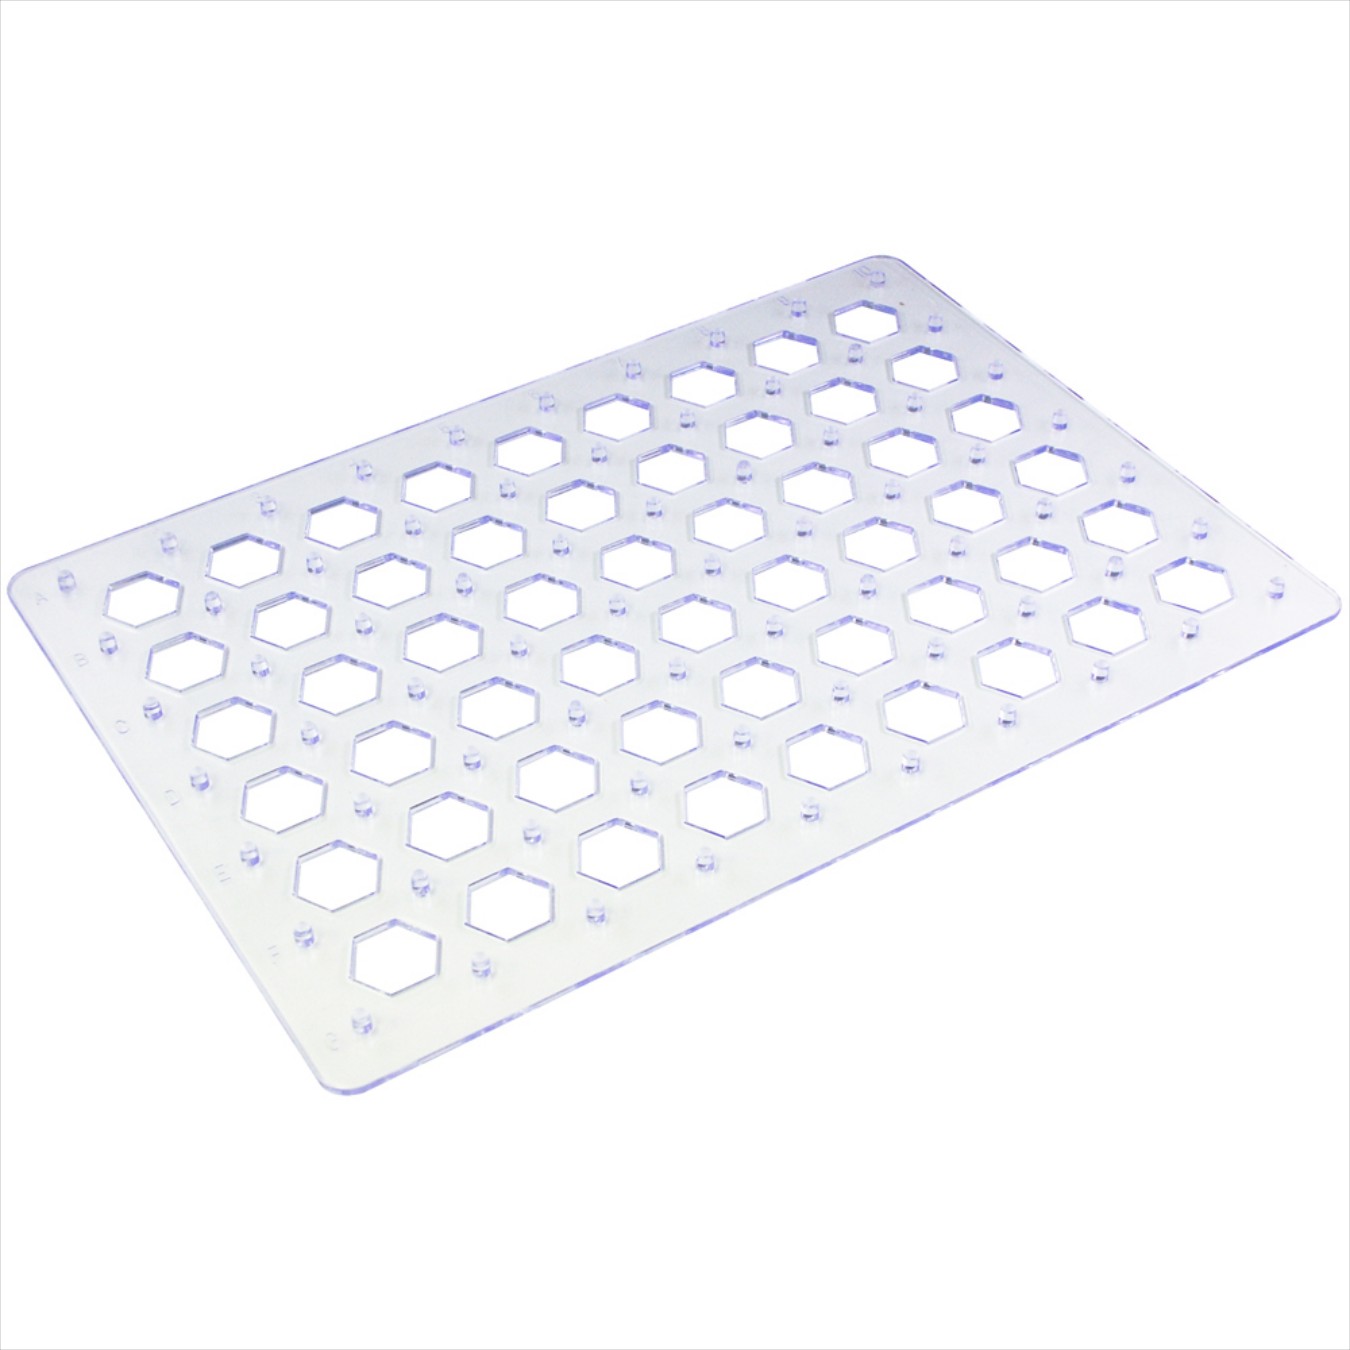
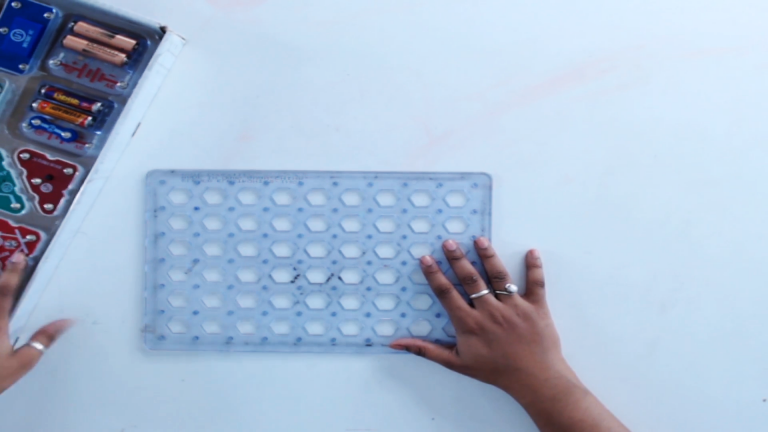
- Base Grid: The base grid works like the printed circuit boards that are found in most electronic products. It is a platform that is used to mount the parts and wires for circuit building.
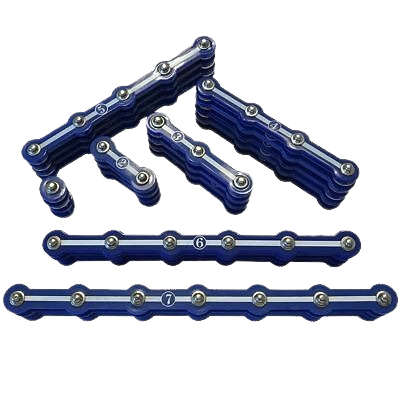
- Snap Wires: The blue snap wires are the wires used to connect one component with another component. These wires are used to transport electricity. Snap wires come in different lengths so that the orderly arrangement of connections can be made on the base grid. These wires have numbers 1,2, 3, 4, 5 on them depending on the length of the wire connection required.
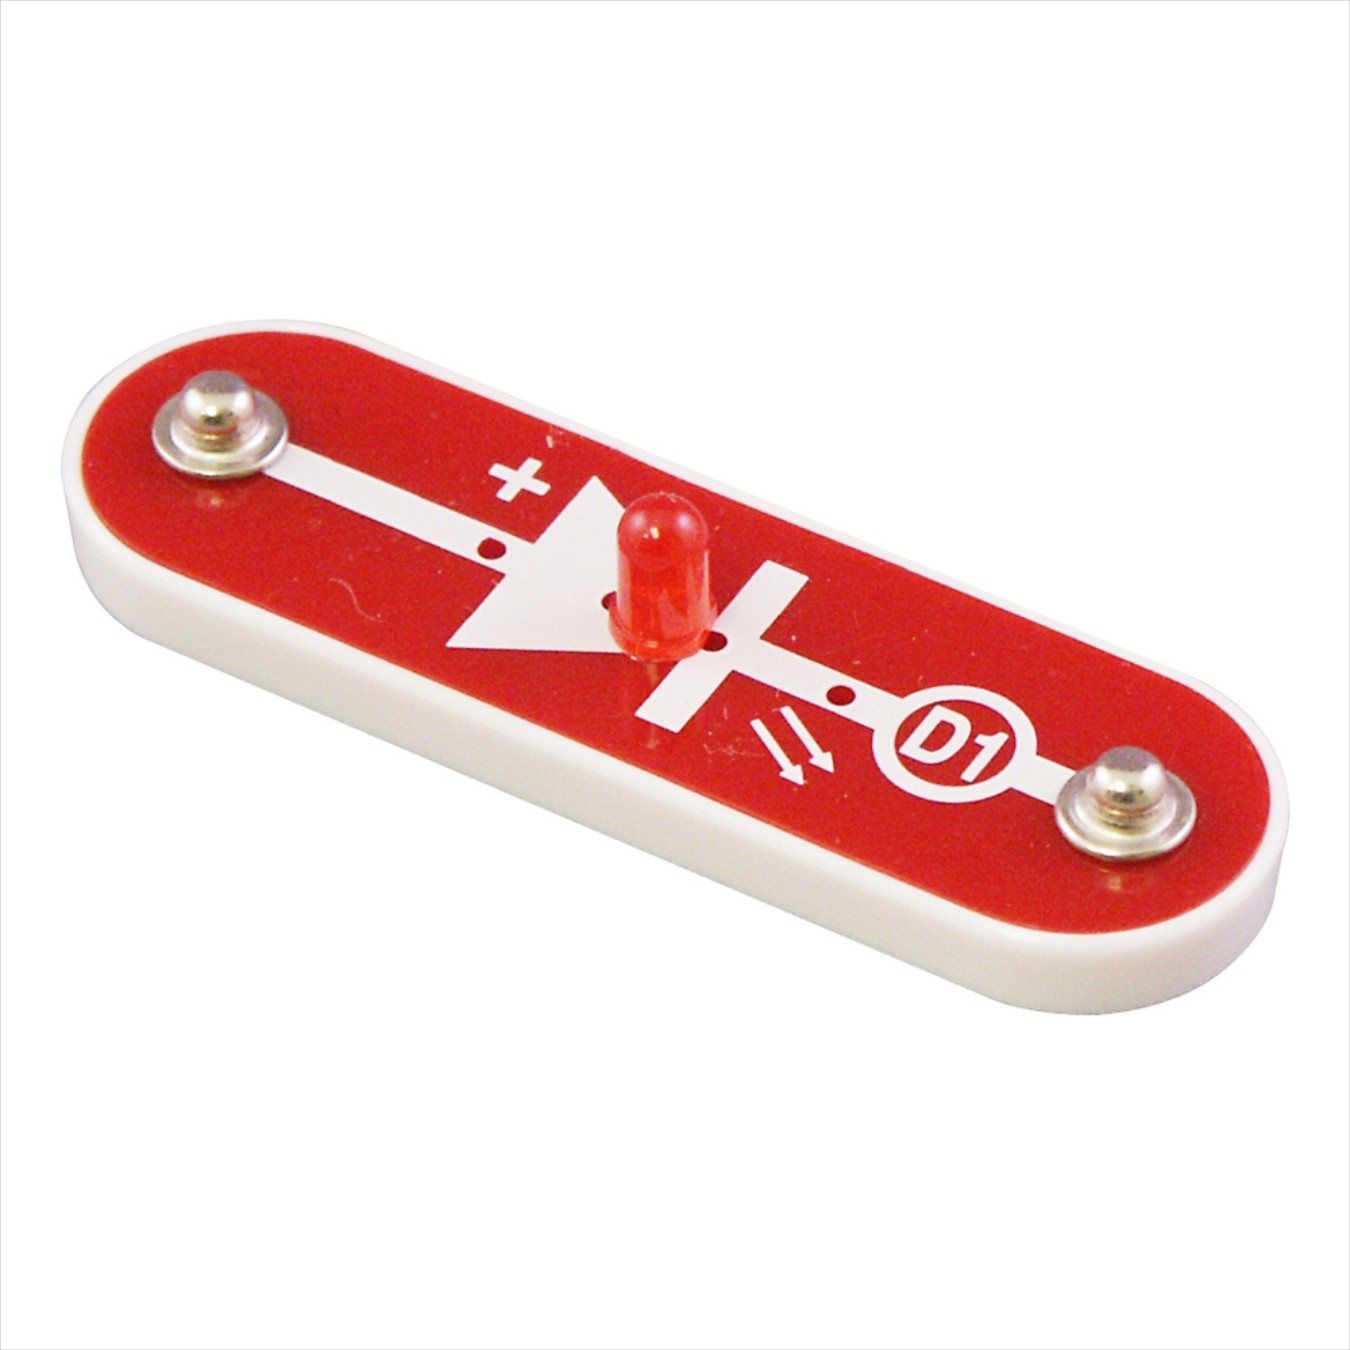
- LED: LED (light-emitting diode) is a semiconductor device that emits light when an electric current flows through it. When current passes through an LED, the electrons recombine with holes emitting light in the process. LEDs allow the current to flow in the forward direction and blocks the current in the reverse direction.
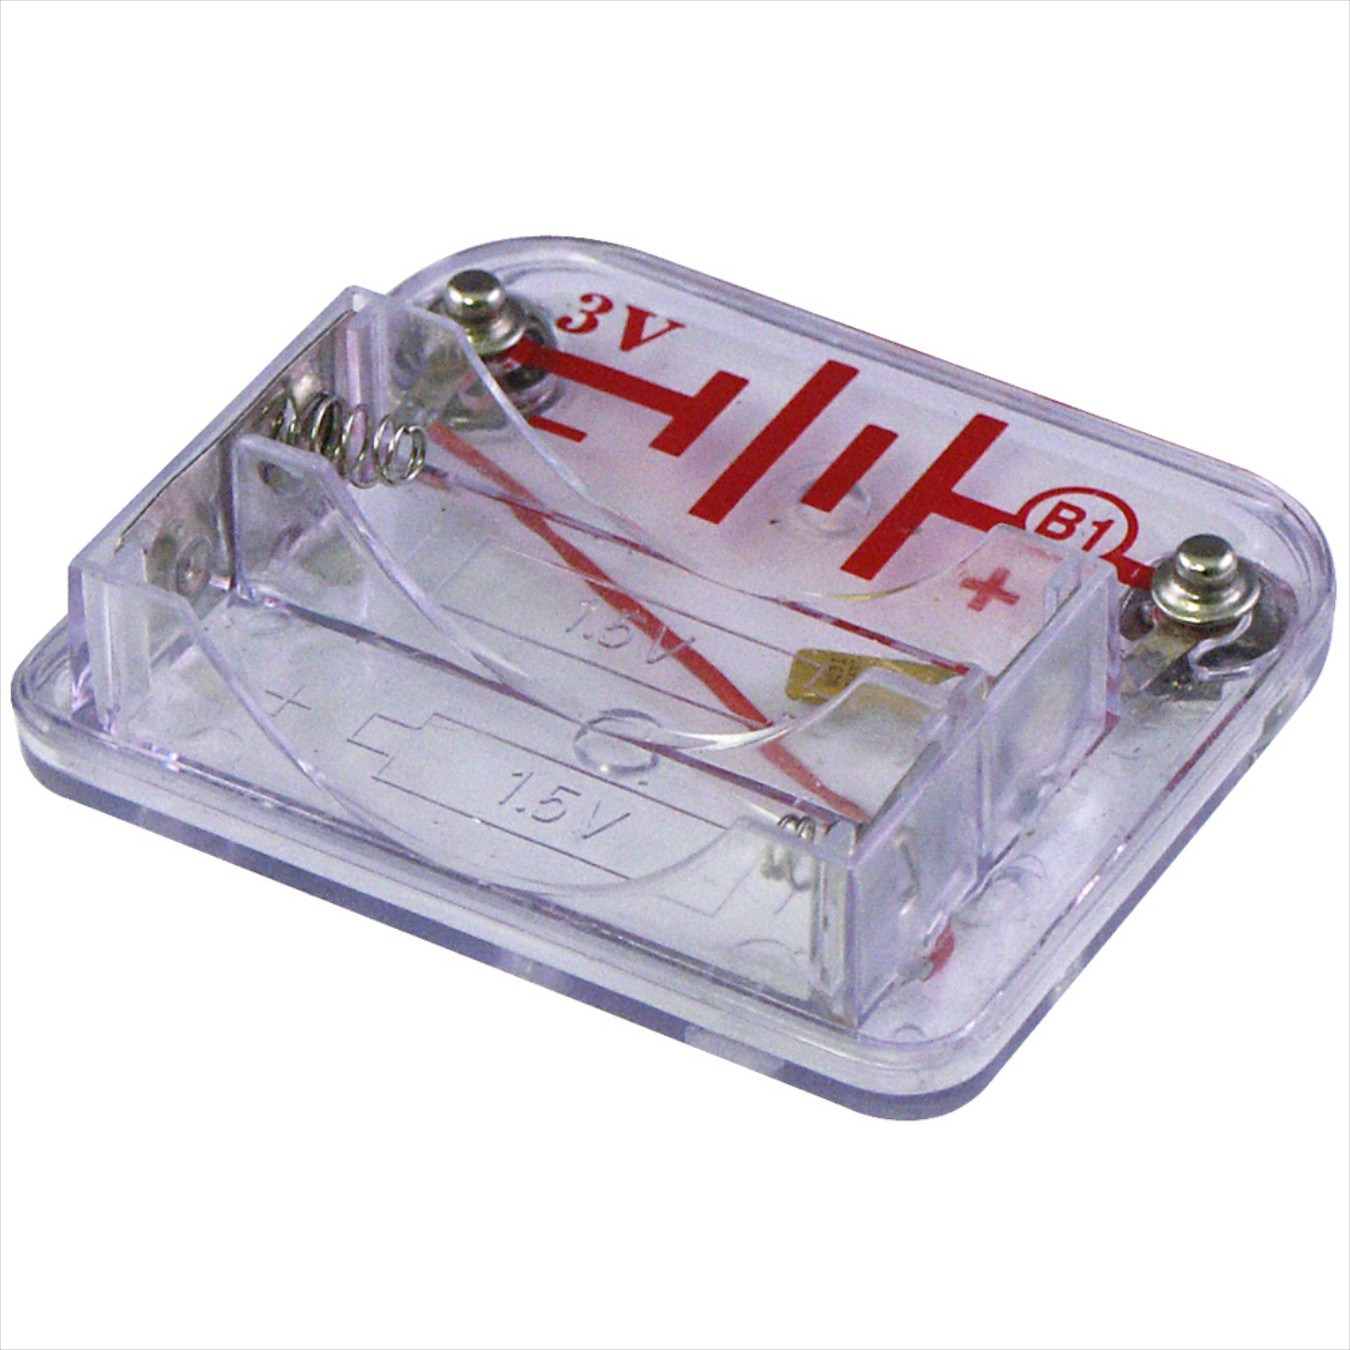
- Batteries: Only 1.5V AA-type alkaline batteries should be used for the project. You should insert batteries with the correct polarity. The batteries are non-rechargeable and should not be recharged. Check for old and new batteries, you should not mix the old and new batteries.
Building Guide
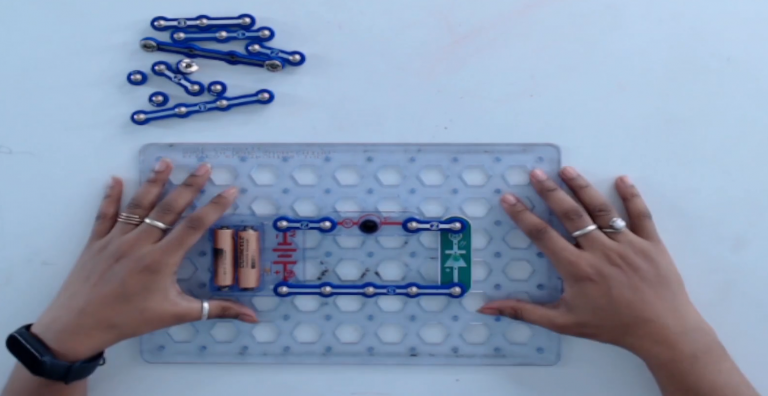
Step 1: Place the snap circuit base grid on the floor or on the table.
Step 2: Get ready with all the necessary components from the snap circuit kit.

Step 3: Connect the LDR and LED in series with the battery (power supply). We can see that the LED is in an OFF state due to the high resistance. To light up the LED, light beam/ray should fall on the LDR.
Step 4: To light up the LED, take a torch or a phone and torch on the surface of the LDR.
Now, we can see the LED is lit up. When we turn OFF the torch, the LED will also turn OFF because it depends on the LDR. We have tried to explain to you what is LDR, how it works, and how can we make the circuits. Hope you enjoyed the tutorial. Stay tuned for more such exciting projects.
