

About This Project
In this tutorial, we will learn how to create a Smart Night Lamp Using Arduino.
Project Info
- Programming Platform: Arduino IDE
- Difficulty: Intermediate
- Estimated Time: 1 Hrs.
- Category: Arduino
- Tags: Breadboard, LDR Sensor, Jumper wires, and LEDs
Watch the video here.
Introduction
LED: LED (light-emitting diode) is a semiconductor device that emits light when an electric current flows through it. When current passes through an LED, the electrons recombine with holes emitting light in the process. LEDs allow the current to flow in the forward direction and blocks the current in the reverse direction.
Jumper Wire: A jump cable is an electrical cable, or group of them in a cable, with a connector or legs at each end, which is typically used to connect the components of a breadboard or other prototype or experiment.
Battery: A battery is a device that converts chemical energy contained within its active accouterments directly into electric energy by the expedient of an electrochemical oxidation-reduction (redox) response. This type of response involves the transfer of electrons from one material to another via an electric circuit.
What is LDR?
LDR, also known as photoresistor is a device that is made up of high-resistance semiconductor material. This electronic component is responsive to light, when light falls on it, then the resistance decreases, and it increases in the dark. When an LDR is kept in a dark place, its resistance is high and, when the LDR is kept in the light, its resistance will decrease.
Building a Smart Night Lamp involves the use of a sensor called LDR (Light Dependent Resistor). The sensor works as a short circuit when light falls on it and acts as an open circuit when it is dark or in the absence of light. With the help of Arduino and LDR we will make a Smart Night Lamp in this tutorial.
Project: How to create a Smart Night Lamp Using Arduino.
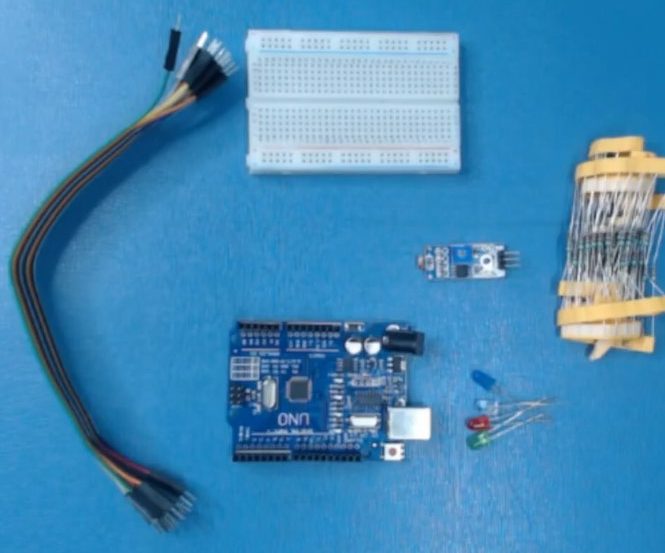
Components Required
| IMAGE | COMPONENT | QUANTITY |
|---|
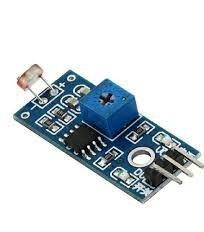
LDR Sensor
1
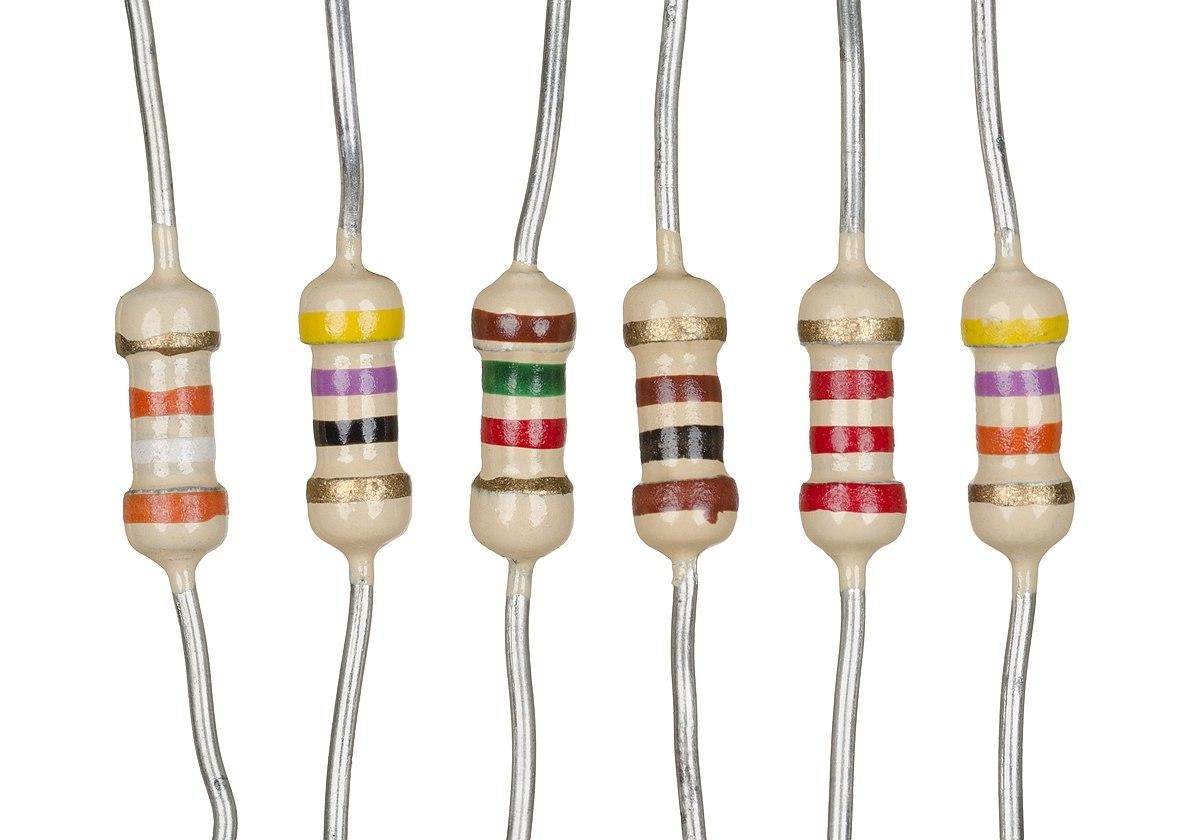
Resistor (220 ohm)
1
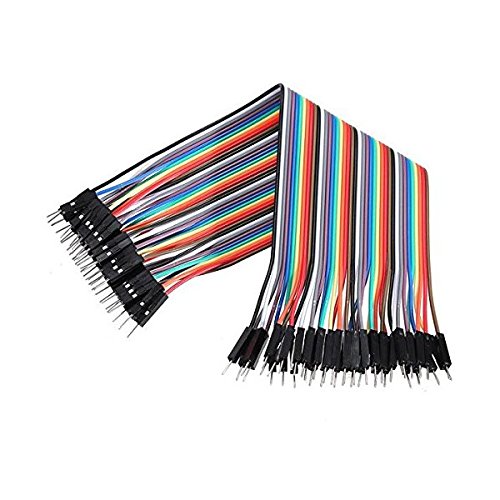
Jumper Wires
As Per Requirement
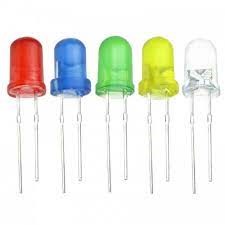
LED’s
1
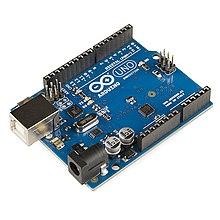
Arduino
1

USB cable A to B
1
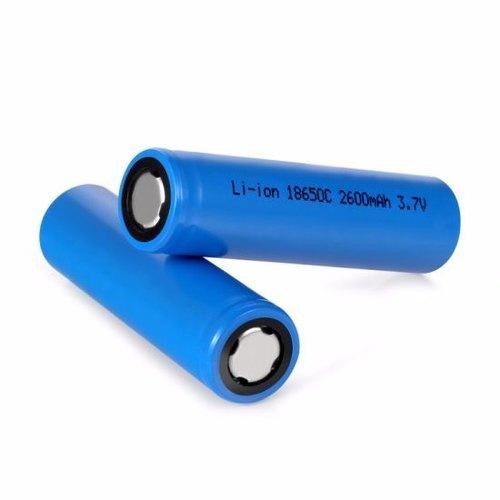
Battery
1
Building Guide
Step 1: Assembly
- Start by assembling all the components.
- Connect the LDR sensor to the breadboard.
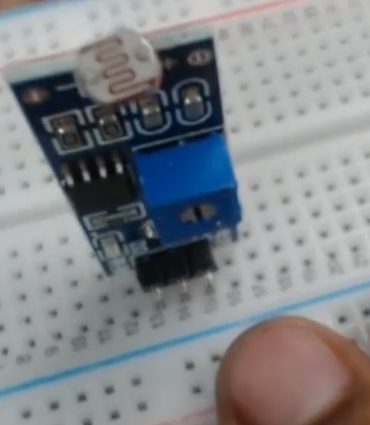
- Power up the LDR Sensor using a breadboard.
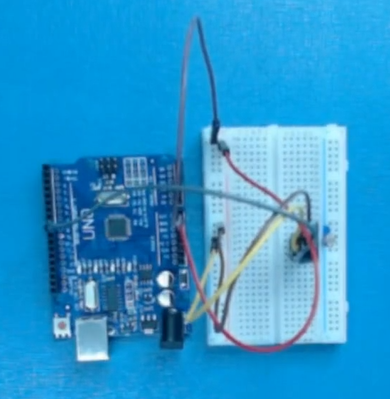
Step 1: Circuitry of the Robot
- Powering the components
- Powering the LDR sensors
- VCC to 5V
- GND / to GND
- Output to digital pin 8
- Connecting the LED
- Positive to LDR output
- Negative to GND
Step 2: Calibrating LDR sensor
- To test the LDR Sensor and ensure that it is working correctly connect the VCC to a 5v power source and GND. Move an object in front of the LDR sensor and the D0-LED should light up.
Step 3: Logic
- If the sensor senses light intensity and shows the fetched data in the serial monitor.
- And if the reading value reaches the threshold value then the LED will turn on and else it will be off.
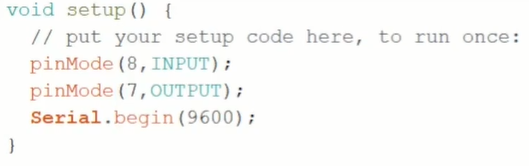
Step 4: Code
- Start by declaring the pins we are using.
- Fetching the values and showing them in the serial monitor.
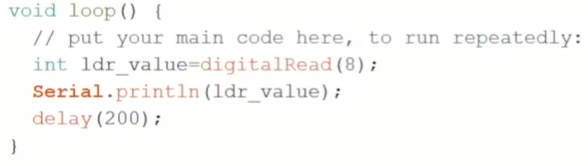

- Applying a conditional operation to control the LED.

The following code will help you in making a smart night lamp.
Code
DESCRIPTION
DOWNLOAD CODE
Smart Night Lamp Using Arduino Code
Making a smart lamp with Arduino is quite an easy project. Do give it a try and let us know if you were able to easily make the project.
