

About This Project
In this project, we will be learning about DC Motor Speed Control And Direction Using Joystick. We can easily control the speed of any motor by using a joystick with the help of Arduino.
Project Info
- Programming Platform: Arduino IDE
- Difficulty: Intermediate
- Estimated Time: 2 Hr
- Category: Arduino
- Tags: Joystick, DC Motor, Motor Driver, Arduino, Jumper Wires, Wheels
Watch the video for DC motor speed control using a joystick here.
Introduction
Joystick is a device that has two directions ‘X’ and ‘Y’. The ‘X’ and ‘Y’ axes are two 10k potentiometers that control 2-dimensional movements by generating analog signals. When the module is in working mode, it will give an output of two analog values, representing two directions.
This module uses the 5V power supply, and the value, when reading through analog input, would be about 2.5V, a value will increase with the movement of the joystick and will go up till the maximum voltage of 5V; the value will decrease when the joystick is moved in another direction till 0v. We can control and manipulate electronics components by calibrating the joystick. So, this tutorial will learn about DC Motor Speed Control And Direction Using Joystick.
Motor Driver (L298D): L298N is a powerful IC, specially made for motors. It works as a motor driver that runs under the voltage ranges from 9v-12v. A motor can run-up to its full torque only when it is connected to the motor driver. As the name suggests, the driver drives the motor when power is connected to it. The IC L298N is widely used in building any kind of project that requires a DC Motor. So, this tutorial will help us know how to connect and run the motor to its full torque.
DC Motor: DC Motor is a motor that will work only in the DC (Direct Current) power supply. It is used in many electronics and robotics projects. This type of motor requires very low voltage ranging from 6v-12v for functioning.
Components Required
| IMAGE | COMPONENT | QUANTITY |
|---|
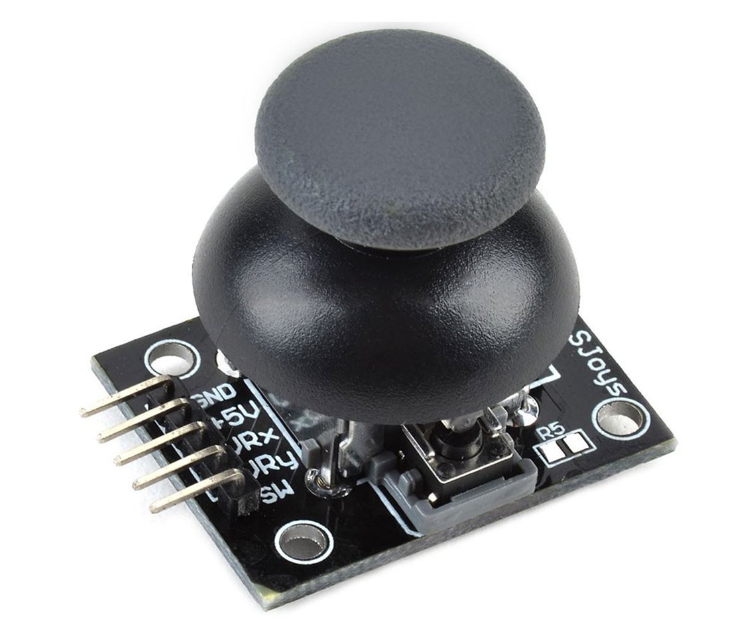
Joystick
1

Motor Driver, L298D
1
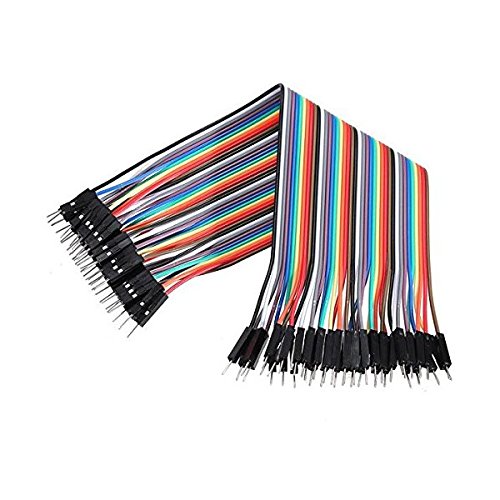
Jumper Wires
As Per Requirement
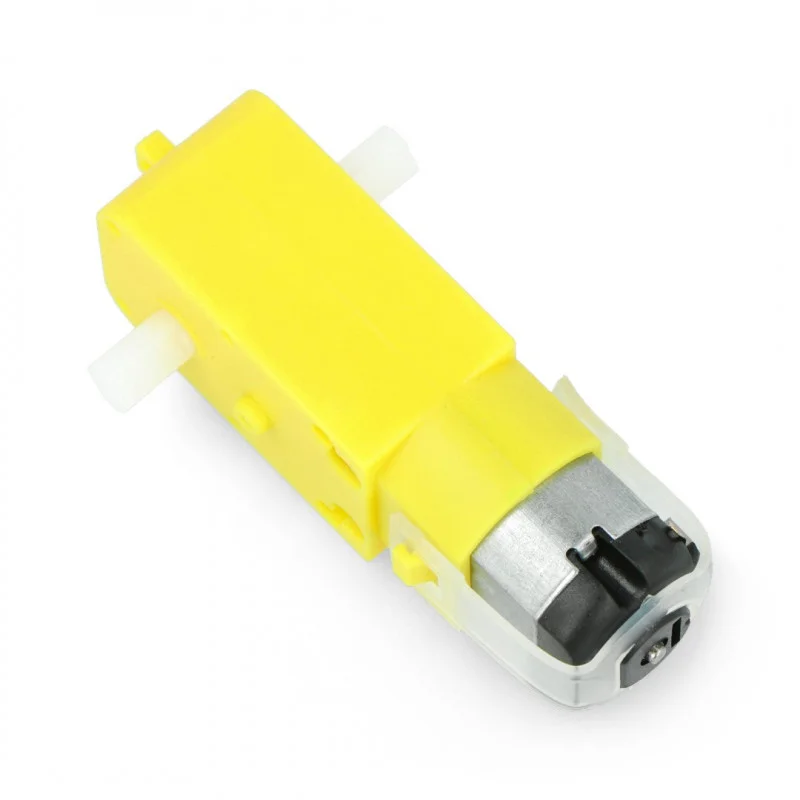
DC Motor, 1:48 gear ratio, 3-6v
1
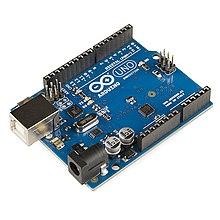
Arduino
1
Building Guide
Step 1: Assembly
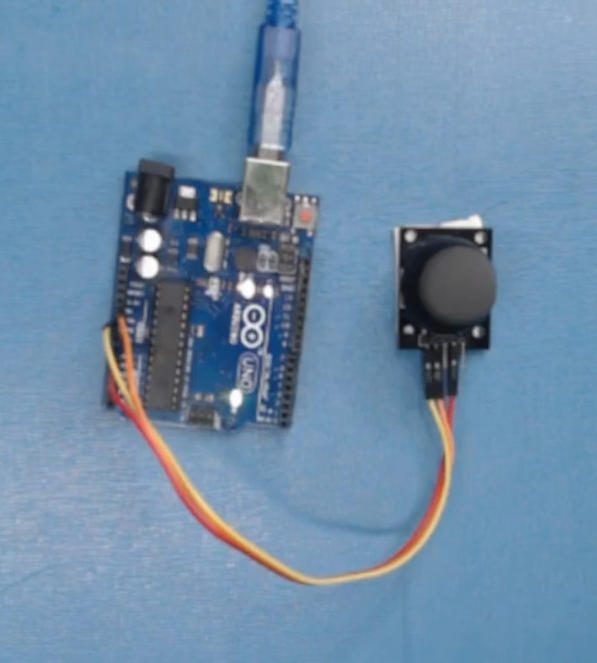
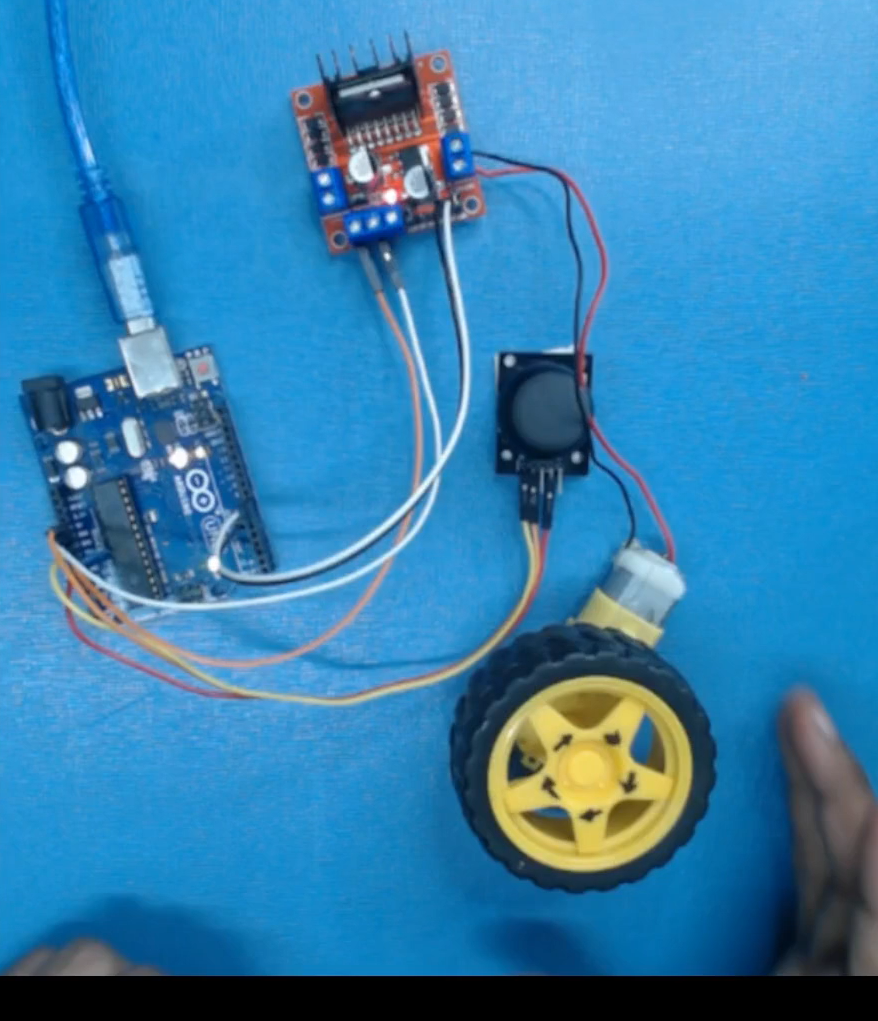
- Gather all the components required for DC motor speed control and direction using joystick project.

Step 2: Circuitry
- VCC to 5V of the Arduino
- GND to GND of the Arduino
- VRy to Pin-A0 of the Arduino
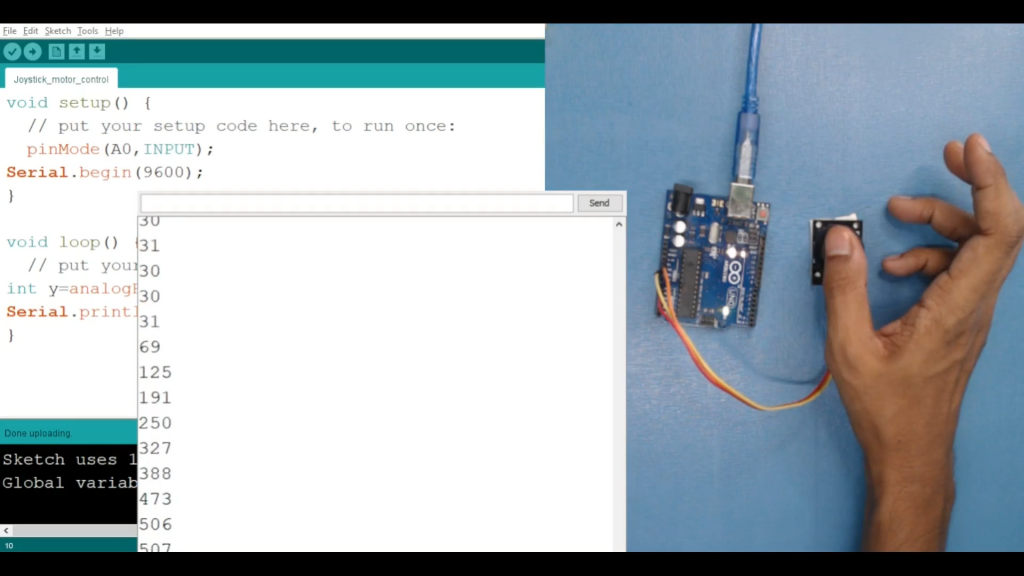
Step 3: Program
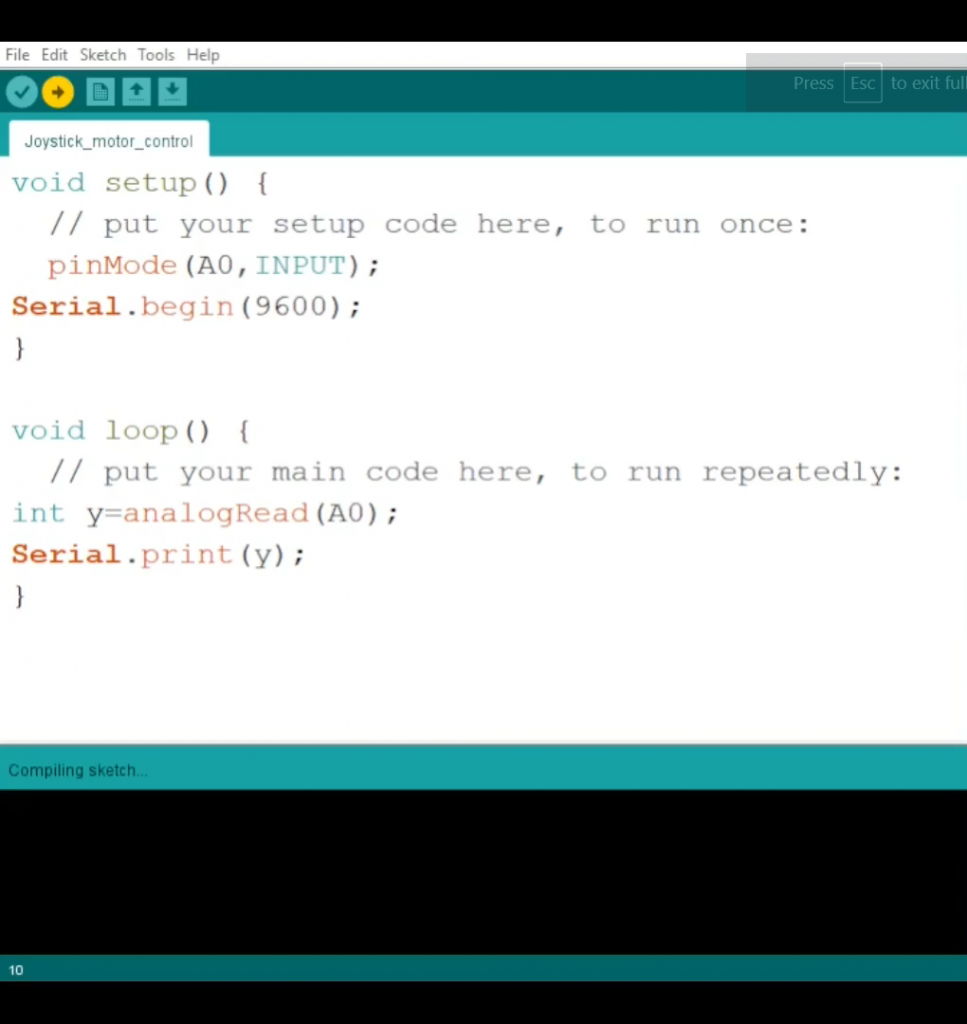
- Upload the code, then you will see the value of the normal condition of the joystick on the serial monitor.
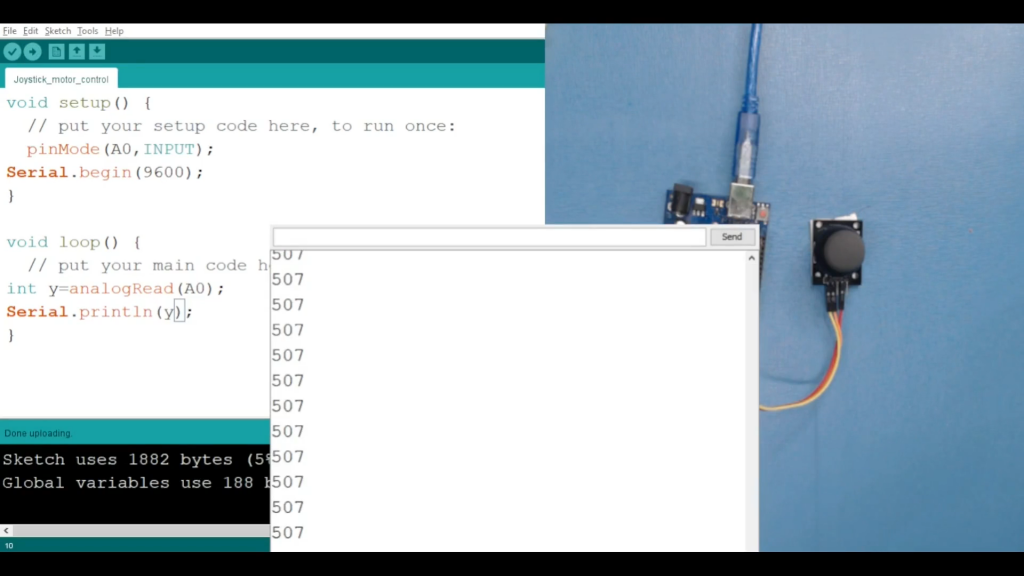
- When you calibrate the joystick to the right side you will see the value is increasing.
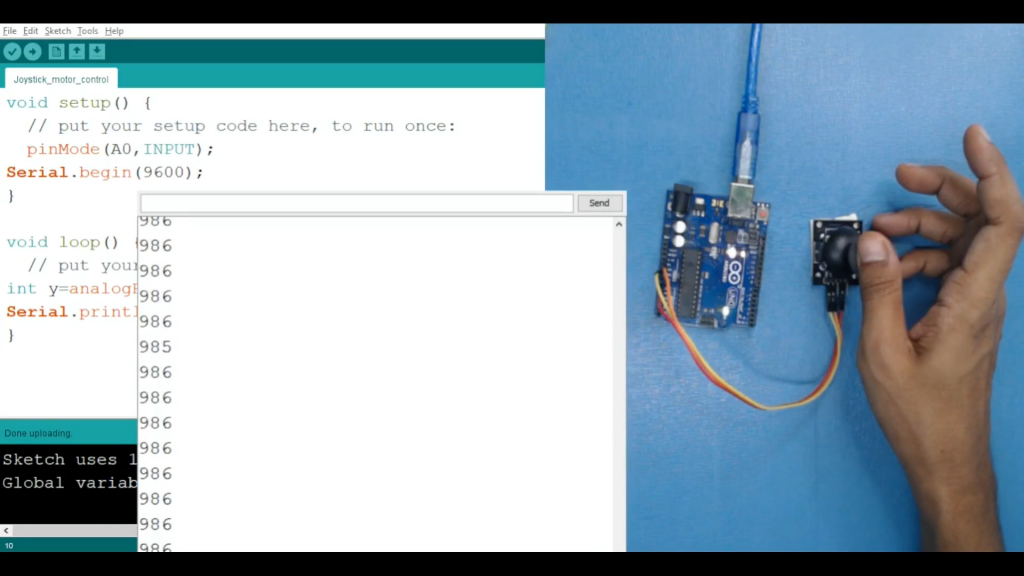
- Likewise, when you calibrate the joystick to the left side you will see the value is decreasing.
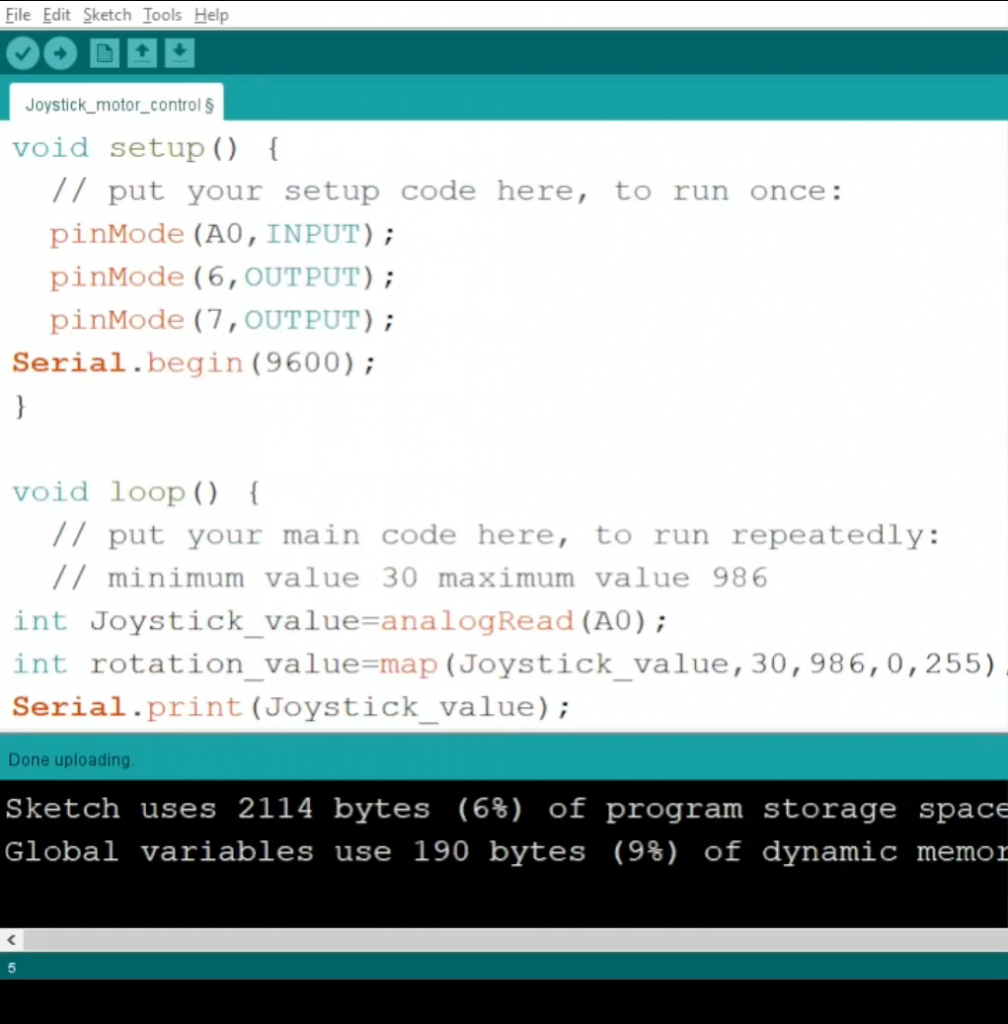
Step 4: After getting the values, make the entire connection to control the speed of the motor. Arduino Digital Pins 6 & 7 to the motor driver Pins 1 & 2, Arduino pins Vin to Motor Driver 9/12v pin, GND to GND pin, motor driver output pin to the DC motor terminals.
CODING:
Open Arduino IDE Software for coding.
Step 5: Upload the code when the coding is done. Now, we can control the speed of the motor by calibrating the Joystick.
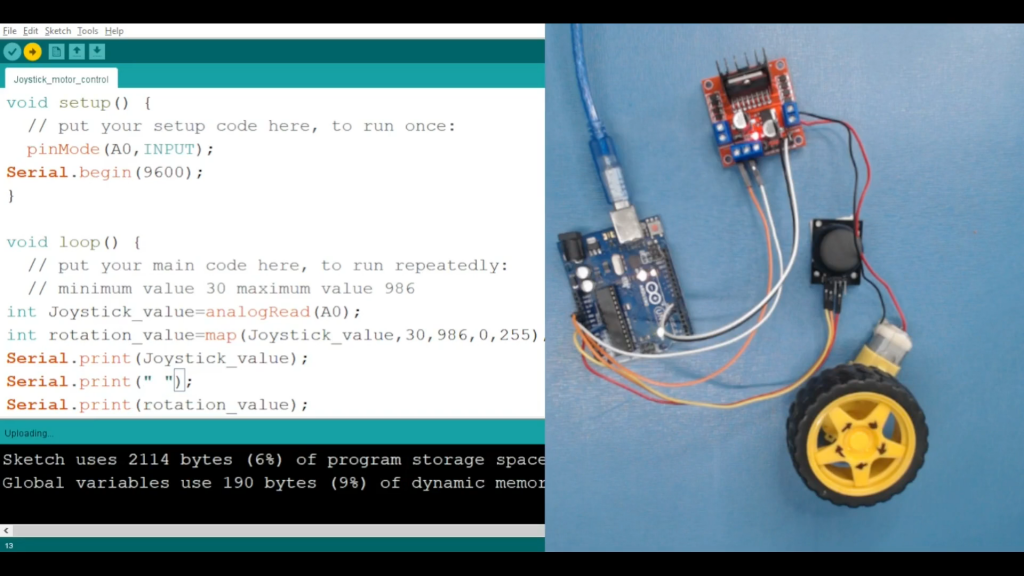
The following code will help you to make DC motor speed control and direction using joystick
Code
DESCRIPTION
DOWNLOAD CODE
DC Motor Speed Control And Direction Using Joystick Code
This marks the end of our DC Motor Speed Control And Direction Using Joystick. If you have any questions regarding the project, you can post them in the comment section below.
