

About This Project
Learn how to create a SMOKE DETECTOR BOT.
Project Info
- Programming Platform: Arduino IDE
- Difficulty: Easy
- Estimated Time: 30 Min
- Category: Arduino
Introduction
MQ2 is one of the commonly used gas sensors in the MQ sensor series. It is a Metal Oxide Semiconductor (MOS) type Gas Sensor also known as Chemiresistors as the detection is based upon a change of resistance of the sensing material when the gas comes in contact with the material. Using a simple voltage divider network, concentration of the gas can be detected.
What is a Smoke Detector?
As the name indicates, smoke detector is a device used to detect the smoke in the surrounding. It is a fire-protection device with sensor that automatically senses the presence of smoke as the indication of fire and raises the alarm.
Advantages of Smoke Detector
Smoke detector alarms are important safety tools used for the detection of smoke and fires. It warns the occupants about the presence of smoke so that they can immediately leave the premises for safety.
Real-Life Applications of Smoke Detectors
Smoke detectors are used in homes, schools, offices, malls, hospitals, and other places to ensure it raises the alarm to avoid casualties in case there is a fire in the area. In this project, we will be making a smoke detector bot.
Components Required
| IMAGE | COMPONENT | QUANTITY |
|---|
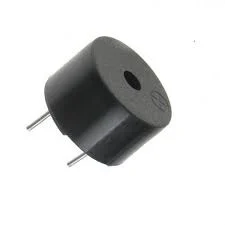
Buzzer
1
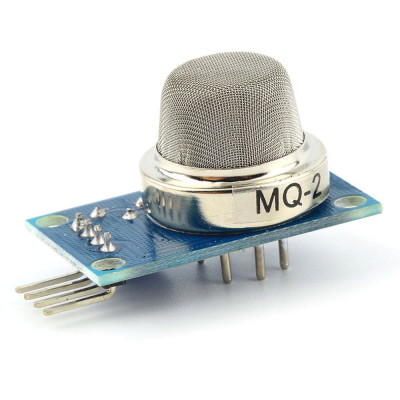
MQ2 gas sensor
1

Jumper Wires
As Per Required

Cable A to B
1
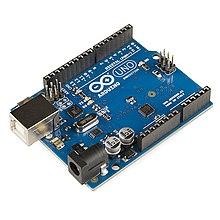
Arduino
1
What is a Buzzer?
Buzzer is an electrical device that raises an alarm for signaling. In this project we are using the buzzer so that when the sensor senses the presence of smoke around, the buzzer raises the alarm.
What is Arduino?
Arduino is an open-source electronics platform based on easy-to-use hardware and software. Arduino is used worldwide by electronic makers, students, hobbyists, and others for various electronic projects ranging from simple everyday objects to scientific instruments.
Building Guide
Follow the steps given below to make the smoke detector bot
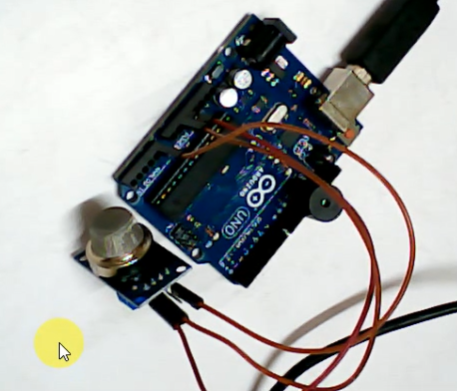
Step 1: Circuitry of the Robot
- Powering the smoke sensors
- VCC to 5V
- GND / to GND
- Output to Analog pin A0.
- Connecting the Buzzer
- +ive pin to Digital pin 11
- GND to GND
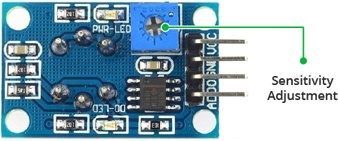
Step 2: Calibrating Smoke sensor
- To calibrate the gas sensor, you can hold the gas sensor near the smoke/gas you want to detect and keep turning the potentiometer until the Red LED on the module starts glowing. Turn the screw clockwise to increase sensitivity or anticlockwise to decrease sensitivity.
Step 3: Logic
- If the sensor senses smoke, then the analog reading value will increase.
- And if the reading value reaches the threshold value then the buzzer should turn on.
Step 4: Code
- Start by declaring the pins we are using.
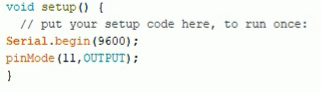
- Applying a conditional operation to turn on and off the buzzer.
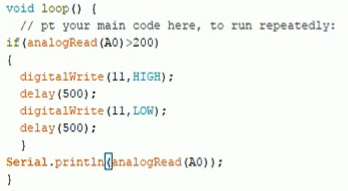
The following code will help you in creating smoke detector bot using arduino
Code
DESCRIPTION
DOWNLOAD CODE
Smoke Detector Bot Code
Here, we learned how to make the smoke detector bot. Hope you enjoyed the project. Have you tried your hands on the smoke detector bot project? Drop your comments below to let us know. .
