

About This Project
Learn how to control the speed of motor control using PWM.
Project Info
- Programming Platform: Arduino IDE
- Difficulty: Intermediate
- Estimated Time: 2 Hrs
- Category: Arduino UNO, Robotics
Introduction
The demand for process automation is increasing at a very fast pace. Automation helps increase efficiency, improve quality, and increased production at a low cost. The variable speed drives that can control the speed of AC/DC motors are vital controlling elements in the automation systems.
DC motors, we all know are being used in variable speed drives for a long time. In this project, we are going to learn about attaining speed control using PWM (Pulse Width Modulation) technique.
What is Potentiometer?
A potentiometer is a three-terminal electrical and electronic component that has the ability to vary its resistance by means of rotation or sliding a constant. The potentiometer can be used in two configurations where it can either vary voltage or vary resistance.
What is Arduino?
Arduino is an open-source electronics platform based on easy-to-use hardware and software. Arduino is used worldwide by electronic makers, students, hobbyists and others for various electronic projects ranging from simple everyday objects to scientific instruments.
What is a DC Motor?
A DC motor is an electrical machine that transforms electrical energy into mechanical energy by creating a magnetic field that is powered by a direct current. DC motor is preferred by makers because of their ability to precision control their speed which is vital for industrial machinery. DC motors have the ability to immediately start, stop, and reverse which is an important factor for controlling the operation of production equipment.
Project: How to control the speed of a dc motor using PWM
Components Required
| IMAGE | COMPONENT | QUANTITY |
|---|
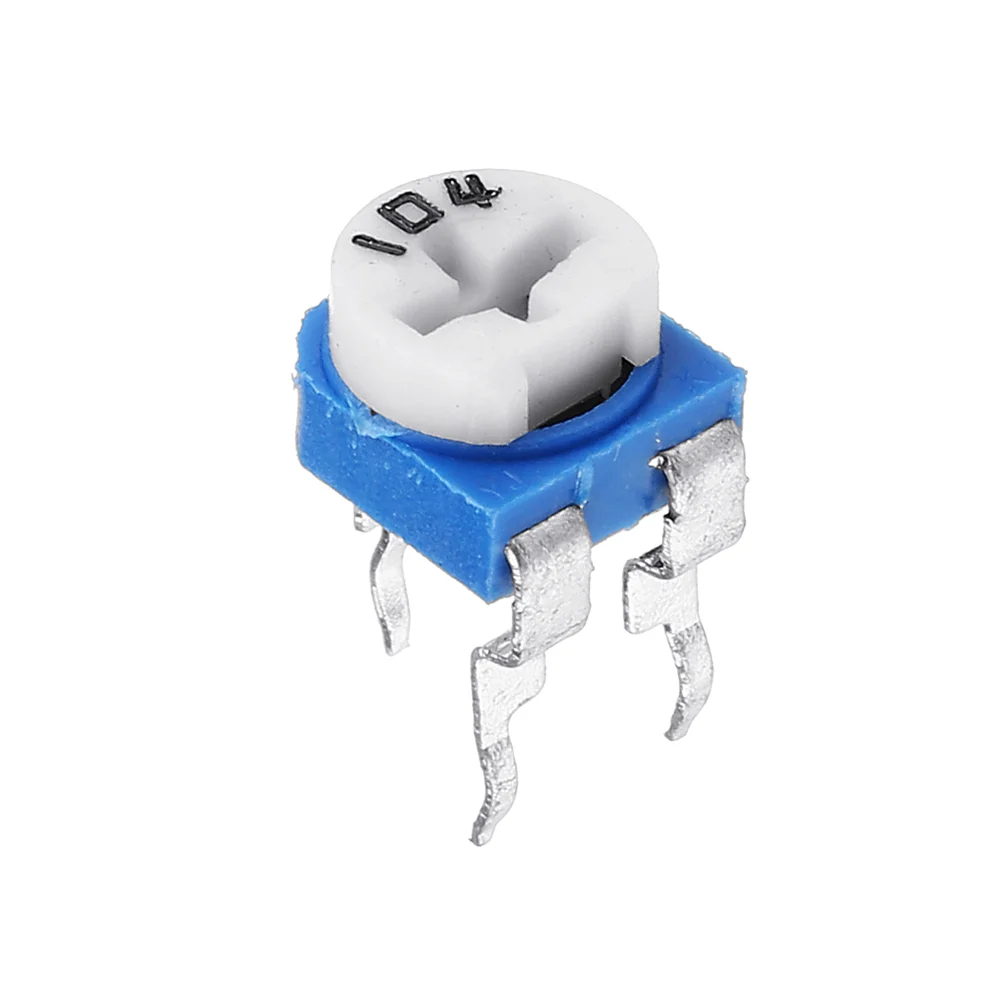
Potentiometer
1
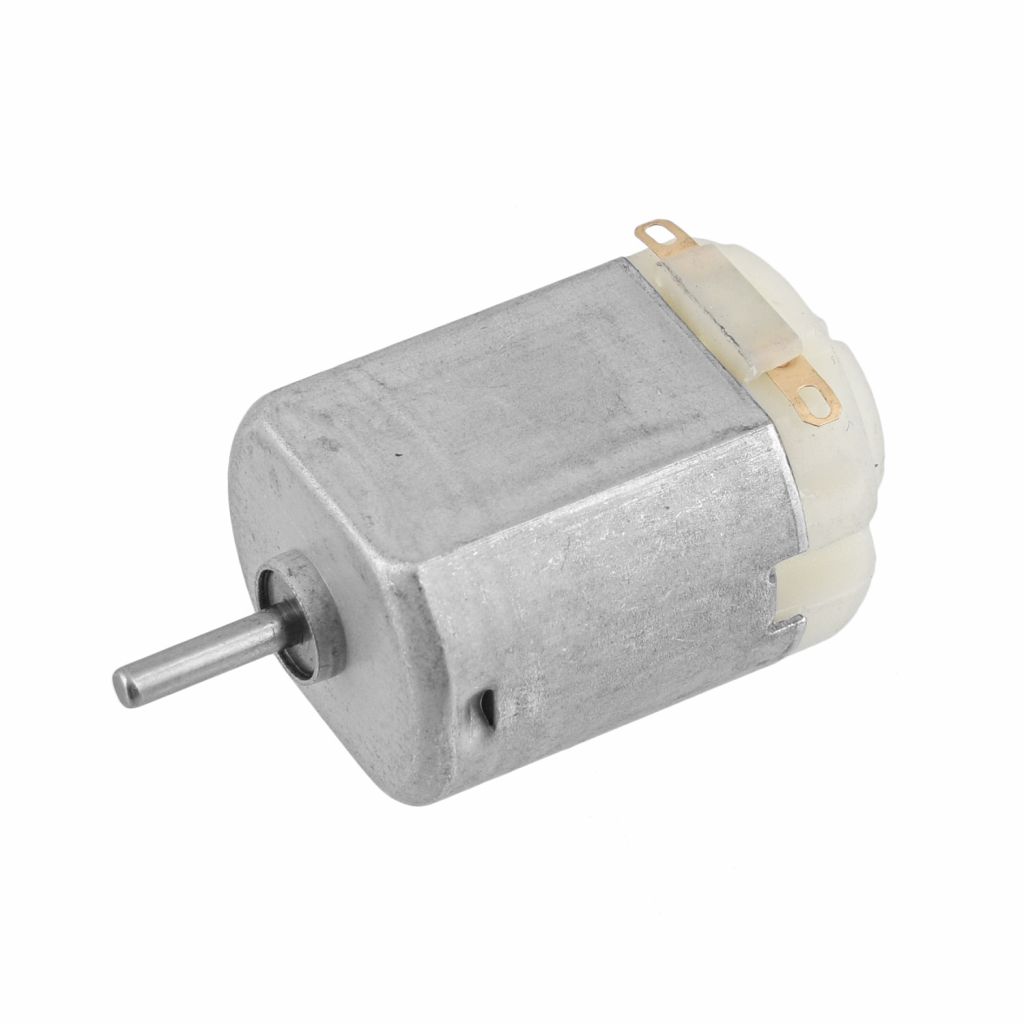
DC Motor
1
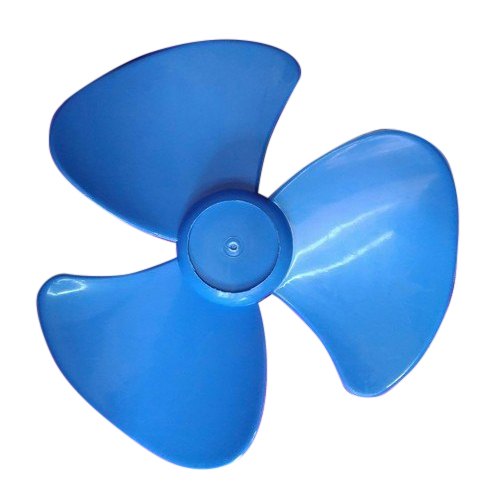
DC motor Fan
1
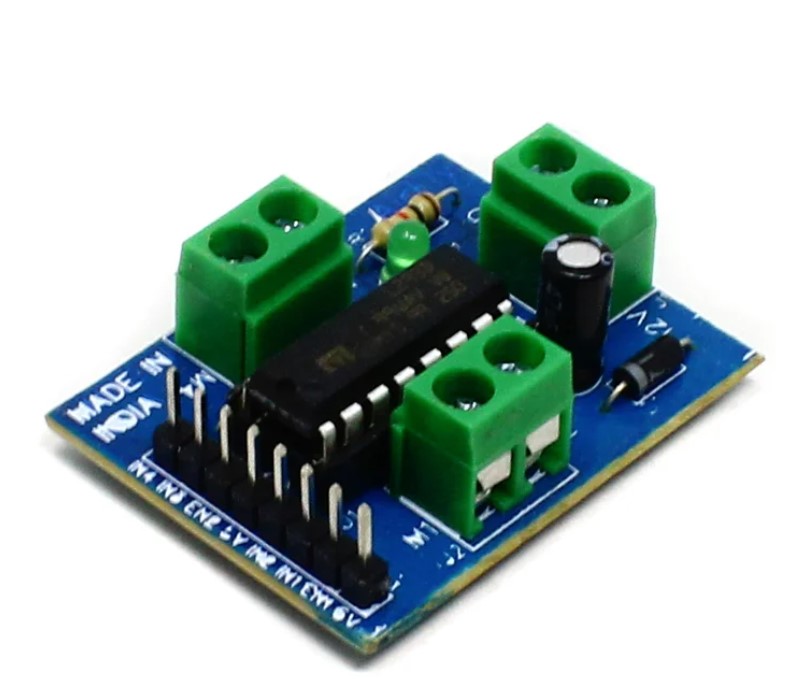
Motor Driver (L293D)
1
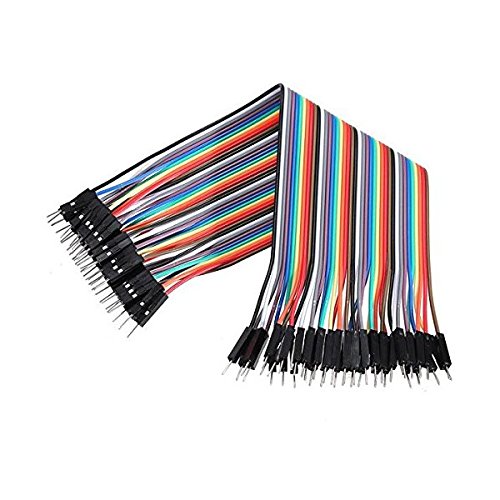
Jumper Wires
As Per Requirement
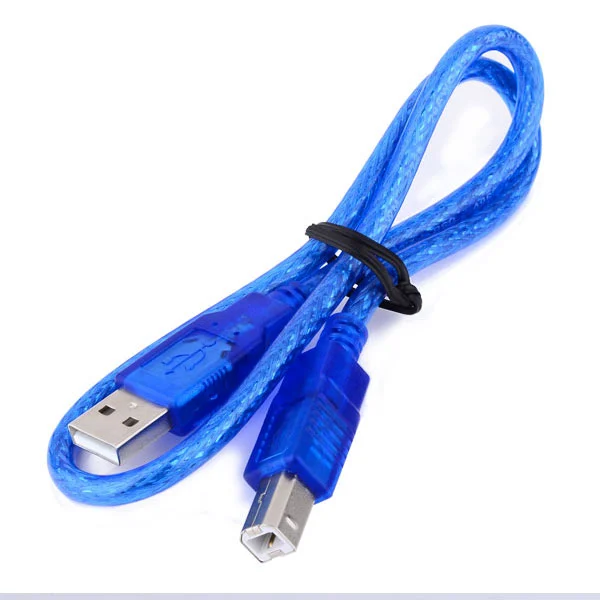
Cable A to B
1
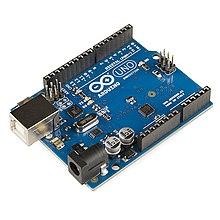
Arduino
1
Building Guide
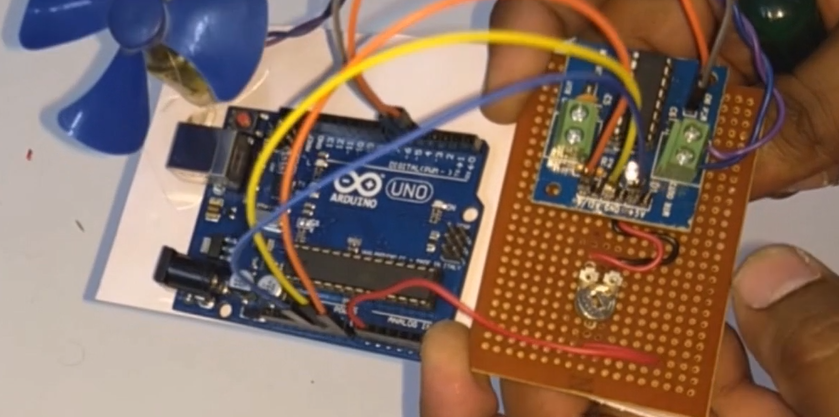
Step 1: Assembly
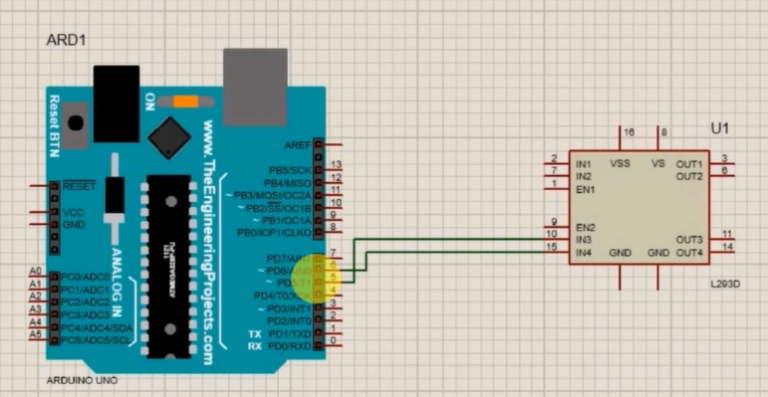
- To begin with, do the assembly by adding the Arduino.
- Attach the motor driver with the Arduino.
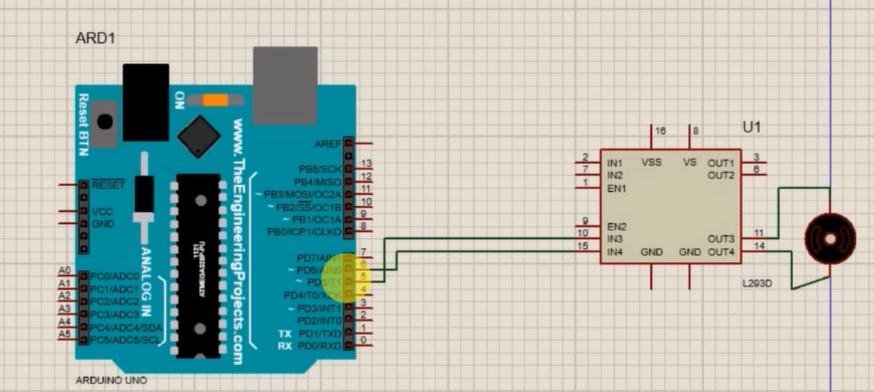
- Add the motor to the motor driver.
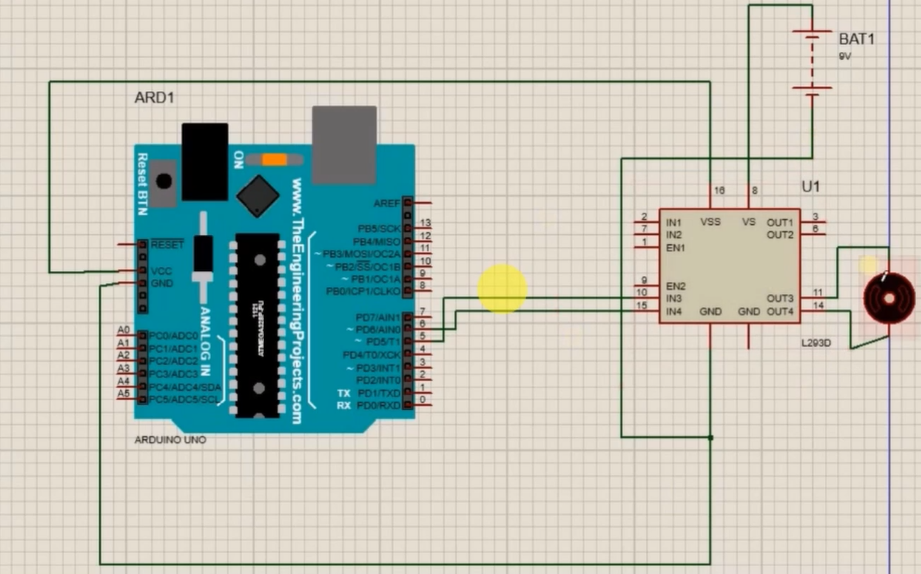
- Provide the power supply to the motor driver
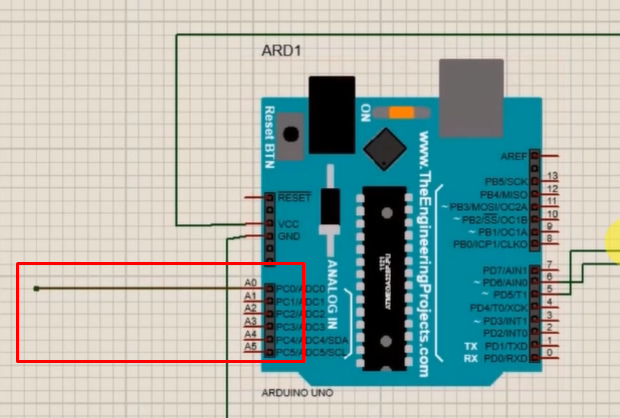
- Use the A0 pin as an input by the potentiometer.
- The image given below shows how the final output of the Arduino will look like.
Step 2: Logic
- The potentiometer can be used to control motor speed. When used to vary voltage, a potentiometer can be connected to a motor and vary the voltage (and therefore power) delivered to a motor which will control its speed.
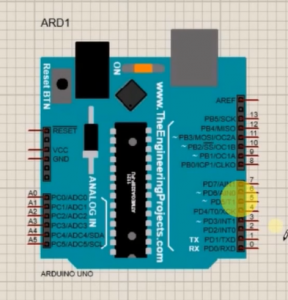
Step 3: Circuitry of the Robot
- Powering the components
- Powering the motor driver
- 12V to Vin pin
- GND to GND
- Motor to 5,6
- Potentiometer
- Output to Analog A0 pin
Step 4: Code
- Define the motors pin of Arduino.
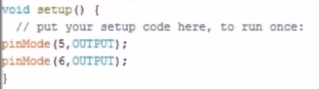
- Use the potentiometer pin to set the motor speed.
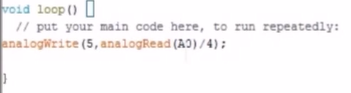
The following code will help you in controlling the speed of DC Motor.
Code
DESCRIPTION
DOWNLOAD CODE
Code to control the speed of DC Motor
In this project, we learned how we can control the speed of motor control using PWM.We worked on increasing/decreasing the speed of the fan. If you have worked on any such project, do share it with us. Leave your comments below to have your say.
