

Description:-
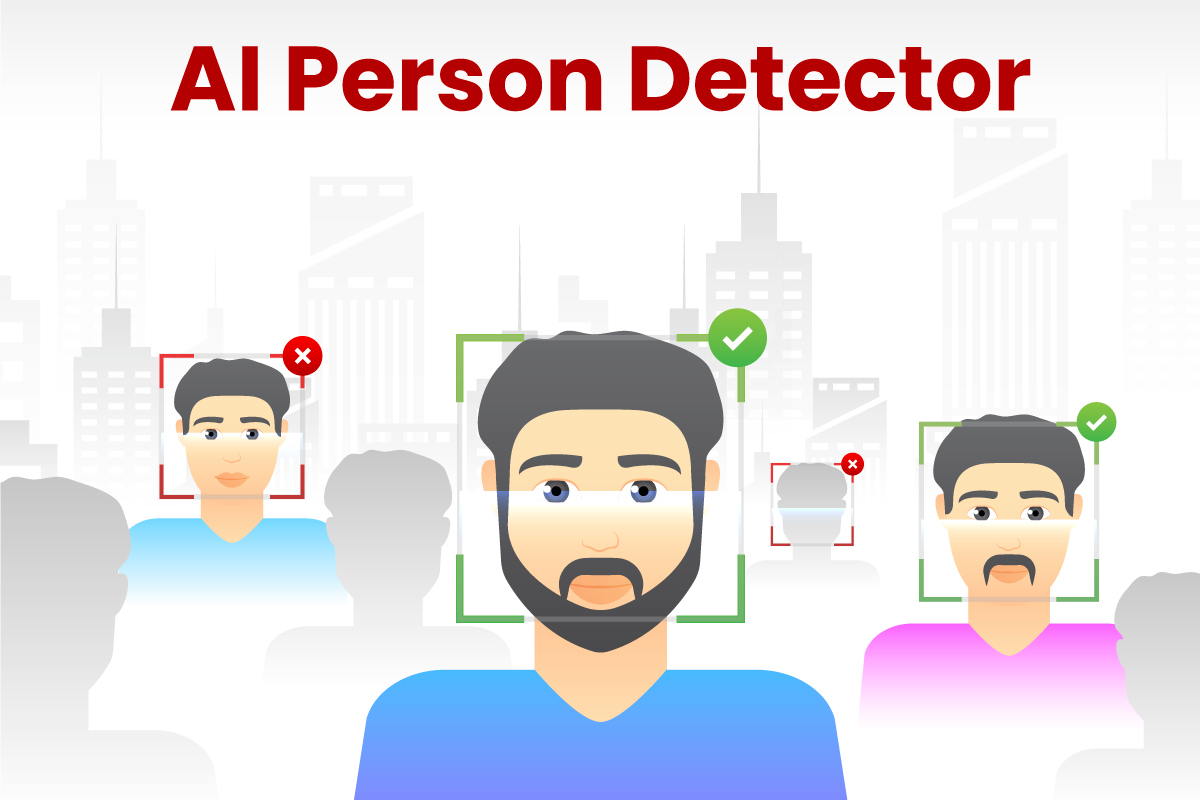
Face detection in Python is a technique used in computer vision to locate and identify human faces in digital images. It is typically used in applications such as facial recognition, security and surveillance, digital photography, and social media. Face detection algorithms analyze an image or video frame and detect any faces present in the frame. They typically return a bounding box around the face and associated information such as the location, size, and confidence score.
Face recognition identifies a face in a photo or a video image against a pre-existing database of faces. It uses a facial recognition algorithm to compare a facial image with a collection of stored facial images and works to match the right face with its identity. If a match is found, the identity of the person is then established.
Face recognition technology has a wide range of applications, such as security, criminal investigation, and advertising. It can also be used to identify people in photos, videos, or live streams.
Facial Detection in Python can be done by following a few simple steps.
(I) Dataset Collection
(II) Train a Model
(III) Transform Classifier into Detector
(I) Dataset Collection: Collect Train and Test Data from User By OpenCV Python File
First of all, we need to collect a dataset. I used my pictures and pictures of my friends to train the model, but you can also train the model on some other face datasets. I used only personal photos to check whether such a small dataset is enough for the model to show acceptable quality.
I cropped the face from each photo and resized them to the size of 600×600 (which you don’t have to do, since TensorFlow can do it for you). Here is the
stepwise guide to the entire process.
Step 1. Import necessary libraries. Also, define the haar cascade to detect the face of the user.
Step 2. Define a function to extract the face from the captured image.
Step 3. Capture training data set
Now, define a webcam recorder with a count =0 variable. After this, create a while loop to capture the image till the count value does not reach 100.
Step 4. Now, release the video capture object.
(II) Train a Model: Develop a face recognition model for face identification and verification using the pre-trained VGGFace2 deep learning model.
Step 1. Make a new Python file & install keras, golb library.
keras libray: keras is a deep learning api written in python, running on top of the machine learning platform tensorflow. it was developed with a focus on enabling fast experimentation. Being able to go from idea to result as fast as possible is key to doing good research.
keras is:
Simple — But not simplistic. keras reduces developer cognitive load to free you to focus on the parts of the problem that really matter.
Flexible — keras adopts the principle of progressive disclosure of complexity: simple workflows should be quick and easy, while arbitrarily advanced workflows should be possible via a clear path that builds upon what you’ve already learned.
Powerful — keras provides industry-strength performance and scalability: it is used by organizations and companies including NASA, YouTube, and Waymo.
Command:
Step 2. Import necessary libraries function and classes.
Step 3. Define image size with train/test-path.
Step 4. Add a pre-processing layer to the front of vgg. Here we use imagenet.
Step 5. Find how many folders we have in the train & test dataset.
Step 6. Define the model.
Step 7. Define compile parameters to the models.
Step 8. Fit data set with the model.
Step 9. Before deploying and using the model, find the accuracy and loss in the model.
Note: With this last step our model is ready to face detection.
(III) Transform Classifier into Detector: Create a new python file for detecting face with the computer camera with help of a trained model
Step 1. Import necessary libraries.
Step 2. Load model by load_model function.
Step 3. Load haar cascade to classify faces.
Step 4. Define face_extractor function to crop images from the webcam.
Step 5. Predict person face from trained model.
Initialize the webcam to read faces from the camera. after extracting the face by face extractor function. Also add an extracted image with model to find the predicted values.
Step 6. Use a conditional loop to find out the image name from our data set.
Output: GIF
Conclusion:
With this, we have come to the end of this tutorial. To sum up, face detection in Python is a powerful tool for automating the process of recognizing human faces in digital images. It can be used for a variety of tasks such as facial recognition, facial classification, and facial analytics. In this tutorial, we learnt how to use libraries such as OpenCV and implement face detection in Python easily. Hope you enjoyed the tutorial and understood the process of face detection in Python.
Get to learn about more such projects at Learning Bix
Blog you may like –
| How to Make Your Own AI Virtual Assistant |

Leave A Comment
Related Posts
Coding is generally considered a boring activity. After all, who wants to sit in front of a computer all day writing in a language that can’t even be read? But that is not all there is to code. It can be used for some really fun coding facts stuff, and there is so much amazing work that you can do only if you knew how to code.
5 Coding Facts That Blow Your Mind
Let us look at five great fun coding facts you might not know about coding.
You Can Make Games With Code
Coding is an umbrella term for the scores of languages and their versions that programmers use to make their applications. We have all played games, on consoles, our mobile phones, or our desktop computers and laptops, at some point in our life. It might not surprise you to know that these games are also created using code. The complex physics of the characters in these games, the design of the environment of the games, and each minute movement in the games have a piece of code behind them.
Game designers typically write in languages such as C++, C#, and Java. These are also some of the most popular kids coding languages, especially for children who like gaming. Coding courses are available widely in all of these languages and the broad domain of game design.
You Do Better At School If You Code
Making games and indulging in the fun applications of coding is all fine, but coding can have great advantages at school as well. Once you start taking classes that teach coding for kids, you will realize that coding requires a lot of brainpower as well. Coding even for the most fun tasks requires you to think quite a bit, and this sharpens your mind and increases your capability to think logically.
This logical capability can be of a lot of use to you at school. Especially in subjects like mathematics, you might find yourself topping the class simply because of the practice you got during coding! In fact, coding and mathematics have a kind of symbiotic relationship – what you learn in maths comes of use in code and vice versa.
You Can Follow Your Interest Using Coding
Regardless of what your favorite subject is, or what fields you are interested in, you will find a use for code everywhere. Be it through developing software, creating an all-new app, making a game, or building a simple utility, you will find that coding facts can be a way to enable you to follow your interests through a different path.
All subjects from science to social studies and from mathematics to philosophy use coding in some way for research or education. Be it sports or music, art or architecture, utilities that are made using code are prevalent in every field that you can think of. Taking simple online coding courses can qualify you and build your interest in creating such utilities.
You Can Predict Future Events Through Code
Did you know that predicting the future is an application of coding! Predictive modeling is a field of programming in which code is used to try and predict what will happen in the future on the basis of events that took place in the past. It uses concepts of artificial intelligence and machine learning to create algorithms that learn the behavior of past data and determine the course of future data.
Predictive modeling is one of the most futuristic applications of code and is used to determine everything from the next movie you will like on Netflix to whether it will rain tomorrow. You can opt for closing classes in machine learning to know more about the field, and create your own utilities to predict the future!
Coding Is Free!
You don’t need any sophisticated apparatus except your laptop for coding. All you need is the will to learn more and follow your interests through code. To learn to code you do not need to go to a special school or have any special capabilities. You can opt for free coding classes for kids which are held completely online and follow a completely hands-off approach in helping kids learn to code. There are also a vast number of coding sites for kids on which they can log in to learn basic coding facts for kids without even having to enroll in a class.
Conclusion
The future is already being written, and it is being written in code. Coding for kids classes can help kids of all ages currently going to school not just learn to code but also to have fun in the process. The above applications of code can be a major stepping stone to build the interest of kids in coding, after which they can hone their interests and new skills on even more advanced applications. A platform such as Learningbix can be an excellent way for you to get started.