
About This Project
In this project, we will be learning about how to use a Gesture Sensor.
Project Info
- Programming Platform: Arduino IDE
- Difficulty: Intermediate
- Estimated Time: 3 Hr
- Category: Arduino
- Tags: Gesture Sensor, Jumper wires, Arduino UNO, Uploading cable A to B, Breadboard.
To Watch the Video for Gesture Sensor click here.
Introduction
Gesture Sensor is a type of perceptual computing user interface that allows computers to capture and interpret human gestures as commands. The computer understands the movements of the sensor and interprets them into computer-understandable language. It is a two-dimensional device used in many devices like game console controllers, Xbox, Mobile Phones, Smart Balance Robots, etc.
Arduino: Arduino is an open-source programmable electronics platform that is based on easy-to-use hardware and software. It is a well-known component for building electronics and robotics projects. It works together with a piece of software called Arduino IDE (Integrated Development Environment) that runs on the computer to write a program and upload it on the Arduino board. Its operating voltage is ranging from 3.3v to 5v.
On the basis of constructions, Arduino has three different types viz. Arduino Nano, Arduino Uno, and Arduino Mega. All three boards have different numbers of Input and Output Pins regardless of the same working principles. The Arduino IDE is a simplified version of the C++ programming language, and it is easier to learn to program. The central part of an Arduino board is the Microcontroller which is responsible for Input/Output, Read/Write, storing data, and most importantly processing.
Jumper Wire: Jumper wire is an electrical conductor used for building electronics and robotics projects. It is used only in low voltage and current because of its small conductor diameter. It is available in different lengths and colors.
Components Required
| Sr. no. | Image | Component | Quantity |
|---|---|---|---|
| 1 | 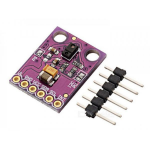 |
Gesture Sensor | 1 |
| 2 | 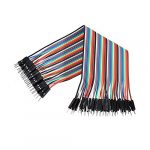 |
Jumper Wires | As Per Requirement |
| 3 | 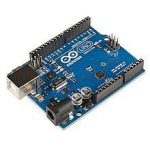 |
Arduino | 1 |
| 4 | 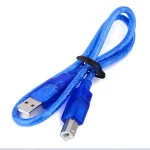 |
USB cable A to B | 1 |
| 5 | 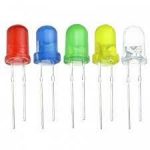 |
LED | 1 |
| 6 | 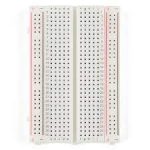 |
Breadboard | 1 |
Building Guide
Step 1: Gather all the required components.
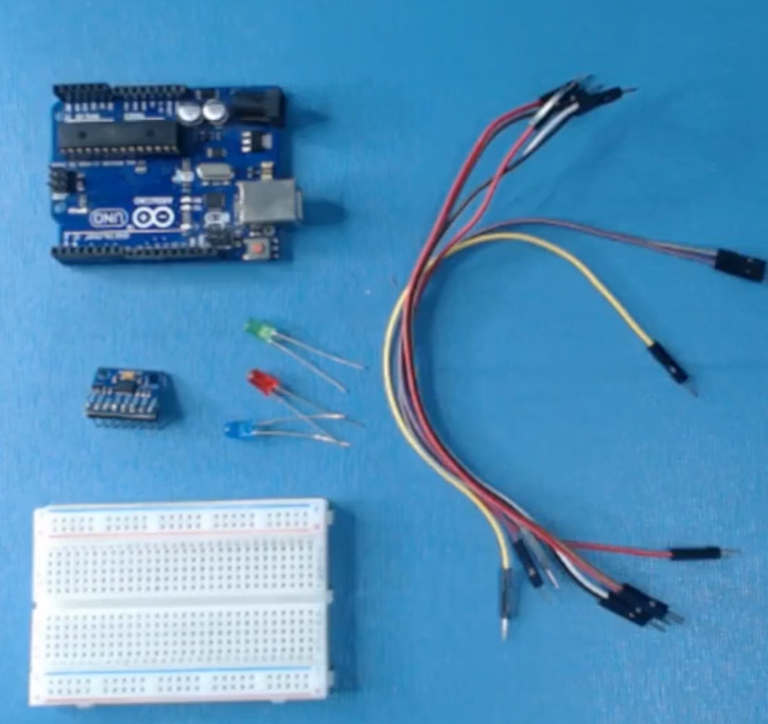
Step 2: Connections are done as per the picture of the below-given connection. Gesture sensor VCC pin to 5V pin of Arduino, GND to GND, SDA pin to analog pin A4, SCL pin to analog pin A5.
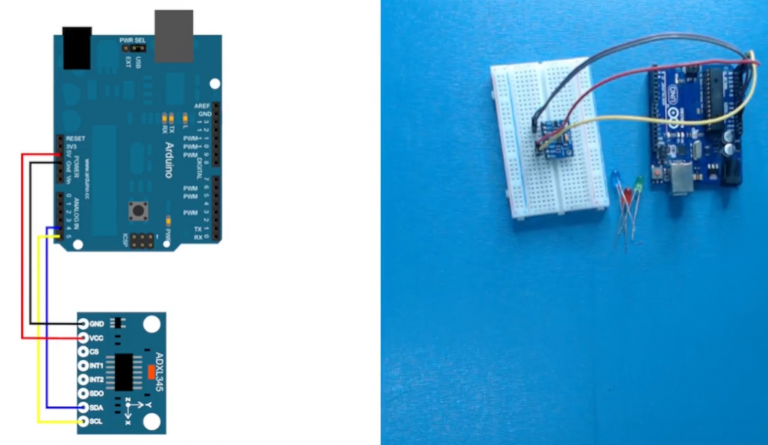
Step 3: When the connections are done, start coding in the Aduino IDE software.
CODING:
Follow the steps shown below:
- Coding: 1
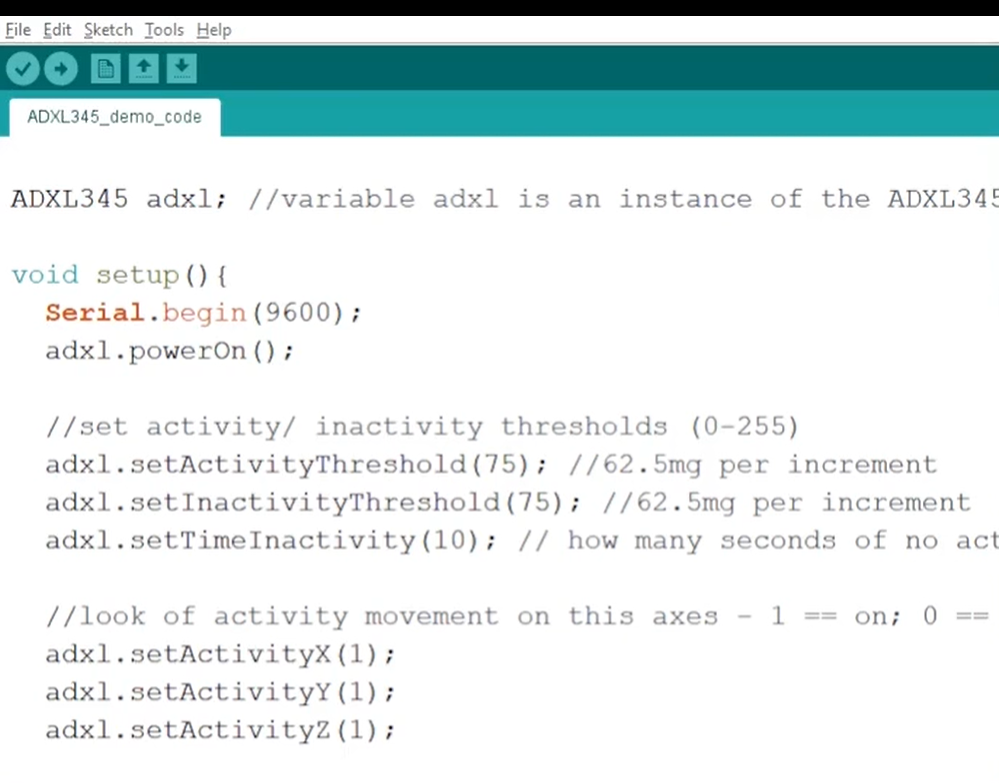
- Coding: 2
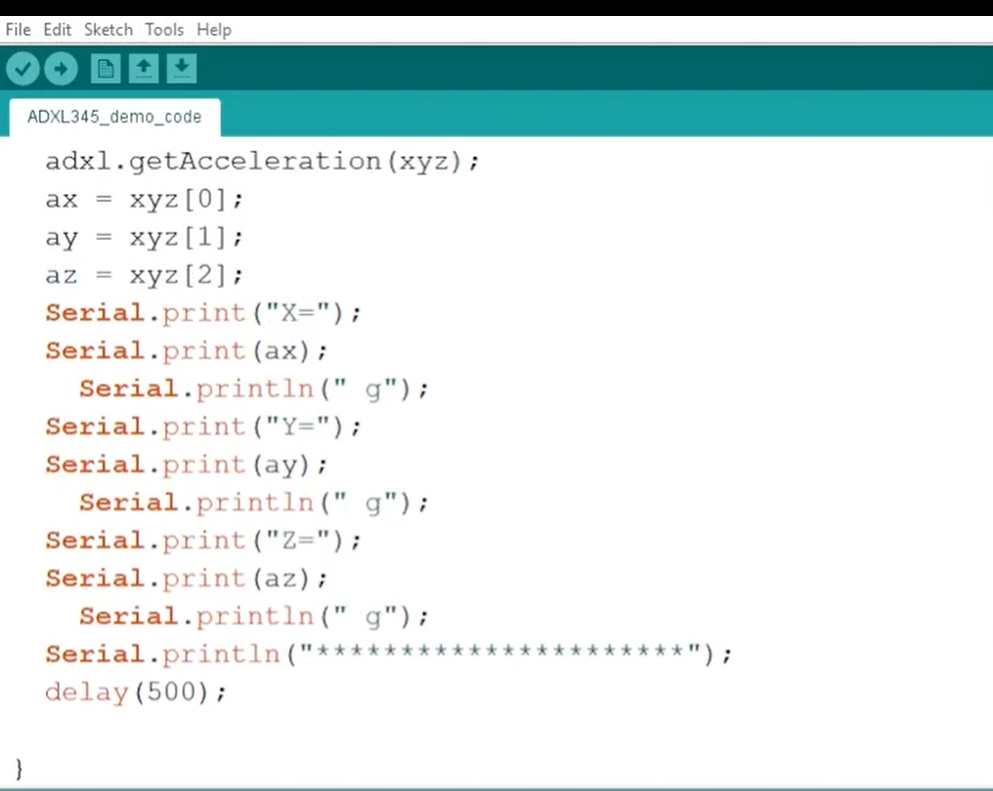
- Coding: 3
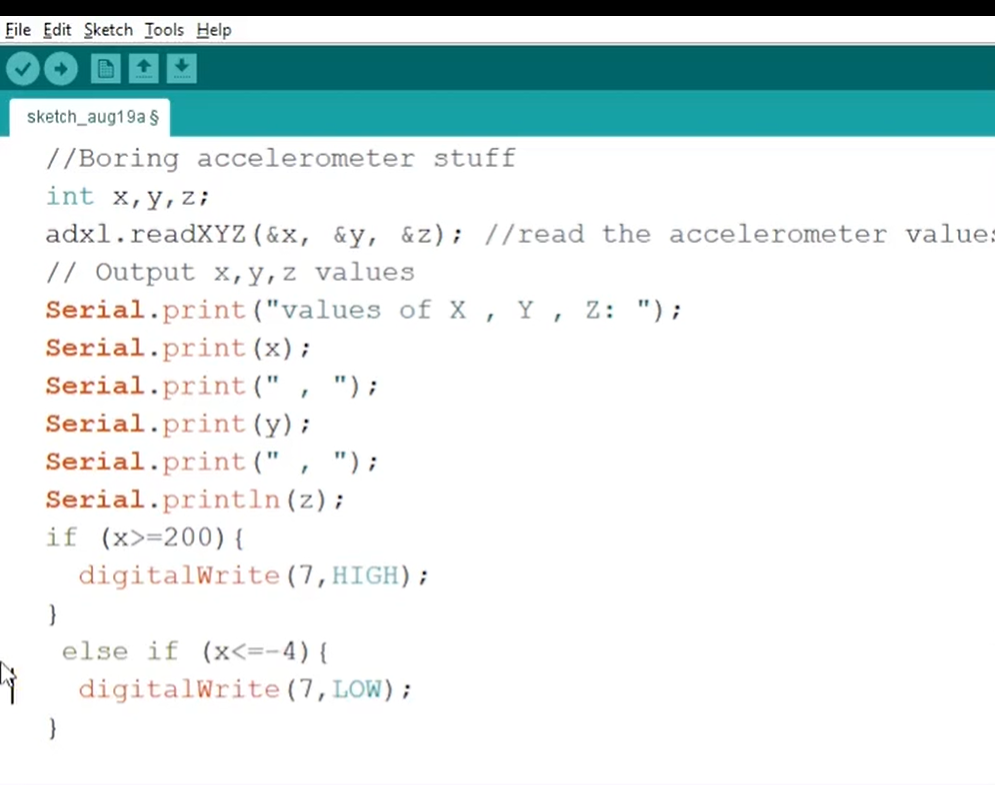
- Coding: 4
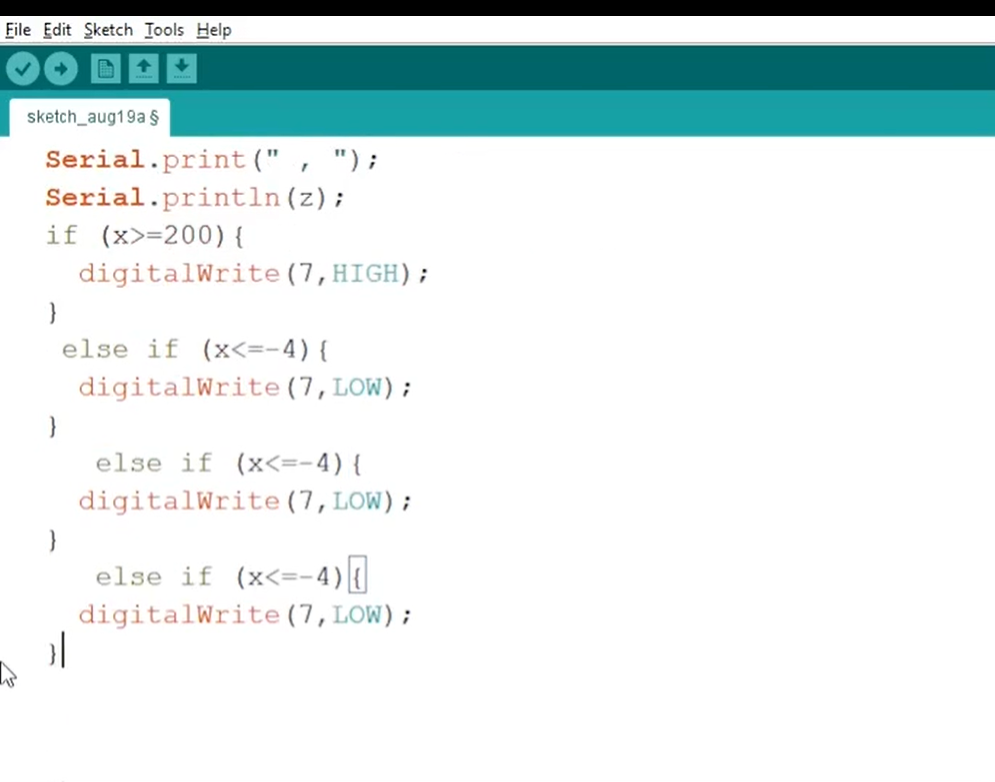
- Coding: 5
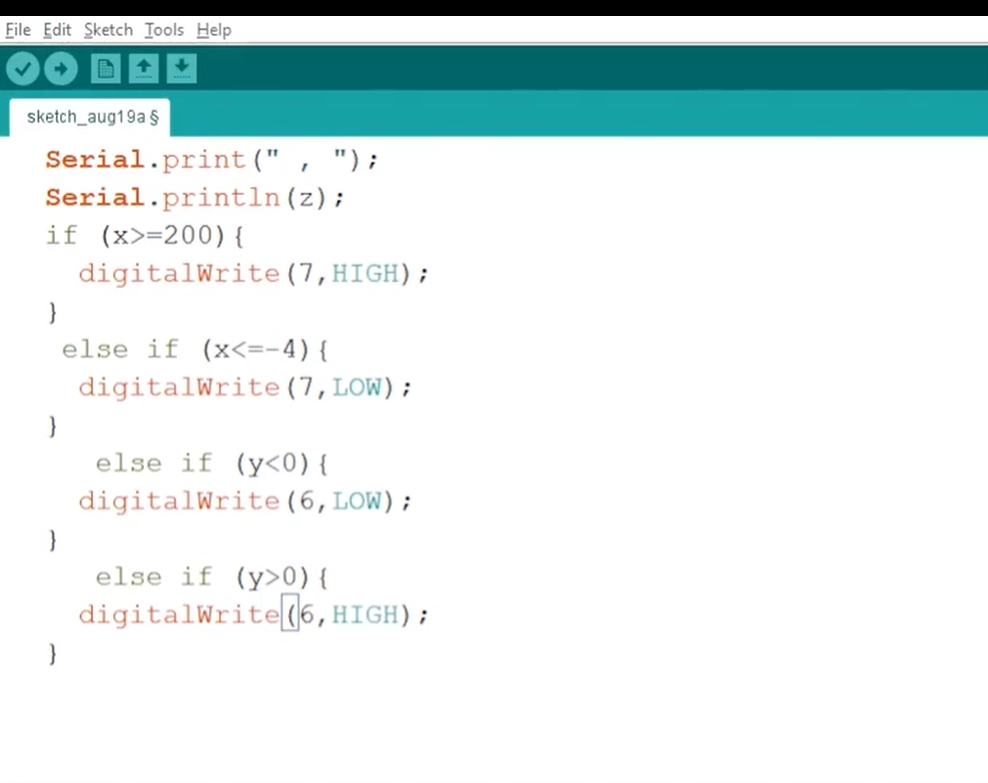
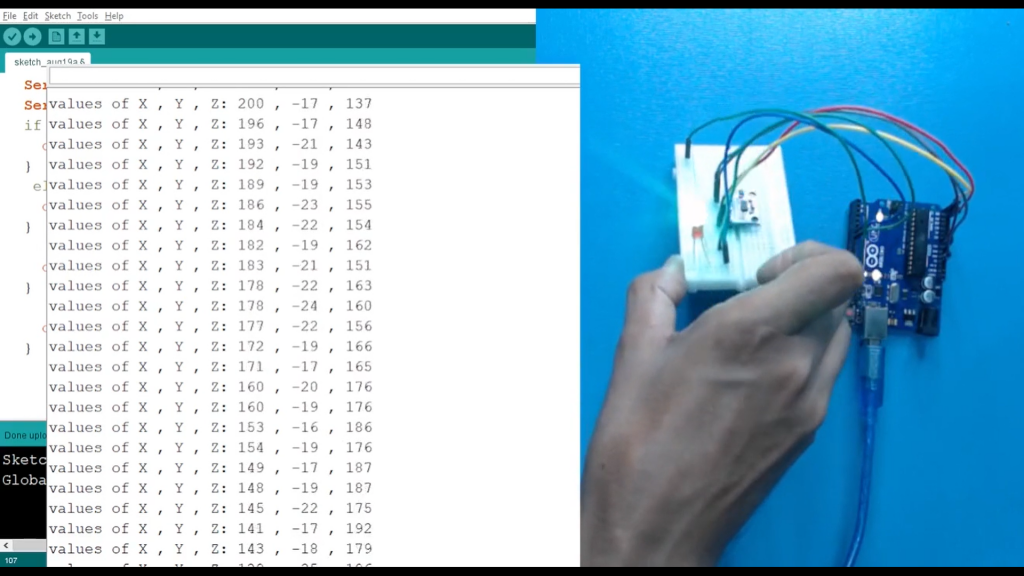
Step 4: When the coding is done, upload the code. Now, you will see that the position of X and Y is changing as you try to balance the level of the Gesture Sensor.
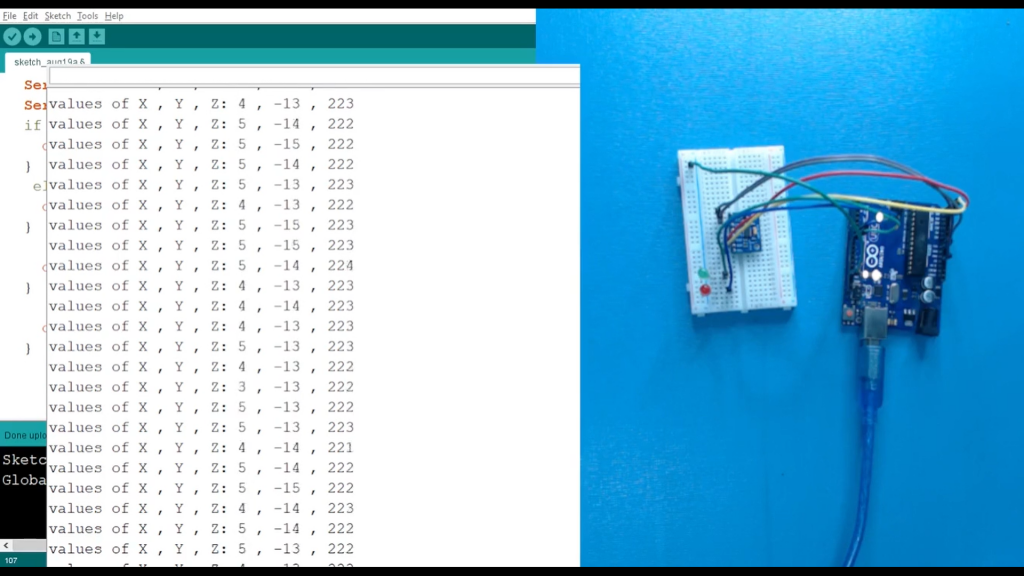
When you change the level of the gesture sensor you will see the change in the position.
The following code will help you to make a Gesture sensor using Arduino
Code
Description
Download Code
Libraries
Description
Download Code
This is how you can use gesture sensors. A complete working video is given here for a better understanding.

