

About This Project
In this tutorial, we will learn how to create a Smart Irrigation System Using Arduino.
Project Info
- Programming Platform: Arduino IDE
- Difficulty: Intermediate
- Estimated Time: 1 Hrs.
- Category: Arduino
- Tags: Arduino, Breadboard, Water Pump, Pump Pipe, Jumper wire, and Soil Moisture Sensor
Watch the video here.
Introduction
Are you a plant lover? If yes, I am sure you must be worried about watering the plants in case you forget to water your plants or you are not present at home. Why make your plants die if you can yourself make a smart irrigation system or self-watering system?
What is Soil Moisture Sensor?
Soil Moisture Sensor is a low-cost electronic sensor used to detect the moisture of the soil. This sensor helps in measuring the volumetric content of water inside the soil i.e. how moist the soil is! There are mainly two parts of the soil moisture sensor i.e. sensing probes and sensor module.
Sensing Probes consist of two nickel-coated copper tracks and two header pins connected to the two copper tracks to help in passing the current through the soil and get resistance depending on the moisture value in the soil. Sensor Module after reading the data from the sensor probes processes it and converts it into the digital/analog output.
Project: How to create a Smart Irrigation System Using Arduino.
Applications of Soil Moisture Sensor
The main application of soil moisture sensors is the detection of moisture in the soil. The sensor can be used in an irrigation system so that plants get watered automatically when the soil is dry.
This irrigation system is useful for watering the plants as it calculates the amount of moisture present in the soil and then proceeds to the further commands. We are using a water pump to flow the water. This system can work automatically and there is no need for human intervention.
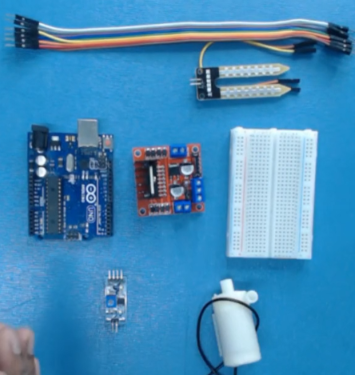
Components Required
| IMAGE | COMPONENT | QUANTITY |
|---|
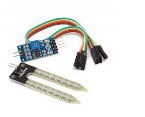
Soil moisture Sensor
1
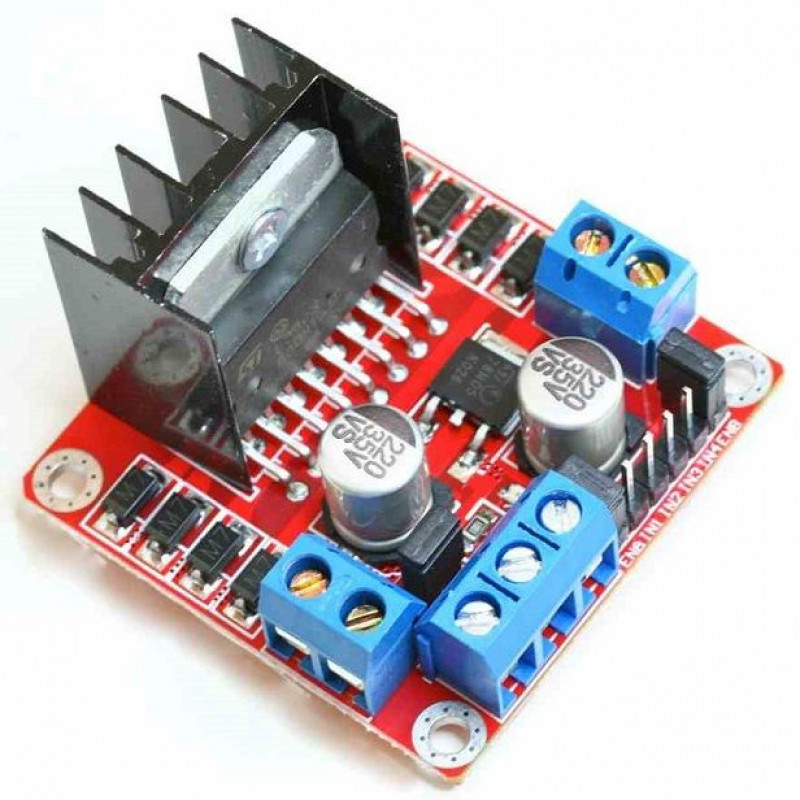
Motor Driver
1
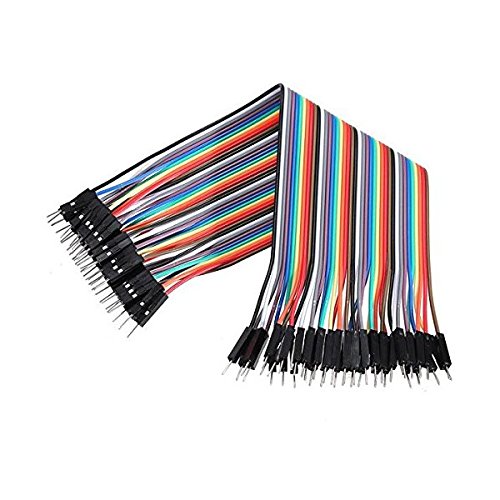
Jumper Wires
As Per Requirement
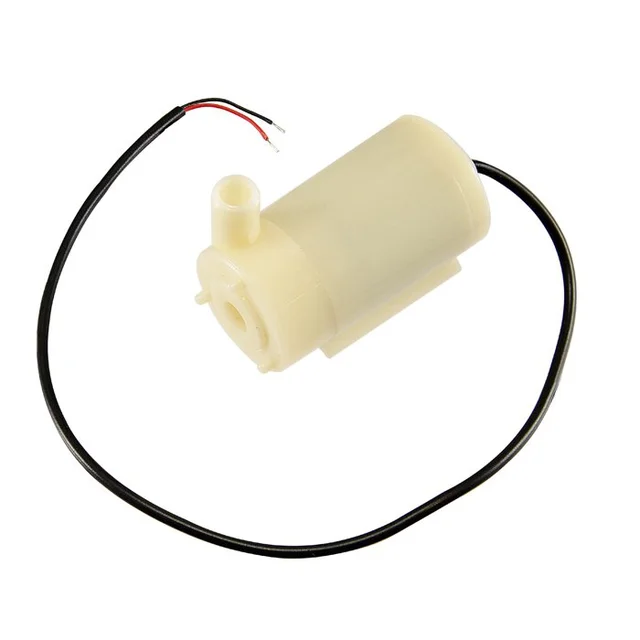
Water Pump
1
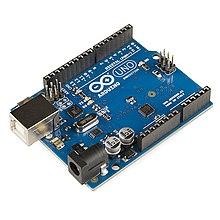
Arduino
1

USB cable A to B
1
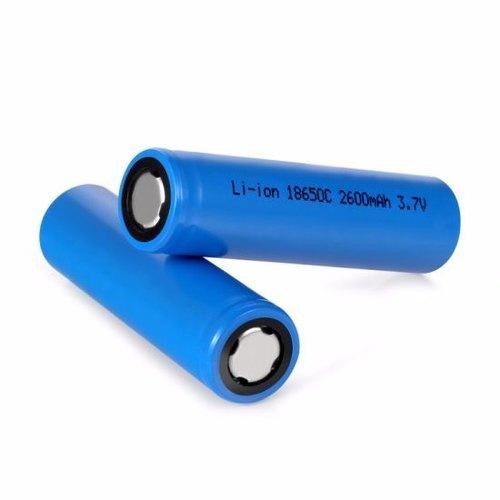
Battery
1
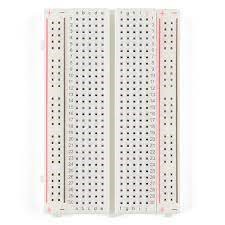
Breadboard
1
Building Guide
Step 1: Assembly
- Start by assembling all the components.
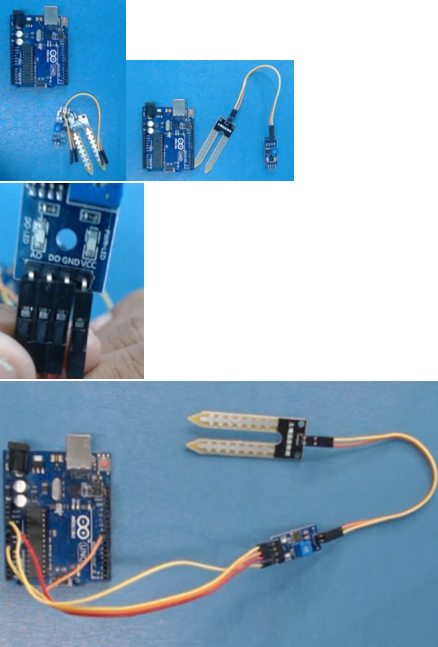
- Connecting the soil moisture sensor with the Arduino.
- Connect the water pump to the motor driver.
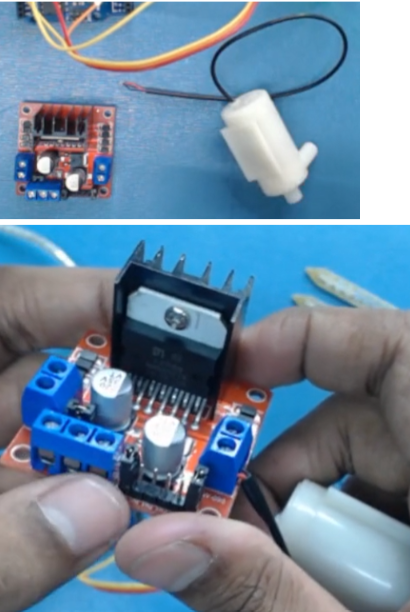
- Powering the motor driver using Arduino.
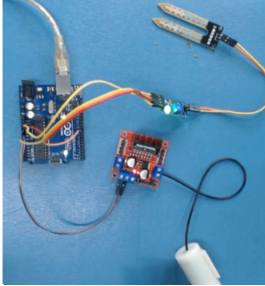
- Control the motor using the motor driver.
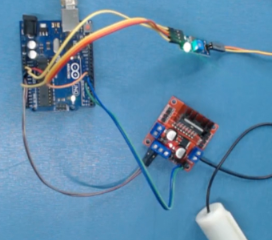
Step 1: Circuitry of the Robot
- Powering the components
- Powering the Soil Moisture sensors
- VCC to 5V
- GND / to GND
- Output to digital pin 8
- Connecting the Motor Driver
- 12V to Vin
- Negative to GND
- Connecting the motor
- Motor pin1 to digital pin 7
- Motor pin2 to digital pin 8
Step 2: Calibrating Soil Moisture Sensor
- To test the Soil Moisture Sensor and ensure that it is working correctly connect the VCC to a 5v power source and GND. Dip the soil moisture probe in wet soil so that the D0-LED should light up.
Step 3: Logic
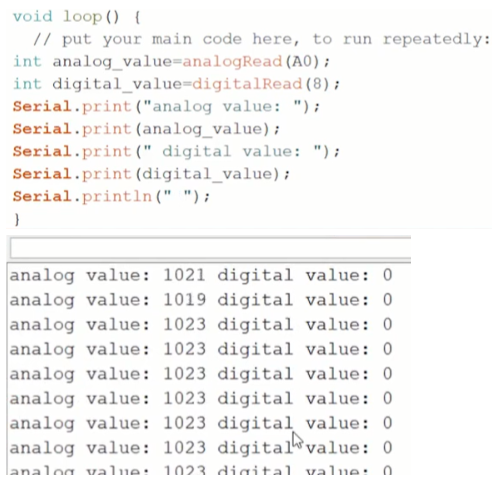
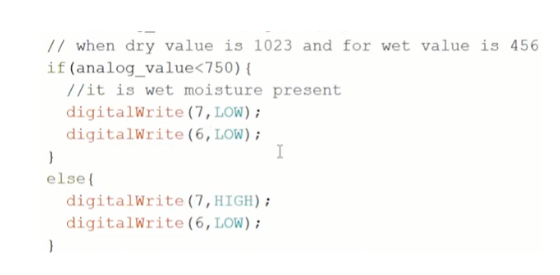
- If the sensor senses moisture intensity and shows the fetched data in the serial monitor.
- And if the reading value reaches the threshold value then the motor will turn on and else it will be off
Step 4: Code
- Start by declaring the pins we are using.
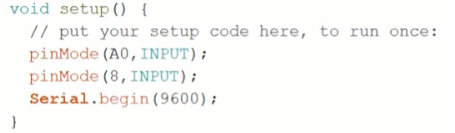
- Fetching the values and showing them in the serial monitor.
- Defining the motor pins
![]()
- Applying a conditional operation to control the LED.
The following code will help you to make the Smart Irrigation System.
Code
DESCRIPTION
DOWNLOAD CODE
Smart Irrigation System Using Arduino Code
With this, we have come to the end of making a smart irrigation system using soil moisture sensor.
