

About This Project
In this tutorial, we will learn how to interfacing L298N Motor Driver With Arduino Uno.
Project Info
- Programming Platform: Arduino IDE
- Difficulty: Intermediate
- Estimated Time: 1 Hr
- Category: Arduino
- Tags: Arduino, BO motor, Wheel, Motor driver L298N, Jumper wire, and screwdriver.
Watch the video for interfacing L298N motor driver with Arduino Uno here.
Introduction
L298N is a powerful IC, specially made for motors. It works as a motor driver that runs under the voltage ranges from 9v-12v. A motor can run-up to its full torque only when it is connected to the motor driver. As the name suggests, the driver drives the motor when power is connected to it. The IC L298N is widely used in building any kind of project that requires a DC Motor. DC motor module is used in robotics and in controlling the DC and stepping motors. This dual-channel H bridge motor driver IC is powerfully built with a big heat sink.
What is BO Motor?
BO motor is a lightweight DC geared motor that gives good torque and RPM at low voltages. The BO motor has the ability to run at approximately 150 RPM when driven by a single Li-Ion cell. The BO motor is used for the lightweight applications and is available in different torque and RPM.
This tutorial will help you understand how to connect and run the motor to its full torque. In short, this is an in-depth guide about the L298N motor driver and its specifications and how to interface motors with L298N.
Project: How To Interfacing L298N Motor Driver With Arduino Uno
Now that we have a clear understanding of the project and the components used, let’s start the project.
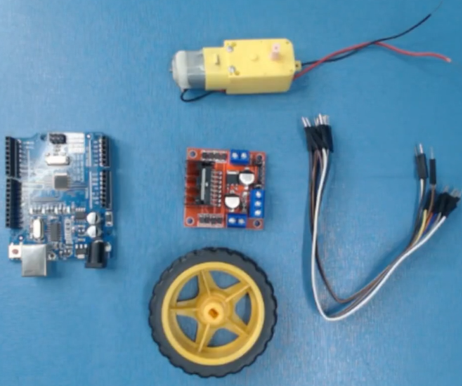
Components Required
| IMAGE | COMPONENT | QUANTITY |
|---|
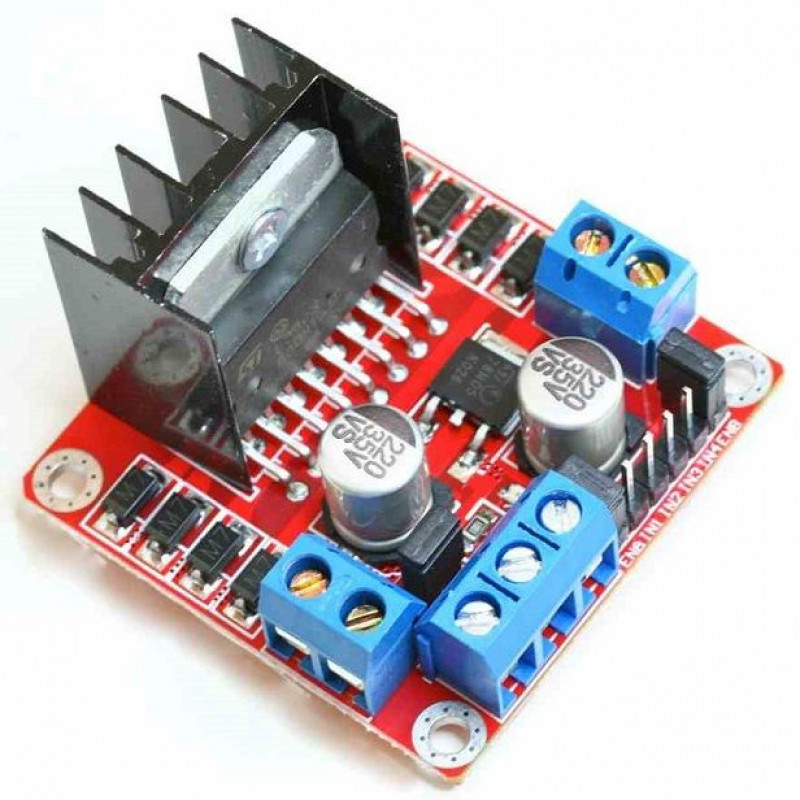
Motor Driver L298N
1

BO Motor
1
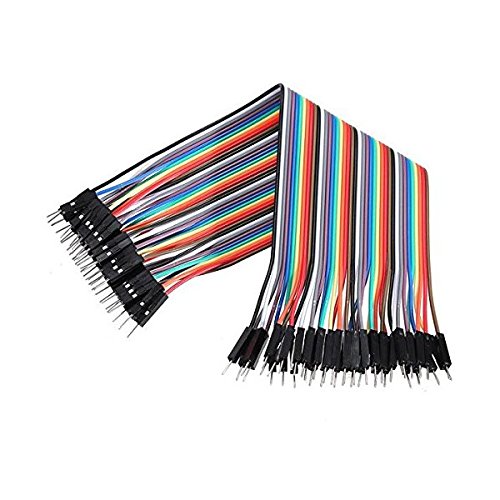
Jumper Wires
As Per Requirement

Wheel
1
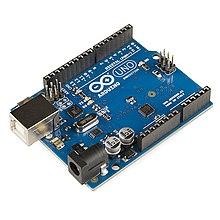
Arduino
1
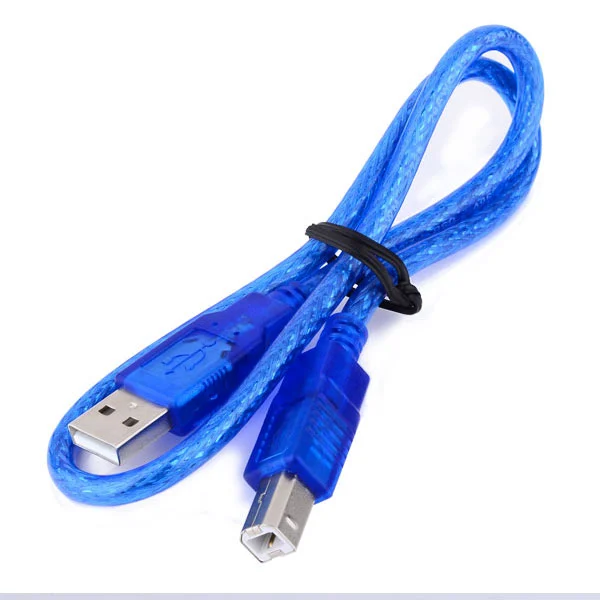
USB cable A to B
1
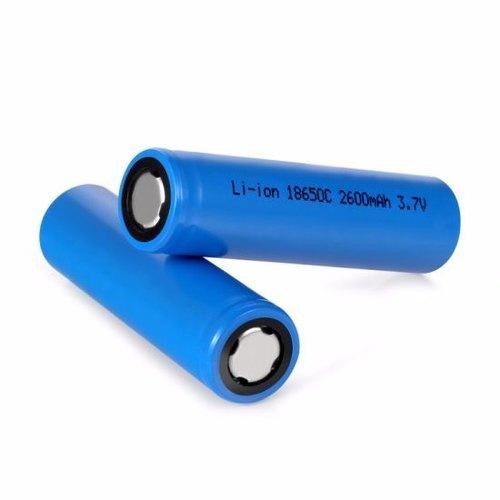
Battery
1
Building Guide
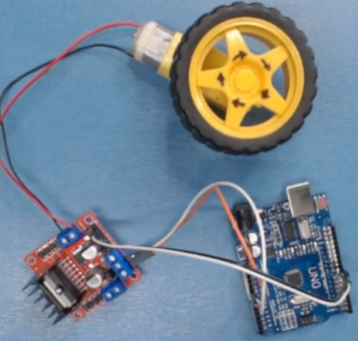
Step 1: Assembly
- Start by assembling all the components.
- Connect the motor driver with the motor
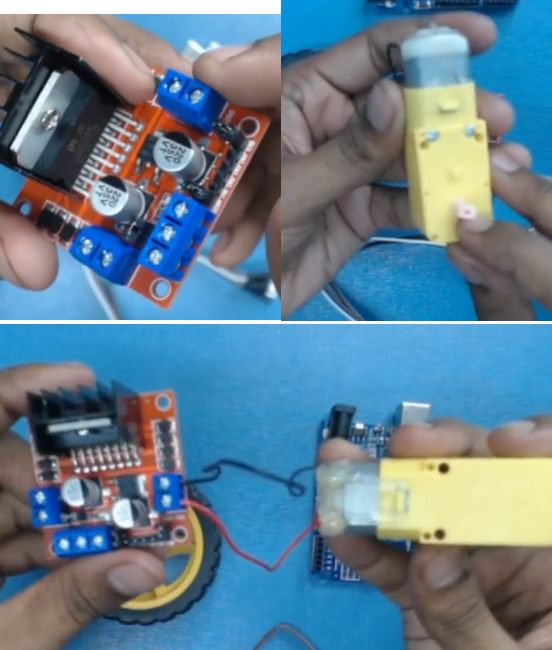
- Now power up the motor driver by providing the 12V and the GND from the Arduino.
- Connect the motor pin to the Arduino digital pin 6 and 7.
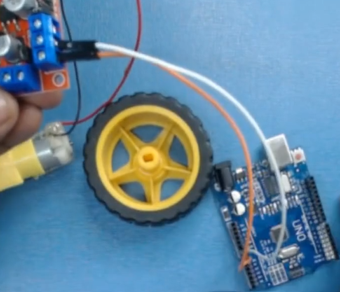
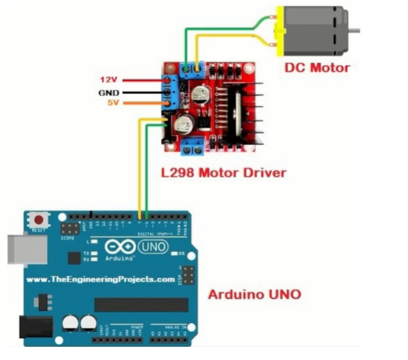
Step 2: Circuitry of the Robot
- Powering the components
- Powering the motor driver.
- VCC to 5V
- GND / to GND
- Motor pin to digital pin 6 and 7
- Connecting the motor
- Pin 6 and 7
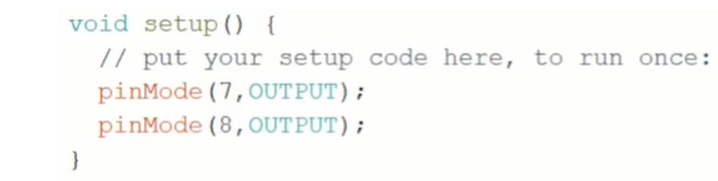
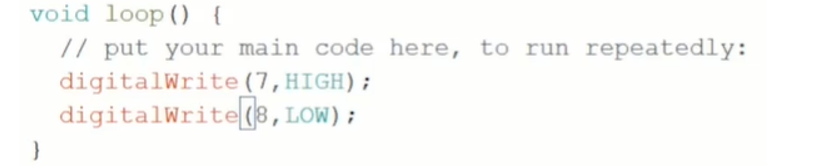
Step 5: Code
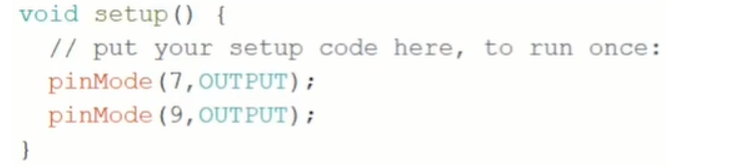
- Start by declaring the pins we are using.
- Moving the motor in a clockwise direction.
- For controlling the speed of the Motor connect the pin to the PWM pins of the Arduino.
- Use analogWrite instead of digitalWrite.
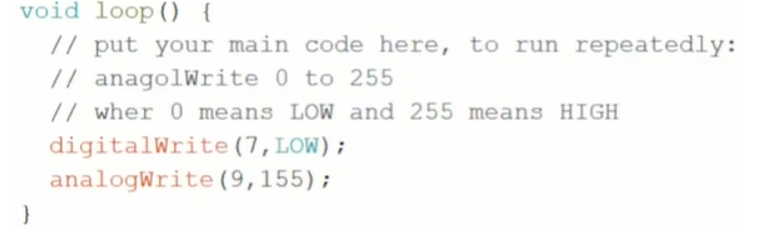
The following code will help you to make L298N Motor Driver With Arduino.
Code
DESCRIPTION
DOWNLOAD CODE
L298N Motor Driver With Arduino Code
This stepwise guide will help you to Interface Motors with L298N. Hope this was easy for you to understand the project. Have your say by leaving your comments below.
