
About This Project
In this tutorial, we will be learning about how to take input from the Push Button with the help of Arduino.
Project Info
- Programming Platform: Arduino IDE
- Difficulty: Intermediate
- Estimated Time: 1 Hrs
- Category: Arduino
- Tags: Push Button, Arduino, Jumper Wires, BreadBoard.
Introduction
Push Button is a switch that helps in completing the circuit when it is pressed. It is a type of switch that works on a simple mechanism called “Push-to-make”. When one leg of the push-button is connected to a positive supply and the other one is connected with LED via the resistor. It is used in many circuits to trigger the system.
The push-button has a spring inside that brings it back to the initial position as soon as the button is released. This button is made up of plastic or metal. It has 4 legs; two on each side. The legs on both sides are internally connected. This allows users to operate two lines of the circuit by single push button. When the button is pressed, it conducts current through it and makes the circuit. When the button is released, it breaks the circuit.
What is Arduino?
Arduino is an open-source electronics platform based on easy-to-use hardware and software. Arduino is used worldwide by electronic makers, students, hobbyists and others for various electronic projects ranging from simple everyday objects to scientific instruments.
Project: Making Digital input with a push-button in Arduino.
What is a Jumper Wire?
A jump cable is an electrical cable, or group of them in a cable, with a connector or legs at each end, which is typically used to connect the components of a breadboard or other prototype or experiment.
Components Required
| Sr.no. | Image | Component | Quantity |
|---|---|---|---|
| 1 | 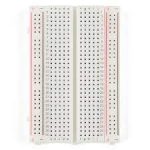 |
Breadboard | 1 |
| 2 | 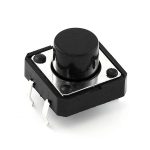 |
Push Button | 1 |
| 3 | 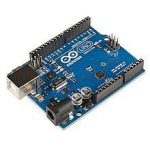 |
Arduino | 1 |
| 4 | 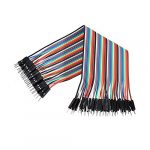 |
Jumper Wires | As Per Requirement |
| 5 | 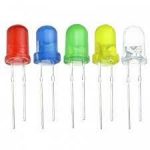 |
Led | 1 |
Building Guide
Step 1: Circuitry of the Robot
- Gather all the required components.
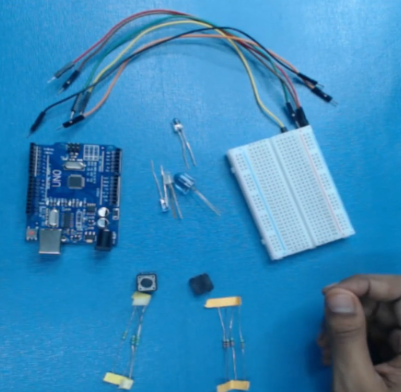
Step 2: Circuitry:
- Arduino Digital Pin-3 to Push-Button pin1
- GND of the Arduino to Push-Button2 Cross-connectiontion)
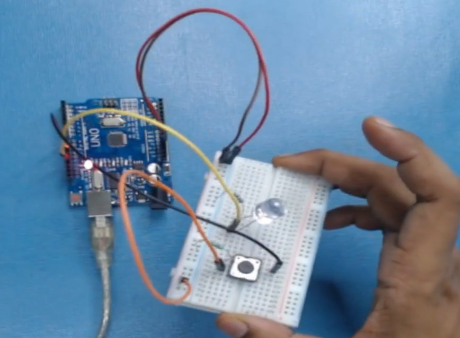
Step 3: After all connections are done, connect the USB cable from the computer to the Arduino. and program the coding.
CODING:
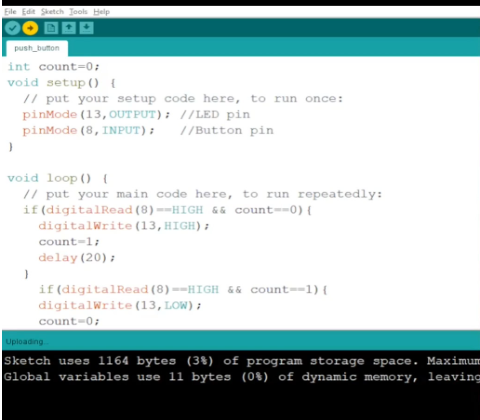
Step 4: After that upload the program to the Arduino. When uploading is done, press the Push Button, now, you will see that the LED is glowing.
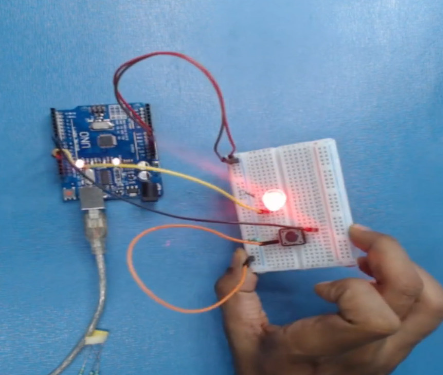
This is one of the simplest ways to use push-button for digital input. Hope you liked working on the project.
Code
Description
Download Code

