

About This Project
Today, we are going to work on a project that will make you learn the basic electronics and how to make the circuit for making the LED glow. Follow the stepwise procedure given below to make the circuit.
Project Info
- Difficulty: Beginner
- Estimated Time: 30 minutes
- Category: Snap Circuit
- Tags: Electronics, Series Connection
Introduction To Basic Electronic Circuit And LED Bulb Circuit
Do you know what an LED bulb is and how the electronic circuit works to make bulbs and LEDs glow? Today, we are going to understand the basic working of electronic circuits, bulbs, and LEDs. We will be learning about various components that are required to make the electronic circuits and learn how to make the LEDs glow with these electronic circuits. So what’s the wait for, let’s dive into it and learn the basics of electronics and how we can make the LED glow.
Project: Guide To Basic Electronic Circuit And LED Bulb Circuit
Now that we have a clear understanding of the project and the components used, let’s start the project.
Components Required
| Image | Component | Quantity |
|---|---|---|
 |
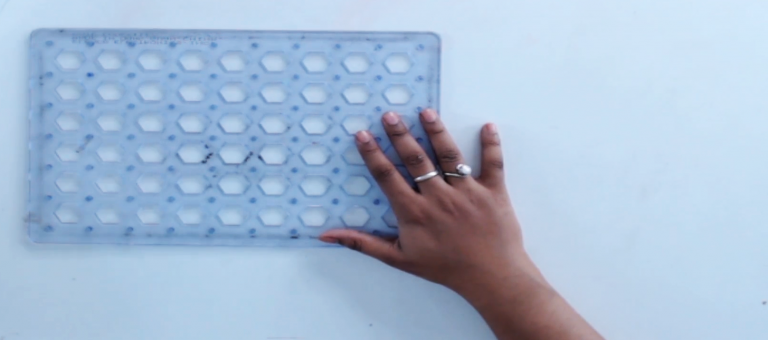
Base Grid | 1 |
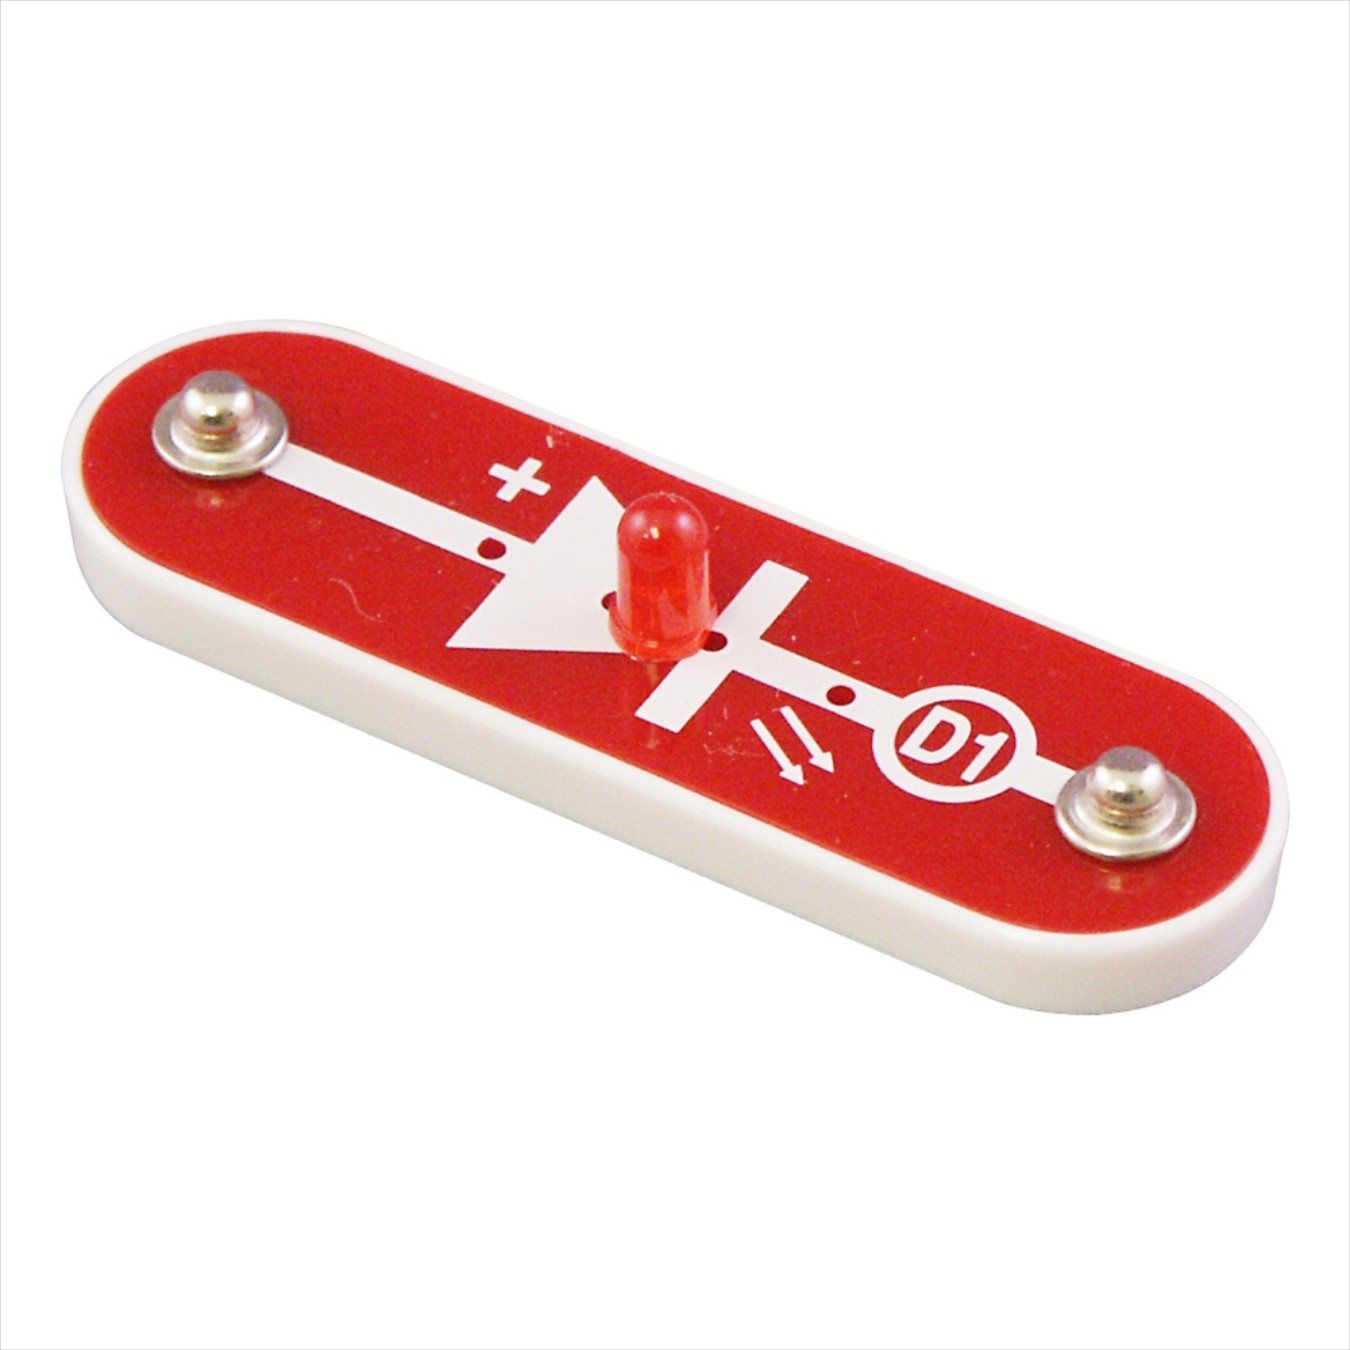 |
LED | 1 |
 |
Snap Wires | As Per Requirement |
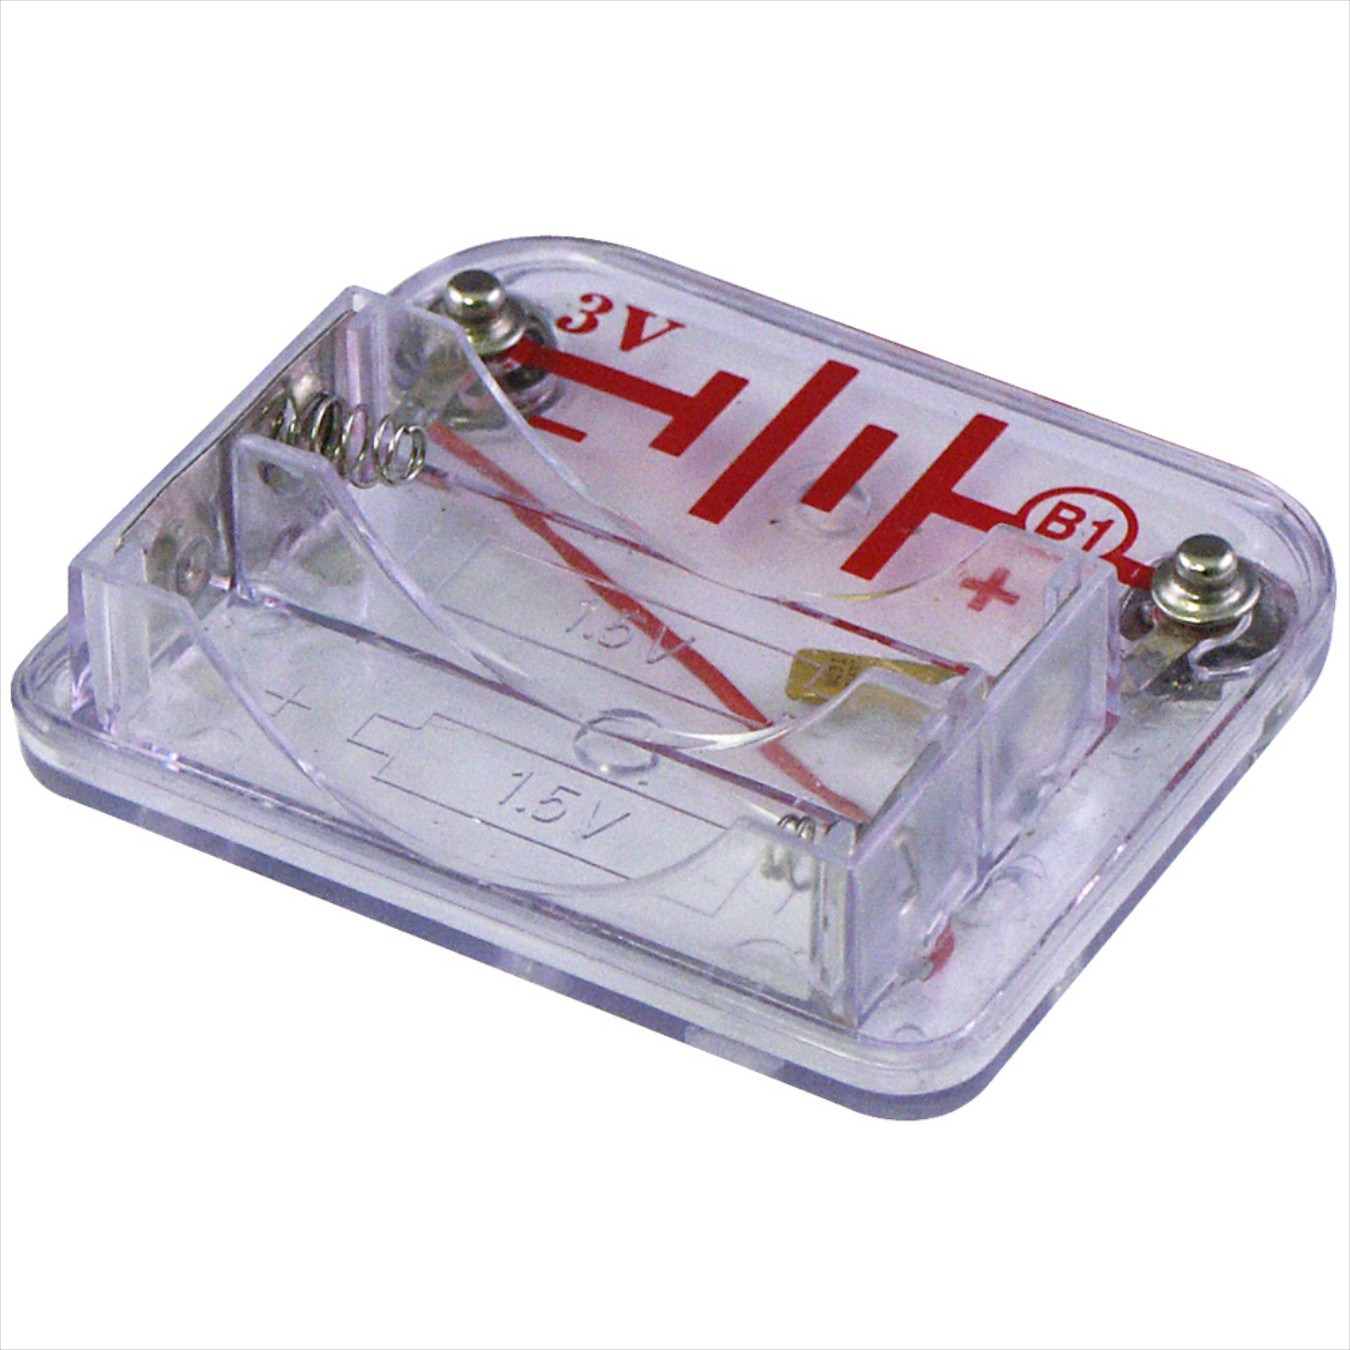 |
Battery Holder | 1 |
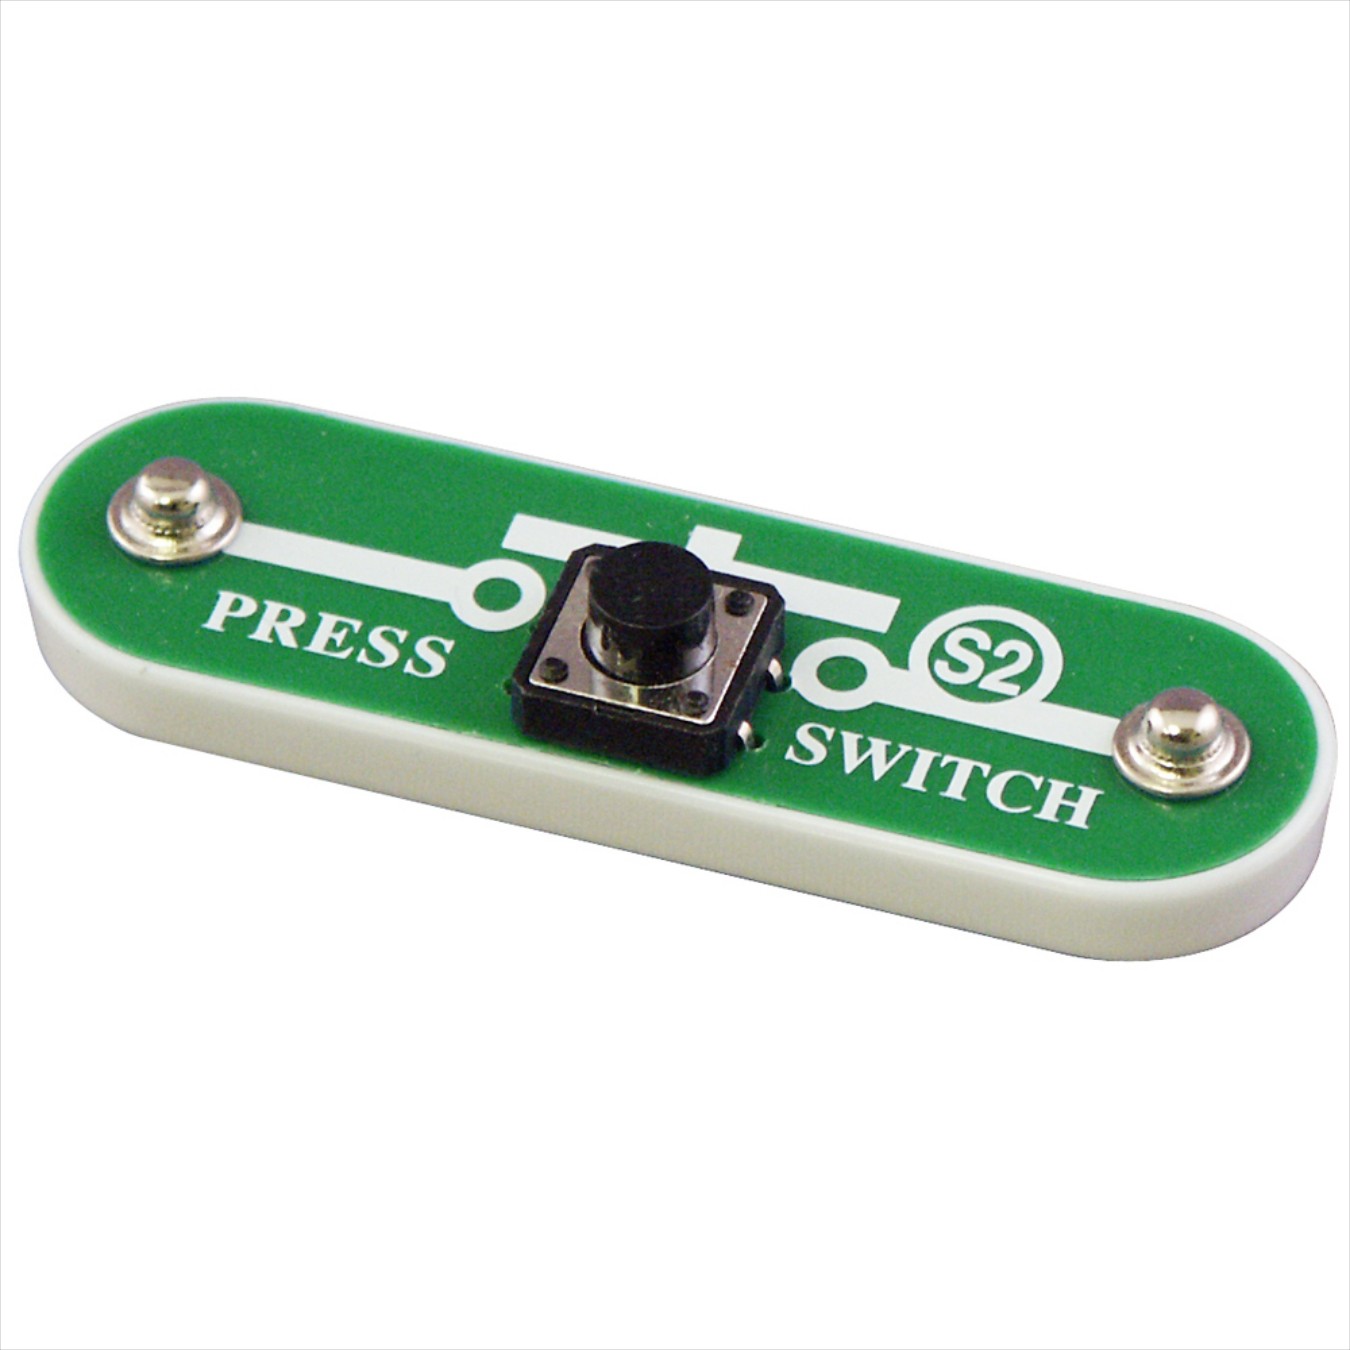 |
Switch | 1 |
Overview Of The Components Used
- Base Grid: The base grid works like the printed circuit boards that are found in most electronic products. It is a platform that is used to mount the parts and wires for circuit building.
- LED: LED (light-emitting diode) is a semiconductor device that emits light when an electric current flows through it. When current passes through an LED, the electrons recombine with holes emitting light in the process. LEDs allow the current to flow in the forward direction and blocks the current in the reverse direction.
- Snap Wires: The blue snap wires are the wires used to connect one component with another component. These wires are used to transport electricity. Snap wires come in different lengths so that the orderly arrangement of connections can be made on the base grid. These wires have numbers 1,2, 3, 4, and 5 on them depending on the length of the wire connection required.
- Batteries: Only 1.5V AA type, alkaline batteries should be used for the project. You should insert batteries with the correct polarity. The batteries are non-rechargeable and should not be recharged. Check for old and new batteries, you should not mix the old and new batteries.
- Switch: There are two green-colored switch blocks in the kit with the names Slide Switch and Press Switch.
- (i) The slide switch (S1) connects (ON) or disconnects (OFF) the wires in a circuit. When ON, it has no effect on circuit performance.
- (ii) The press switch (S2) connects (pressed) or disconnects (not pressed) the wires in a circuit, just like the slide switch does.
Building Guide
Step 1: Place the snap circuit base grid on the floor or on the table.
Step 2: Take out all the necessary components like LED, batteries, Snap wires, and Switch from the snap circuit box. Now, you are ready to make the circuit.
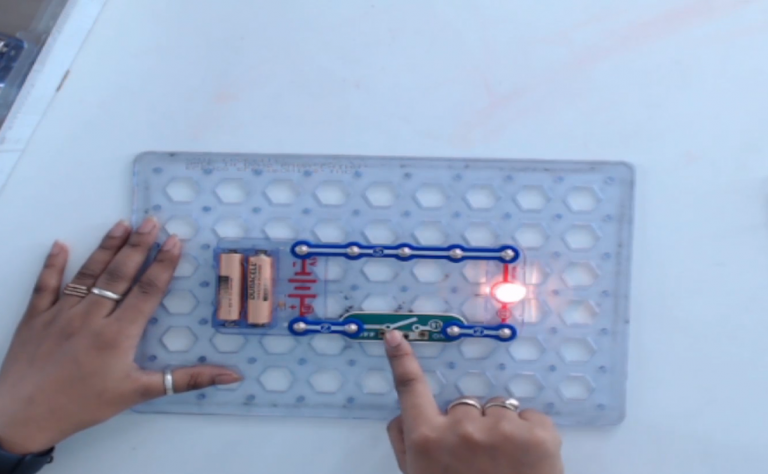
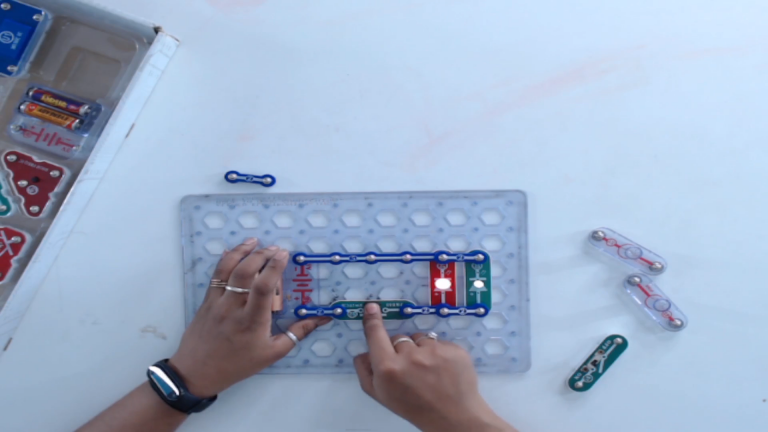
Step 3: Make the connections as shown in the image given below. Ensure to make the connections properly and snap the circuits in a proper manner.
Note: Turn the switch ON to light up the Bulb and LED.
What if the Circuit Doesn’t work?
- If your circuit is not working properly, check the circuit assembly. Generally, the problem occurs because of the incorrect circuit assembly. One needs to ensure to double-check that the circuit is correctly made. If the assembly is correct, check if all the parts with positive/negative markings are positioned properly. Next, check if all the connections are securely snapped. If the problem persists, check the batteries and if they are not working properly, replace them.
- With this, we come to an end of the project. Hope you enjoyed making the project. If you have any questions related to the project, you can leave a comment below.
