
About This Project (DC Motor)
Learn what are motors and how to control them.
Project Info
- Difficulty: Beginner
- Estimated Time: 30 minutes
- Category: Snap Circuit
- Tags: Electronics, Series Connection, Motor, Speed Control
Watch the video here.
Introduction
Do you know what a DC motor is and how we can make it move clockwise or anticlockwise? We can increase and decrease the speed of the motor too. Today, we will be making the electronic circuit of DC motors and learn about various components required to make electronic circuits. Following the stepwise procedure, we will make the propeller move in clockwise and anticlockwise directions. We can also control the speed of the propeller.
Project: How to Control the Speed and Direction of a DC Motor
Now that we have a clear understanding of the project and the components used, let’s start the project.
Components Required In DC Motor
| Image | Component | Quantity |
|---|---|---|
 |
Base Grid | 1 |
 |
Motor | 1 |
 |
Battery Holder | 1 |
 |
Switch | 1 |
 |
Snap Wires | As Per Required |
Other Components Required In DC Motor
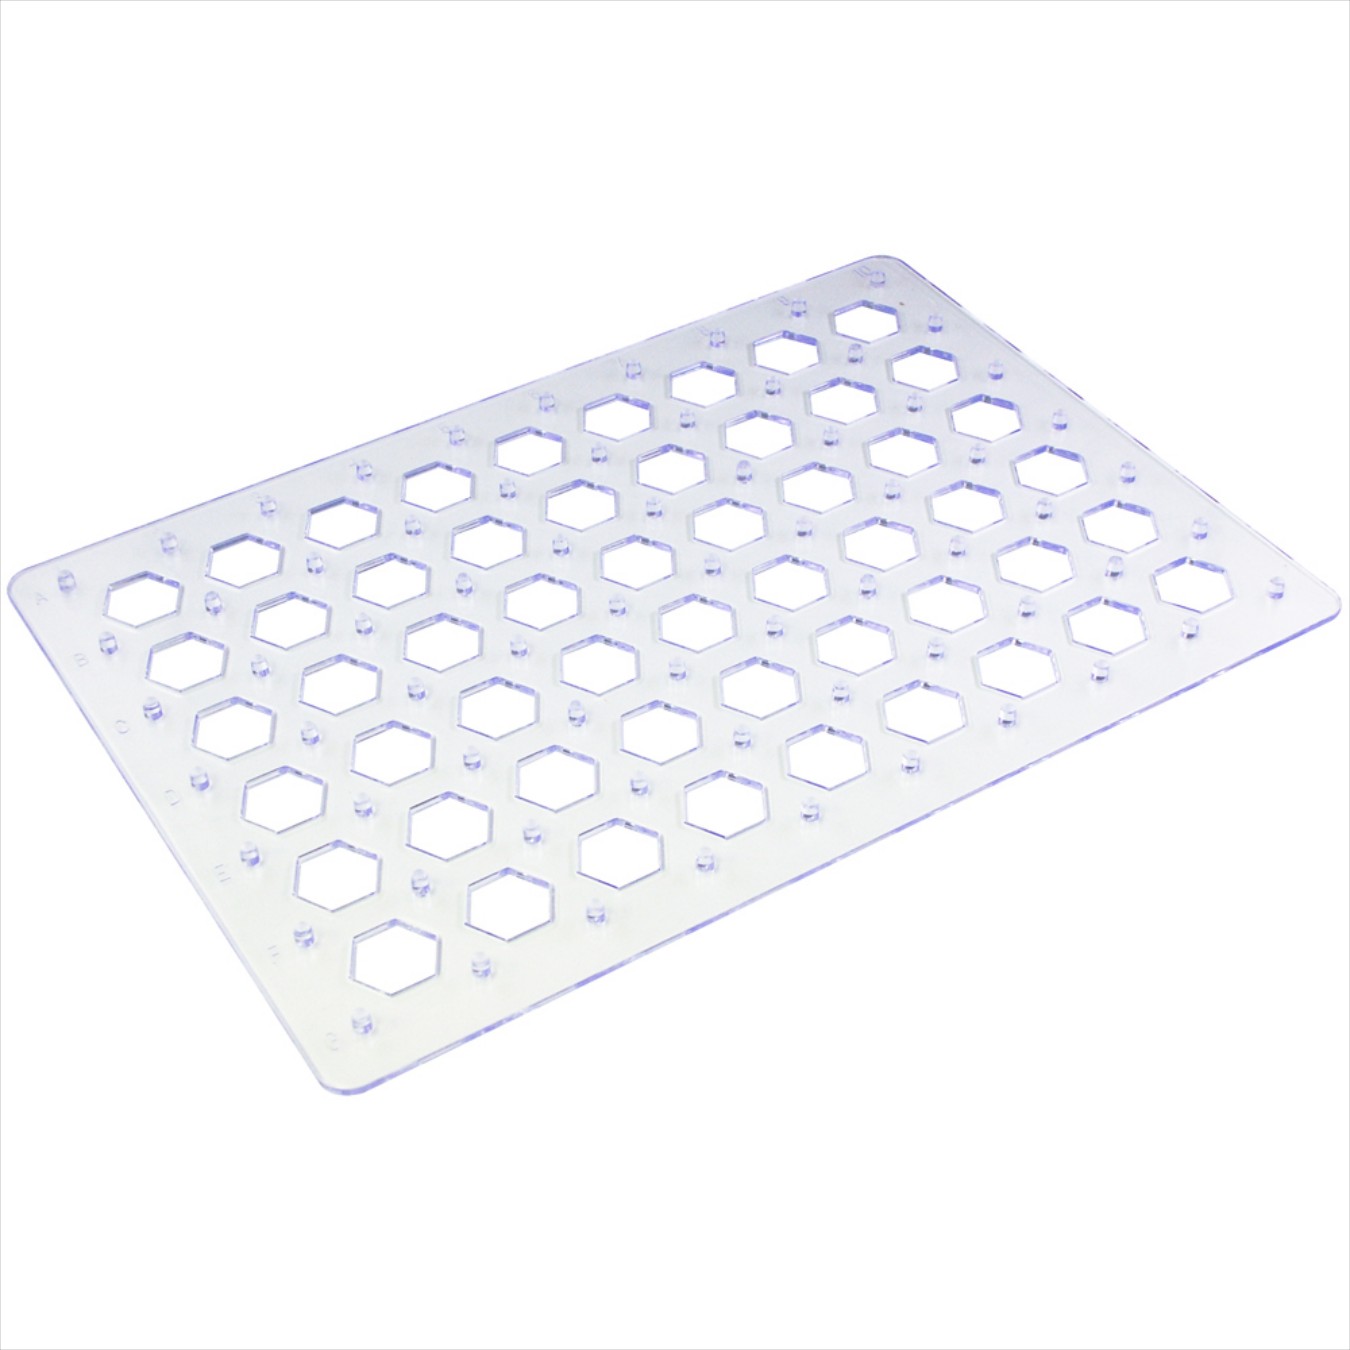
- Base Grid: The base grid works like the printed circuit boards found in most electronic products. It is a platform that is used to mount the parts and wires for circuit building.
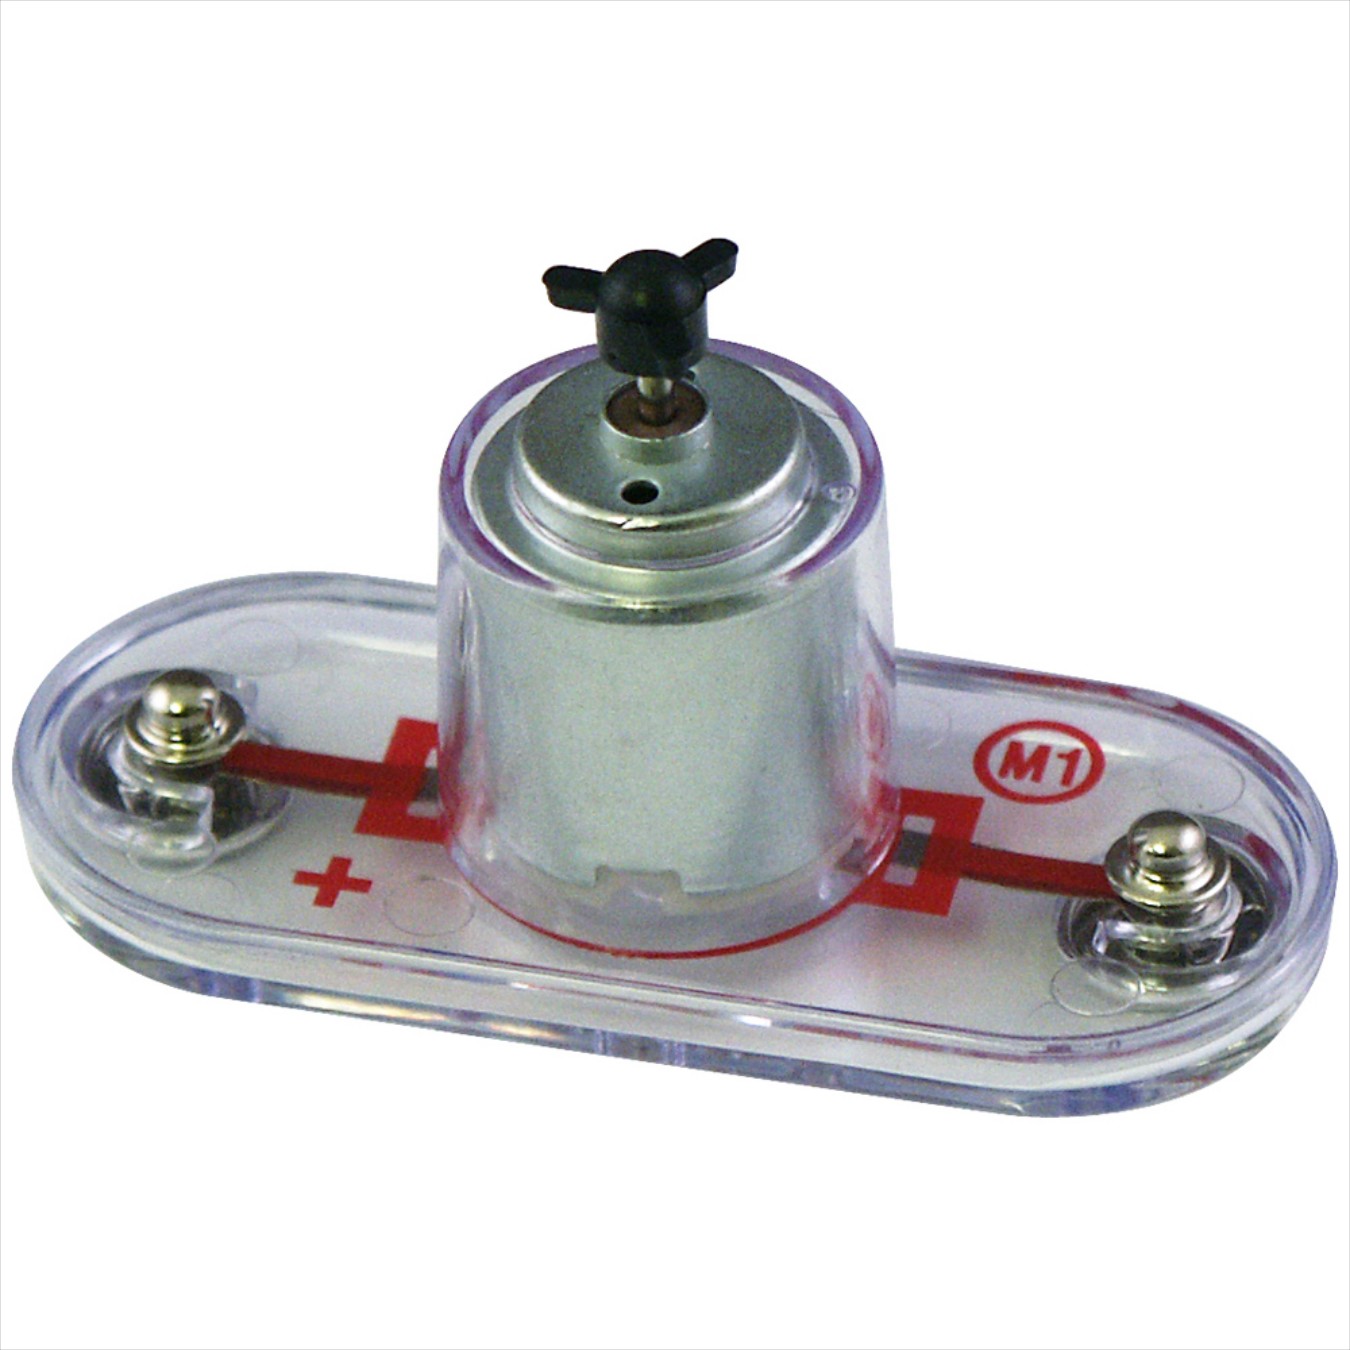
- Motor: DC Motor (M1) converts electricity into mechanical motion. An electric current flowing in a wire has a magnetic field similar to that of a small magnet. The DC motor has three coils of wire with many loops. If a large electric current flows through the loops, the magnetic effects become concentrated enough to move the coils. The DC motor has a magnet inside making electricity move the coils to align them with the permanent magnet, and the shaft spins. It has two ports, negative and positive.
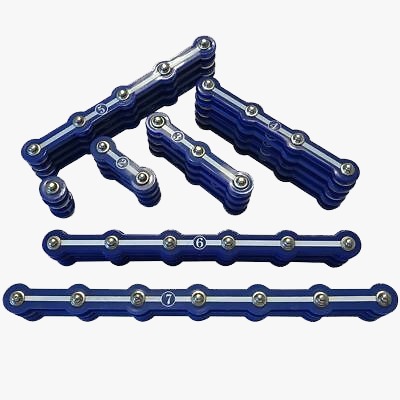
- Snap Wires: The blue snap wires are the wires used to connect one component with another component. These wires are used to transport electricity. Snap wires come in different lengths so that the orderly arrangement of connections can be made on the base grid. These wires have numbers 1,2, 3, 4, and 5 on them depending on the length of the wire connection required.
- Batteries: Only 1.5V AA type, alkaline batteries should be used for the project. You should insert batteries with the correct polarity. The batteries are non-rechargeable and should not be recharged. Check for old and new batteries, you should not mix the old and new batteries.
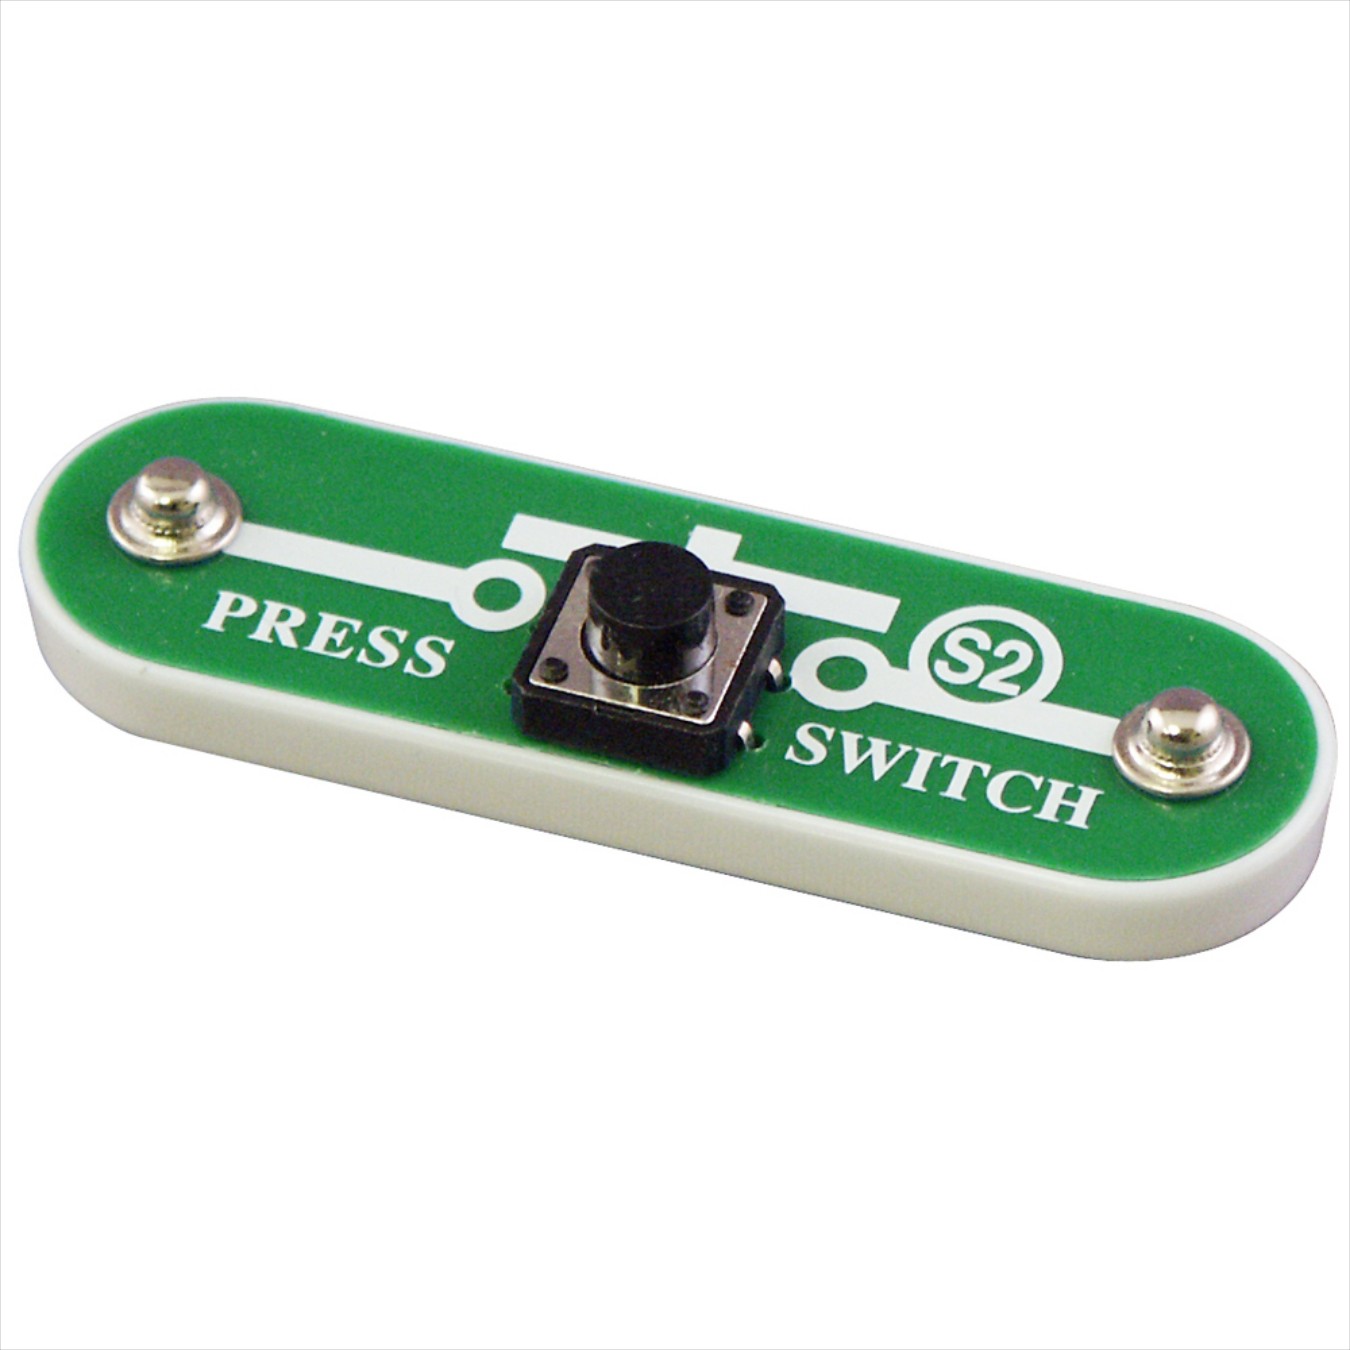
- Switch: There are two green-coloured switch blocks in the kit with the name Slide Switch and Press Switch. (i) The slide switch (S1) connects (ON) or disconnects (OFF) the wires in a circuit. When ON, it has no effect on circuit performance. (ii) The press switch (S2) connects (pressed) or disconnects (not pressed) the wires in a circuit, just like the slide switch does.
- Propeller: Propeller is one of the components included in the kit. When we place the propeller on the top, it moves either in the clockwise or anticlockwise direction.
Building Guide Of DC Motor
Step 1: Place the snap circuit base grid on the floor or on the table.

Step 2: Take out all the necessary components from the snap circuit box.
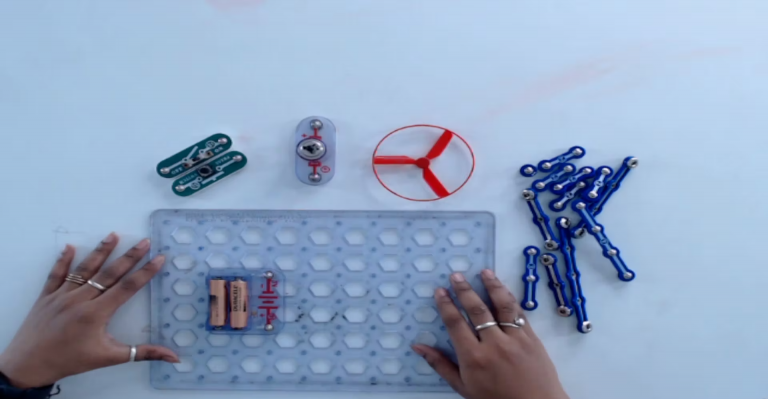
Step 3: Make the connections as shown below:
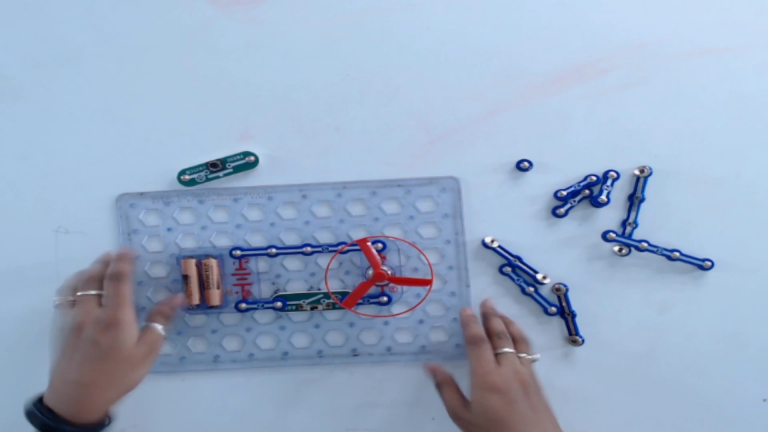
Now, we will understand how to control the speed and direction of the DC motor.
Speed Control
- When we connect with only two batteries the speed of the motor will run very slow. It is due to the low voltage.

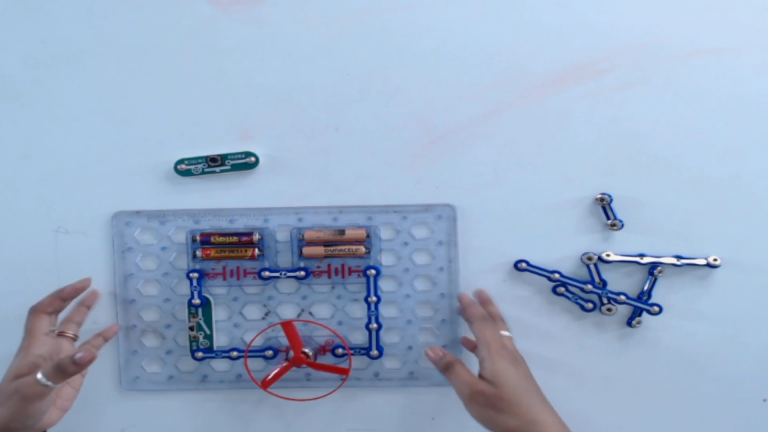
- But when we connect with another two more batteries (total four batteries) in series connection, then we can see the speed of the motor is increasing and it is running very fast. It is due to the higher voltage. Connection is shown below:
Direction Control
- To change the direction of the DC motor, reverse the connection of the motor from the previous connection. Now, we can see the motor is running in the reverse direction.
With this, we come to an end of the project. Hope you enjoyed making the project. If you have any questions related to the project, you can leave a comment below.

