

The line follower is a popular robot that can follow a black line on a white surface or a white line on a black surface. It is commonly used in industries for automation, in educational institutes to teach robotics, and in many other fields. In this blog, we will discuss the line follower with a single IR sensor using a modular library in Arduino IDE.
Materials Needed
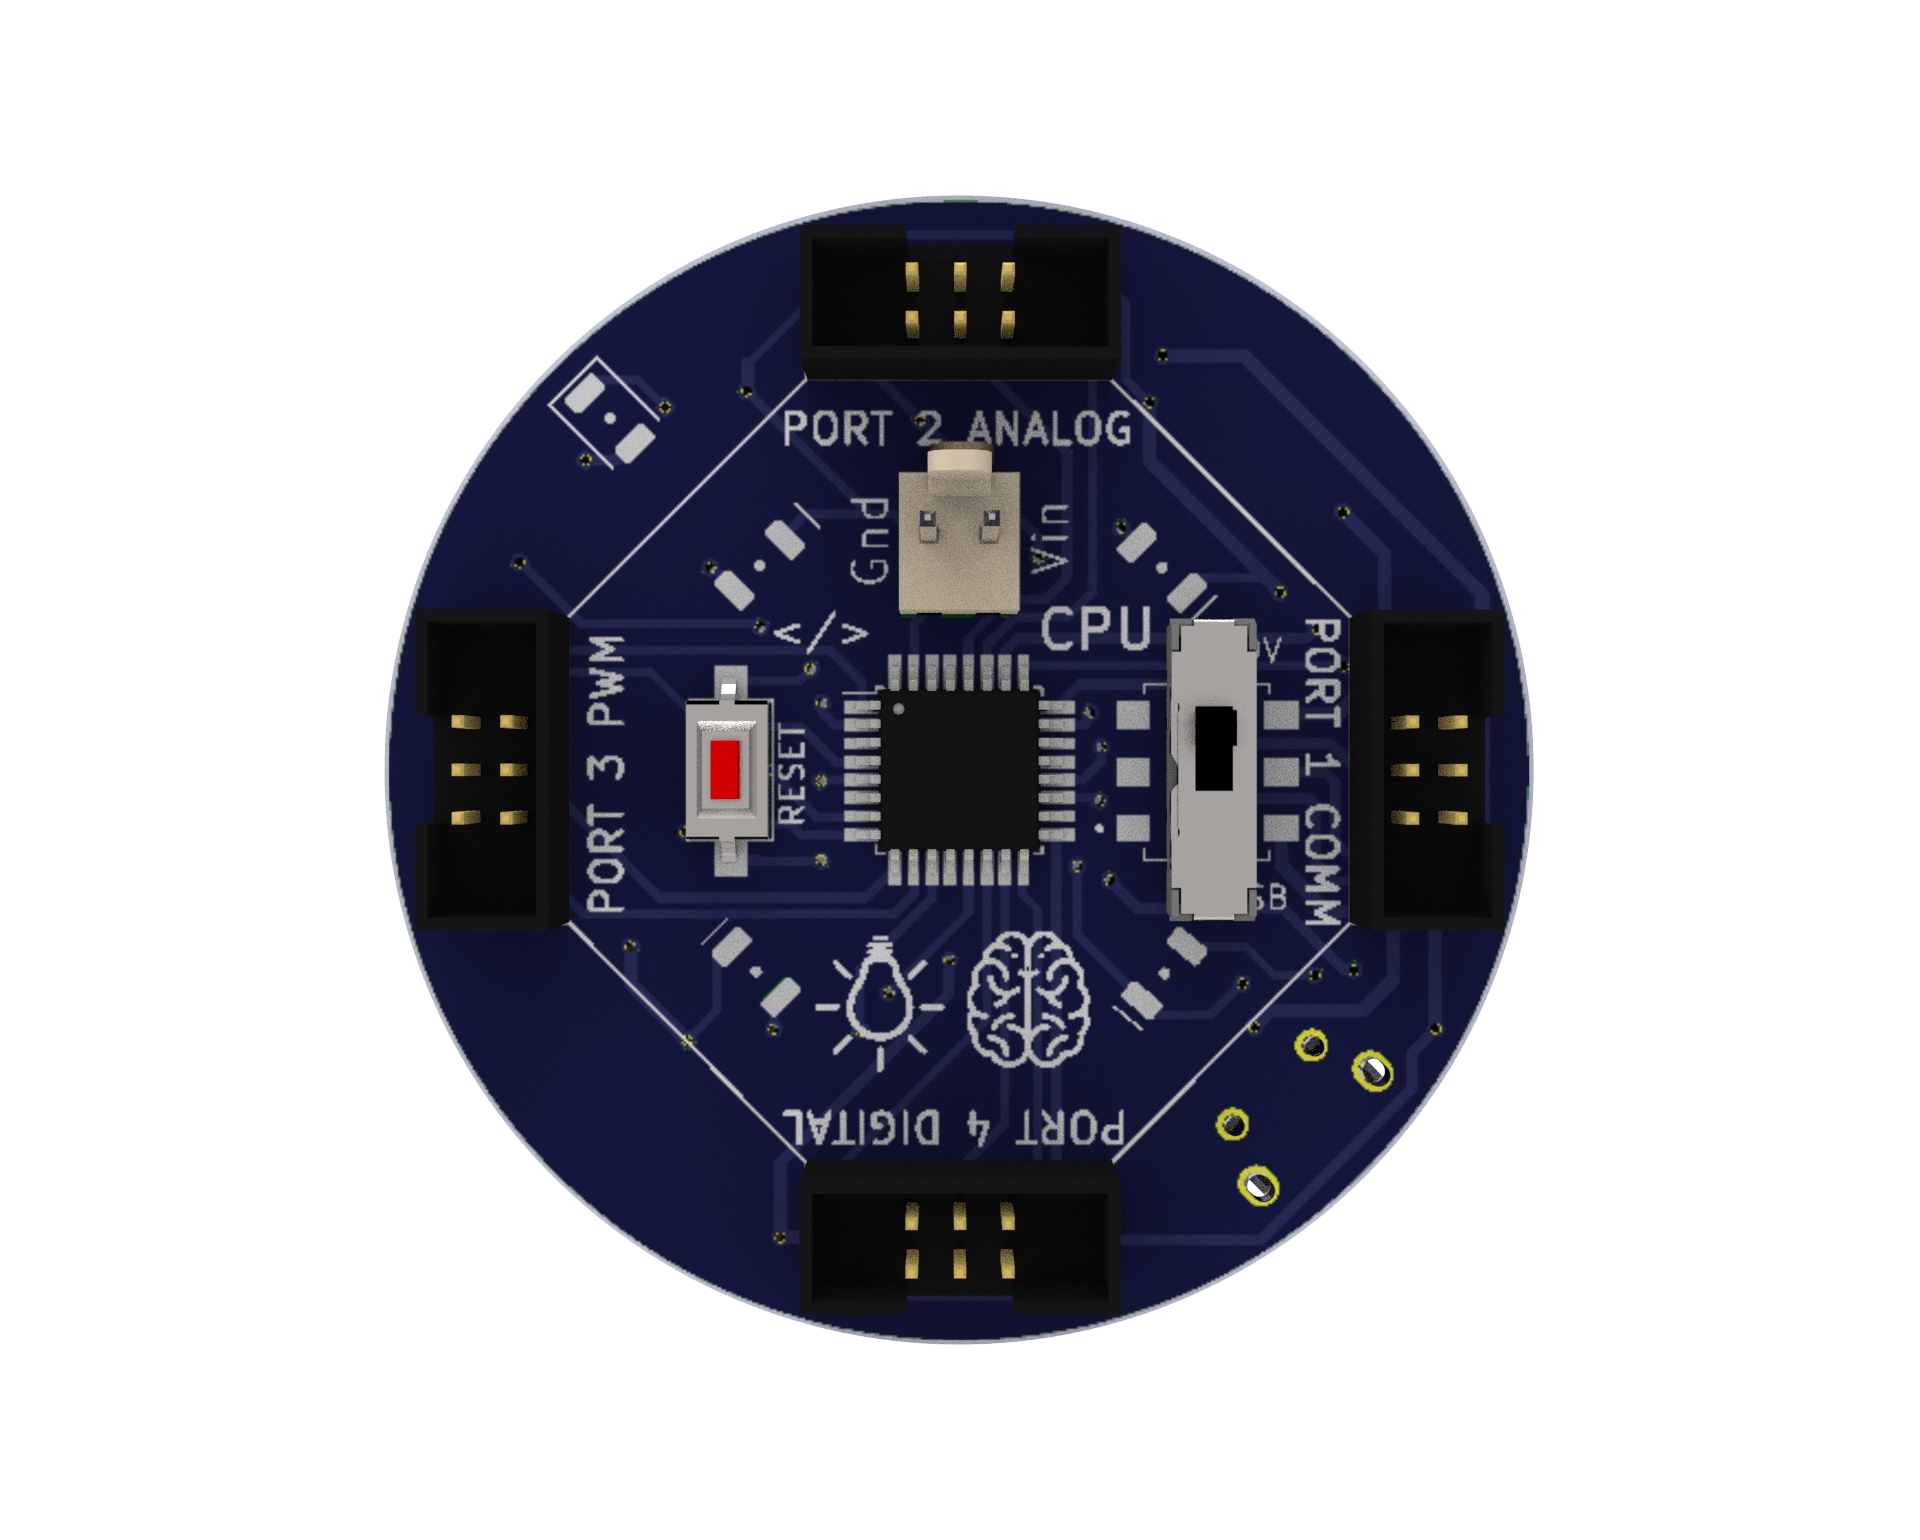
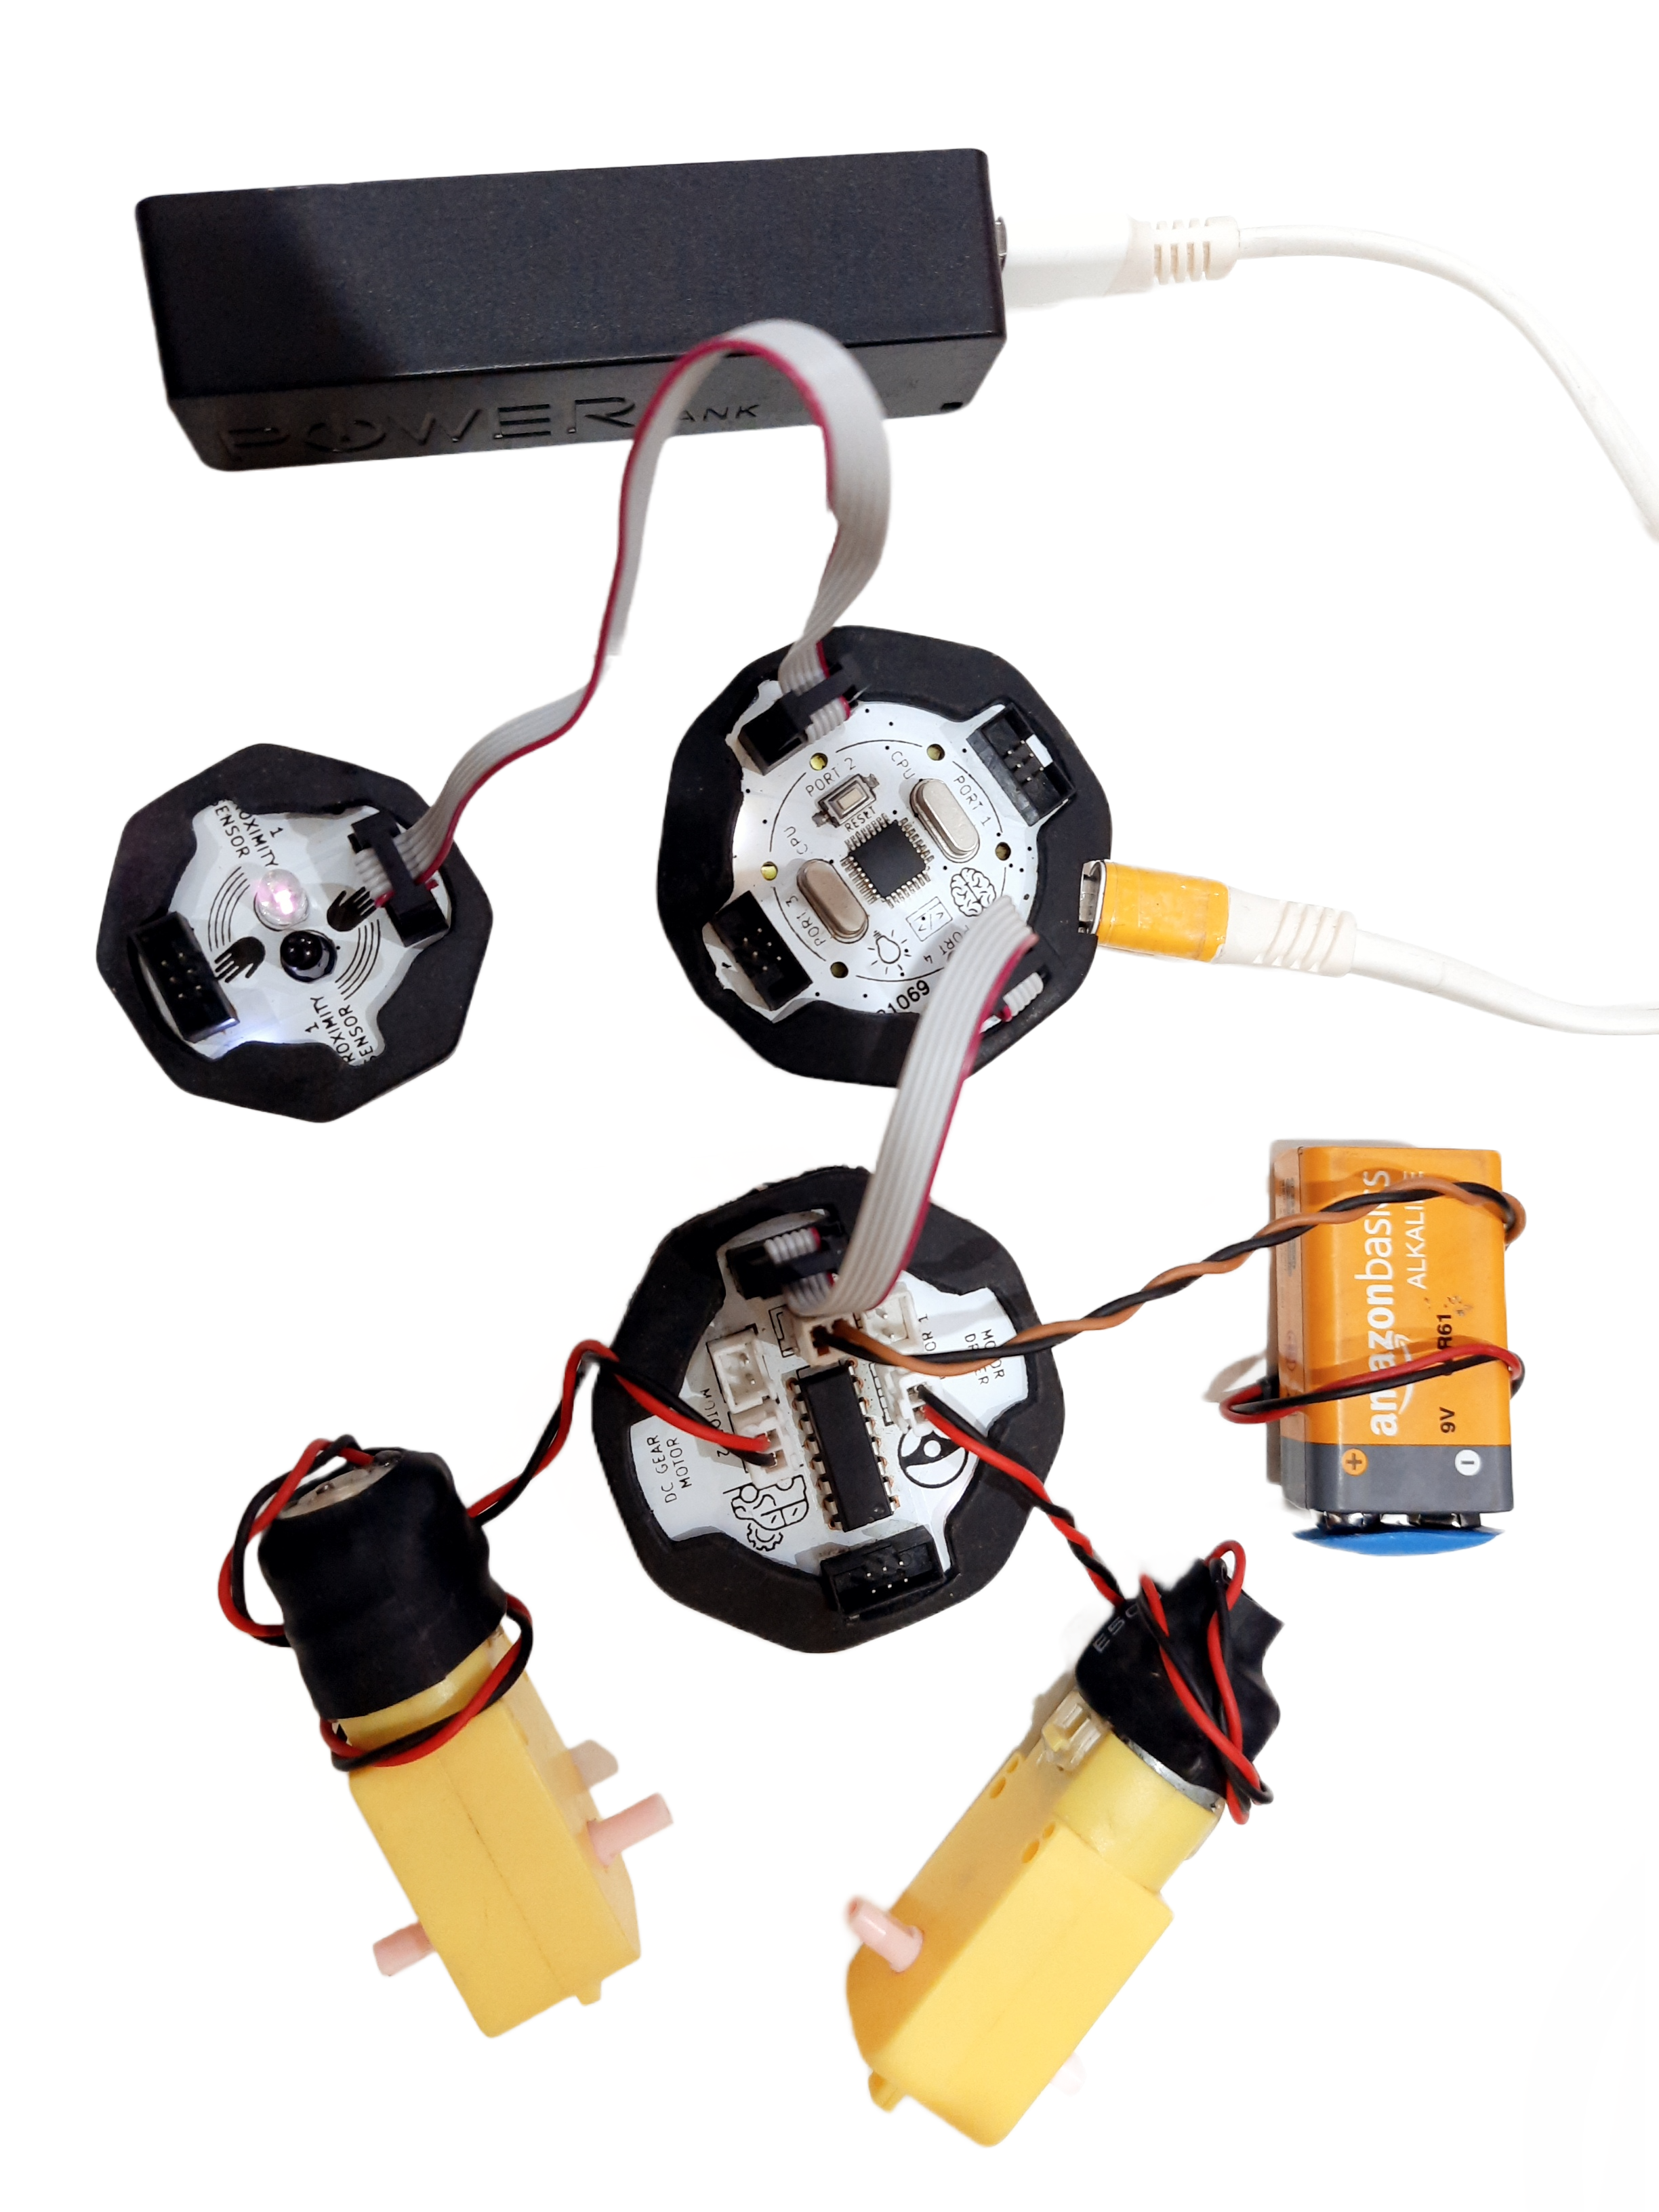
CPU: A microprocessor board used as the robot’s brain that may be programmed or Bluetooth-controlled to do a variety of tasks. We have four ports on this board, and they are each used for various input and output tasks by connecting to various electronic parts.
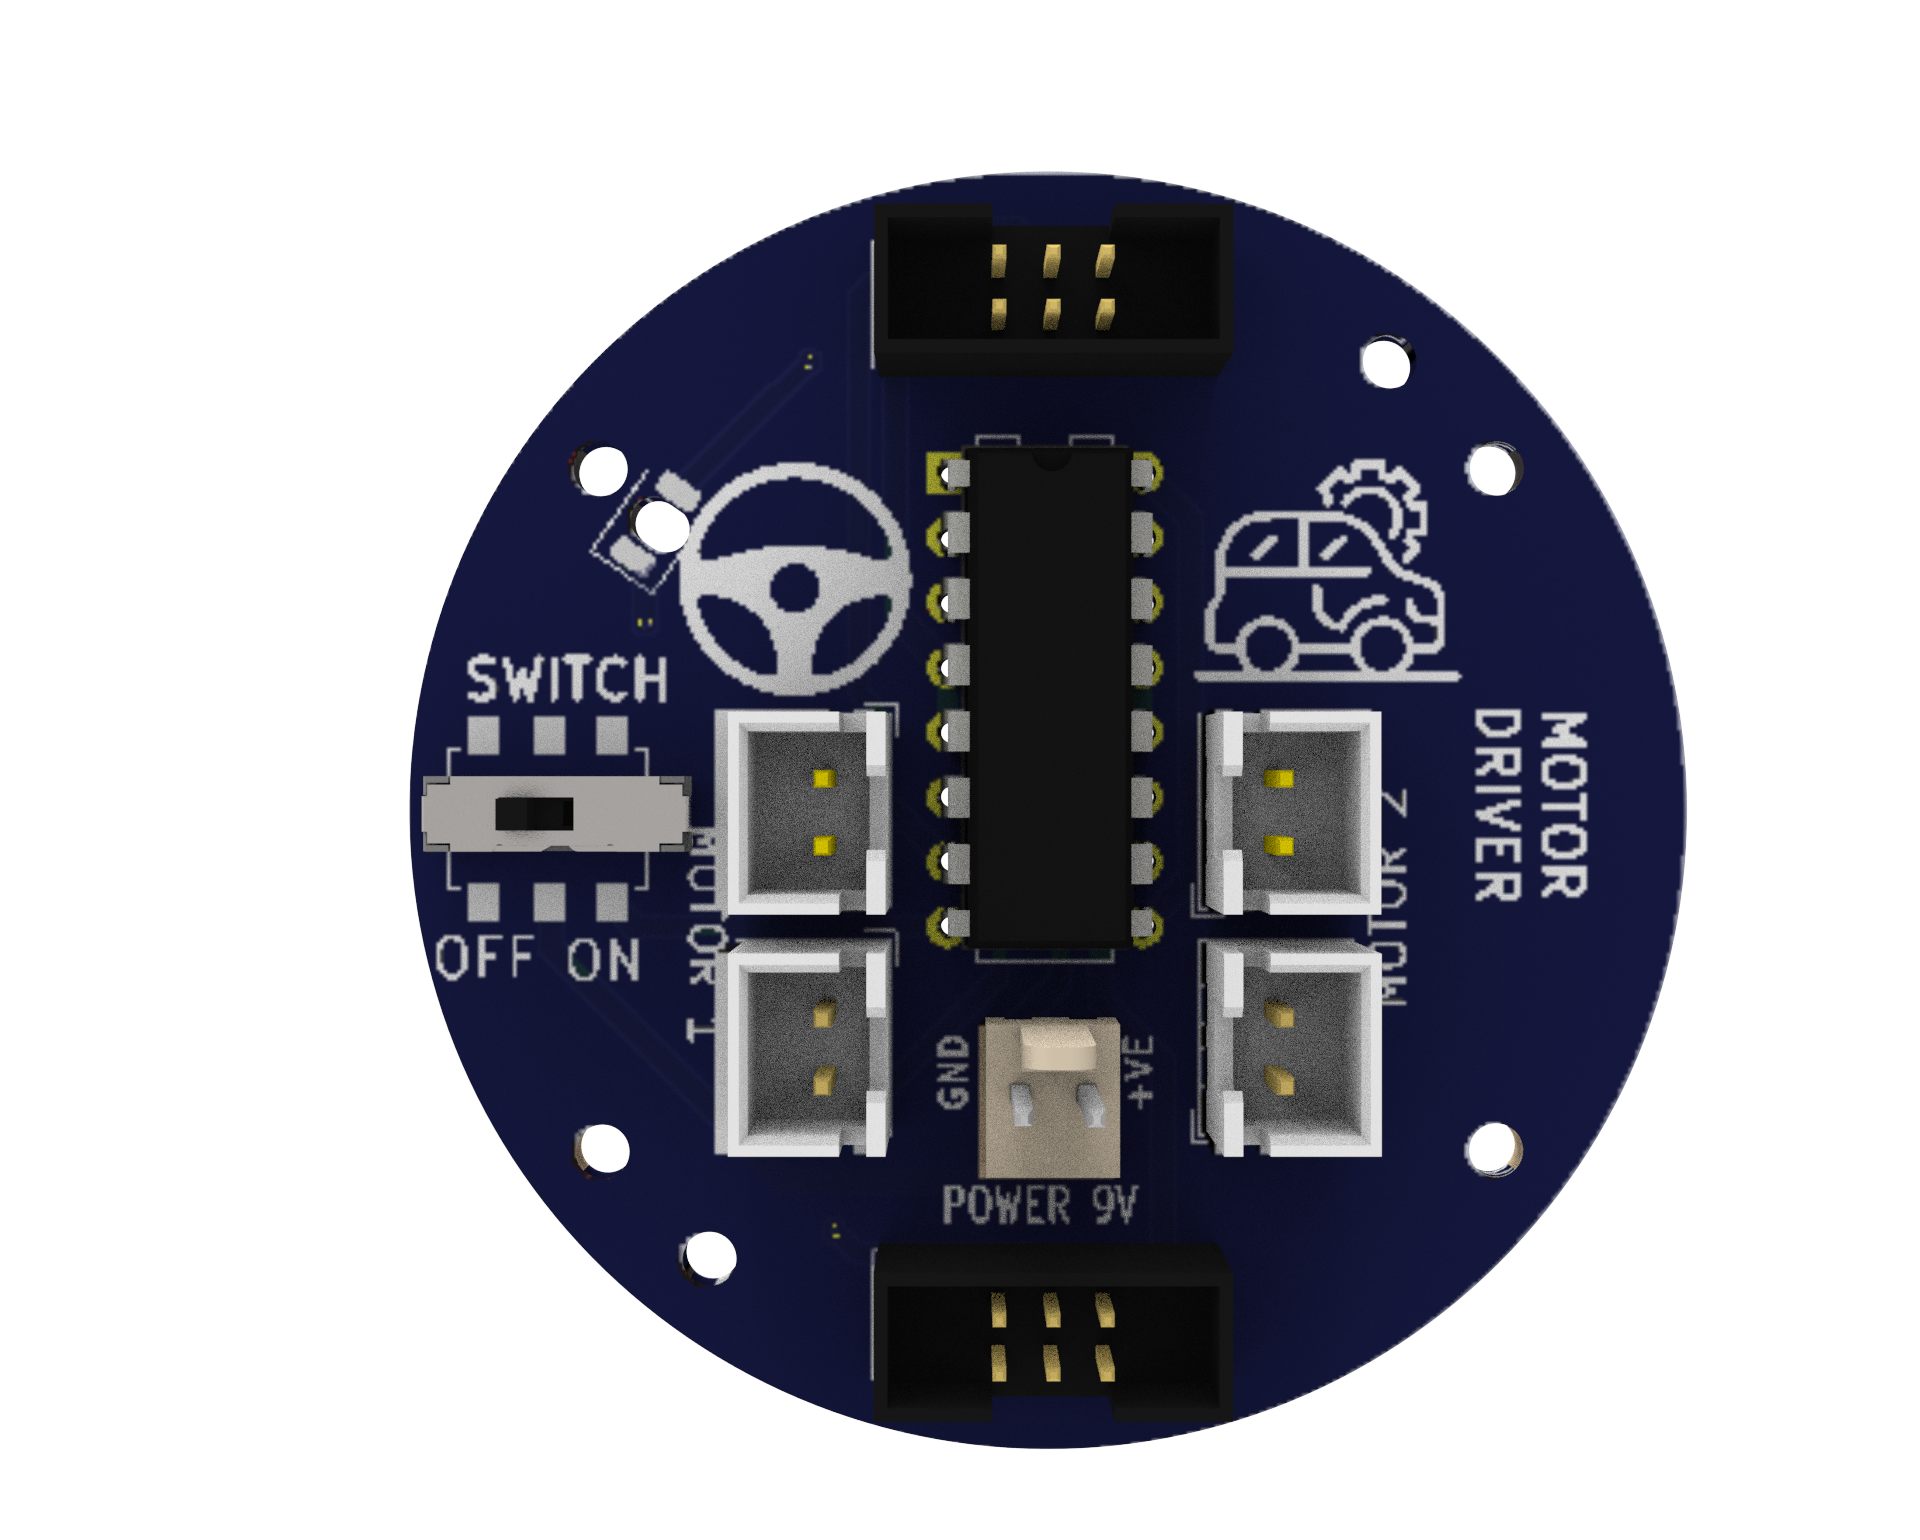
Motor Driver: A circuit that enables the robot to regulate the motors’ speed and direction. It uses a separate 9V battery to supply the motors with the necessary power and voltage.
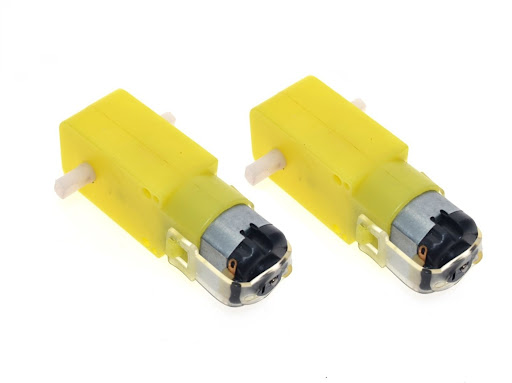
Battery-operated (BO) motors: These are DC (direct current) motors that have a gearbox attached to them, allowing them to operate at lower speeds and with more torque. In robotics and other electrical tasks, they are frequently employed.
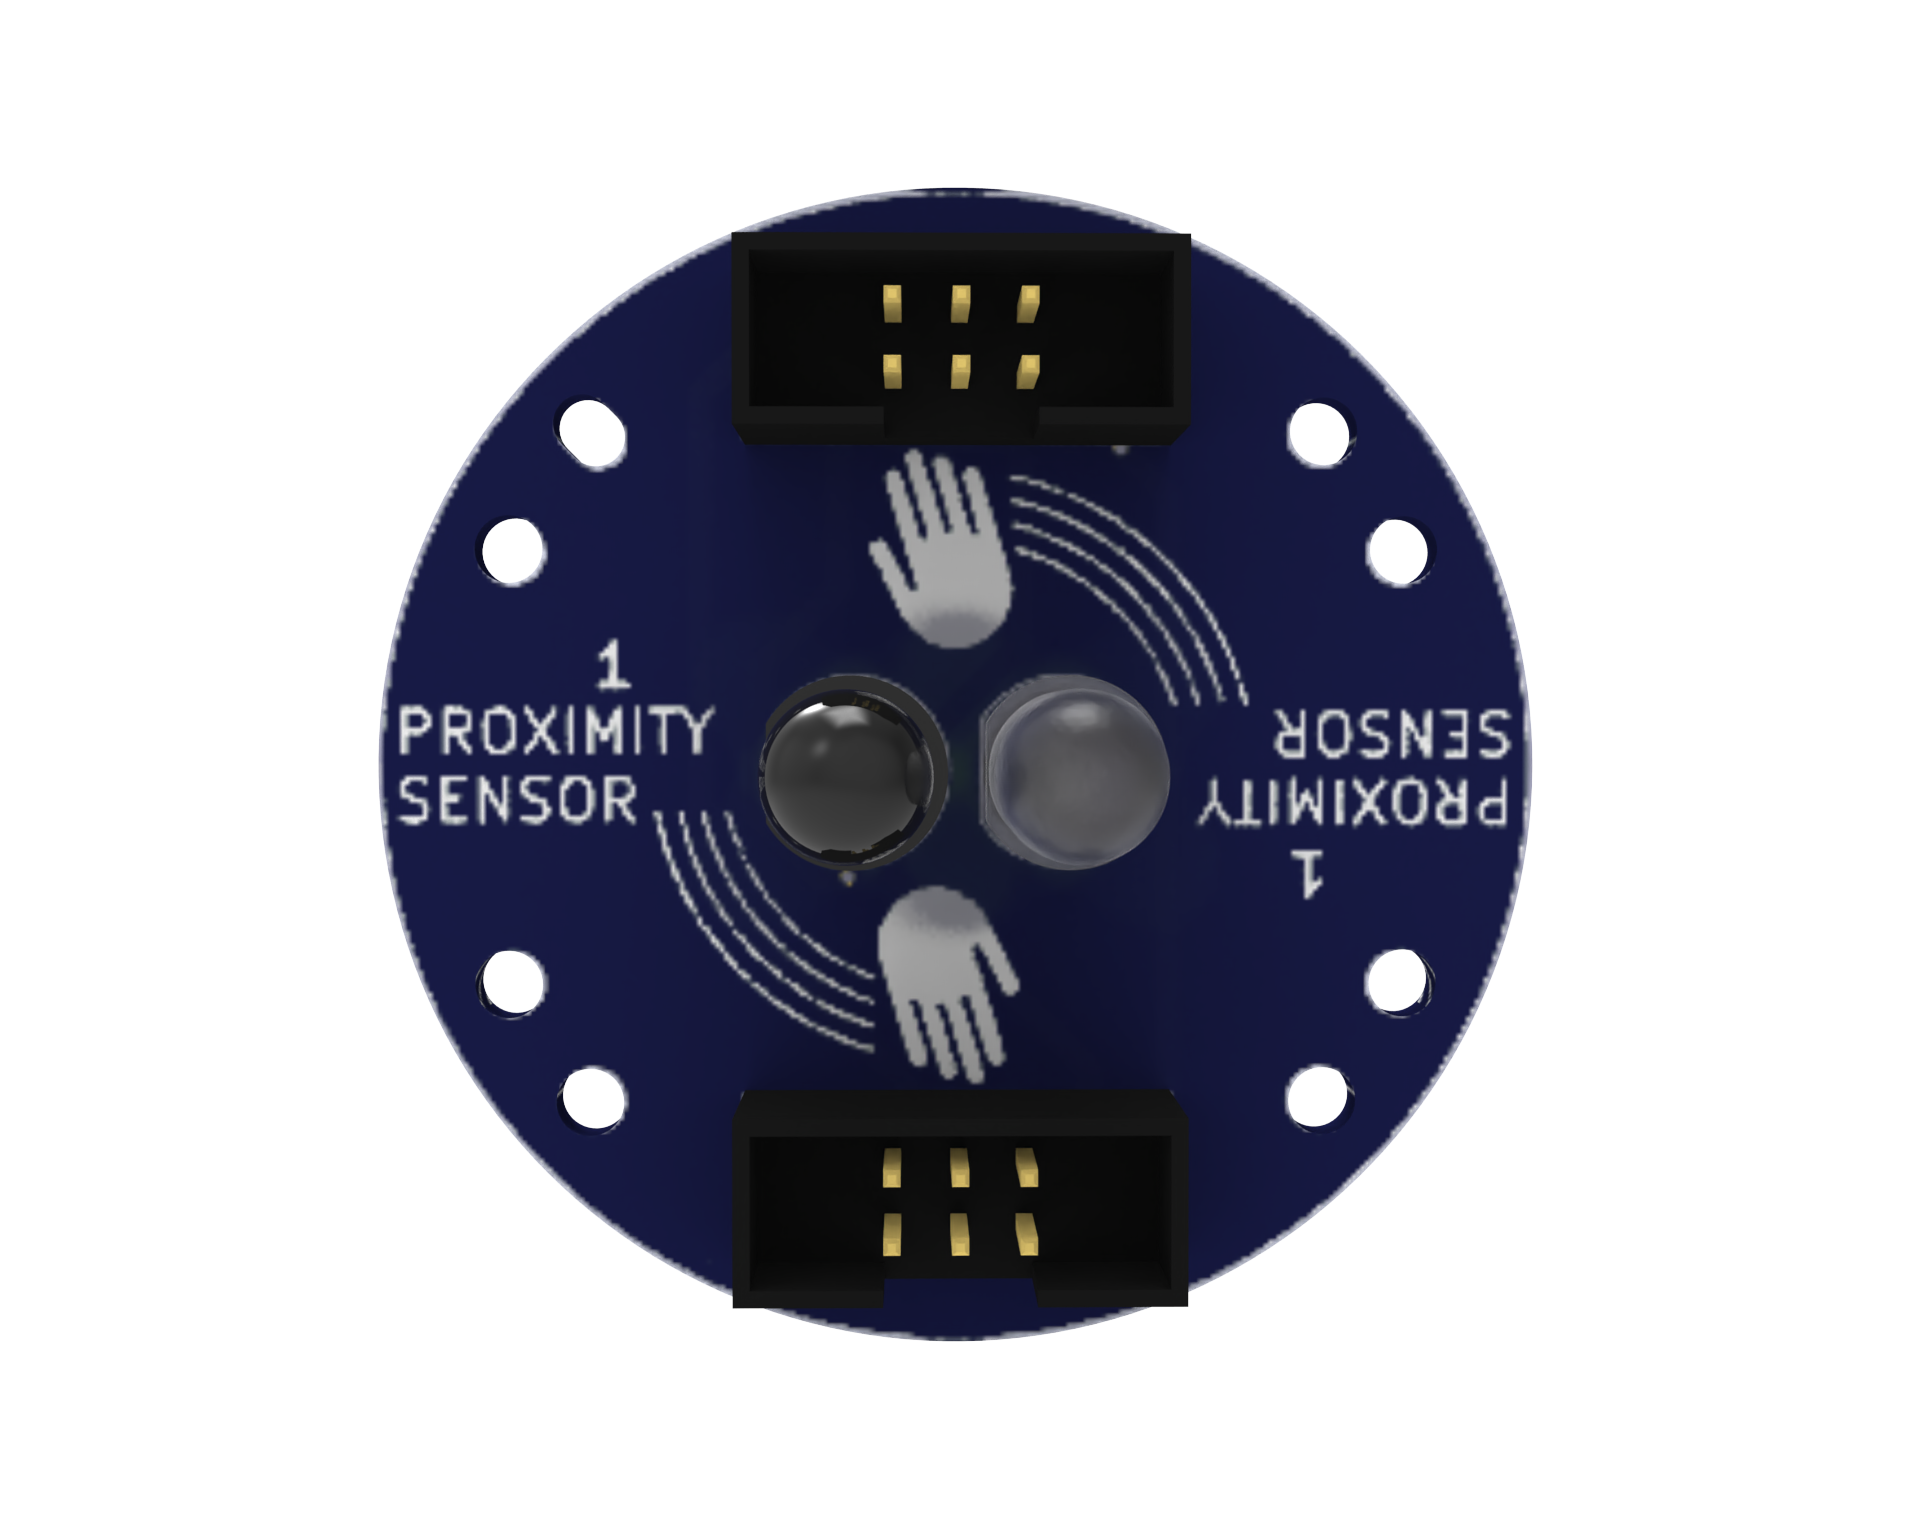
Proximity Sensors: An IR analog proximity sensor is a type of sensor that detects the presence of an object by emitting and measuring infrared light. It provides a continuous output signal, allowing for precise control of the system. It can be used in various applications, including robotics and industrial automation.
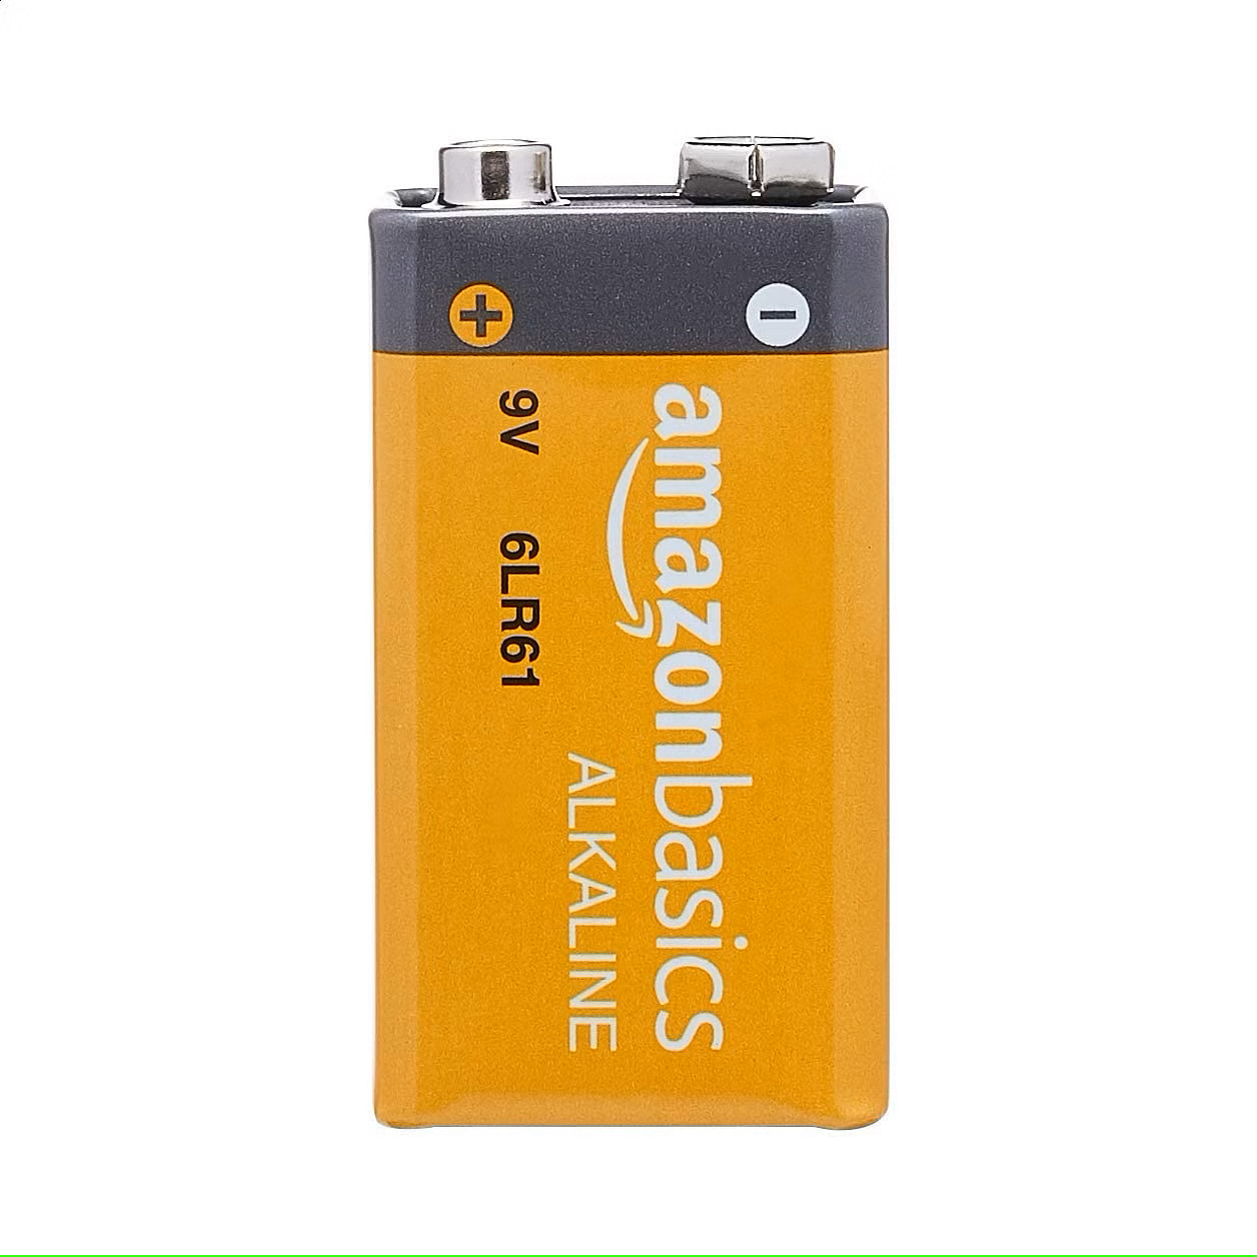
9V Battery: A common battery used in electronic projects, which provides 9 Volts of power for motor driving.
Micro USB Cable: A cable used to connect the CPU to a computer for programming or to power the CPU with a power bank.

Power Bank: A portable battery pack is used to power the robot.

Caster Wheel: A wheel that supports the front of the robot and allows it to turn easily.

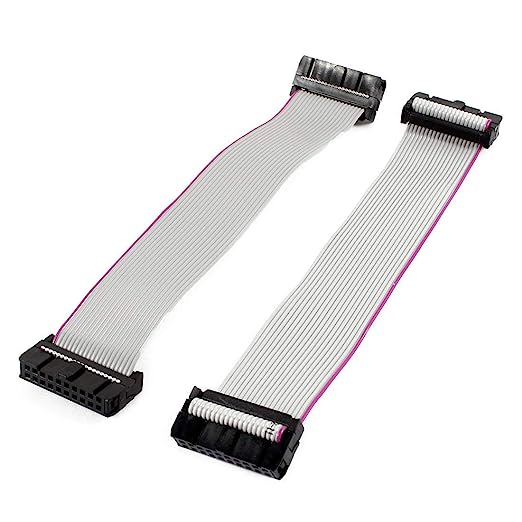
Snap Wires: Wires with pre-attached connectors that can be easily snapped on and off the components, making it easy to connect and disconnect components.
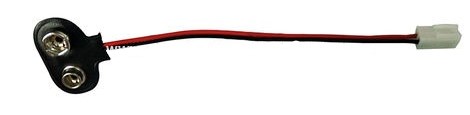
Battery to Snap Connector: A connector that allows the 9V battery to be easily connected to the motor driver.
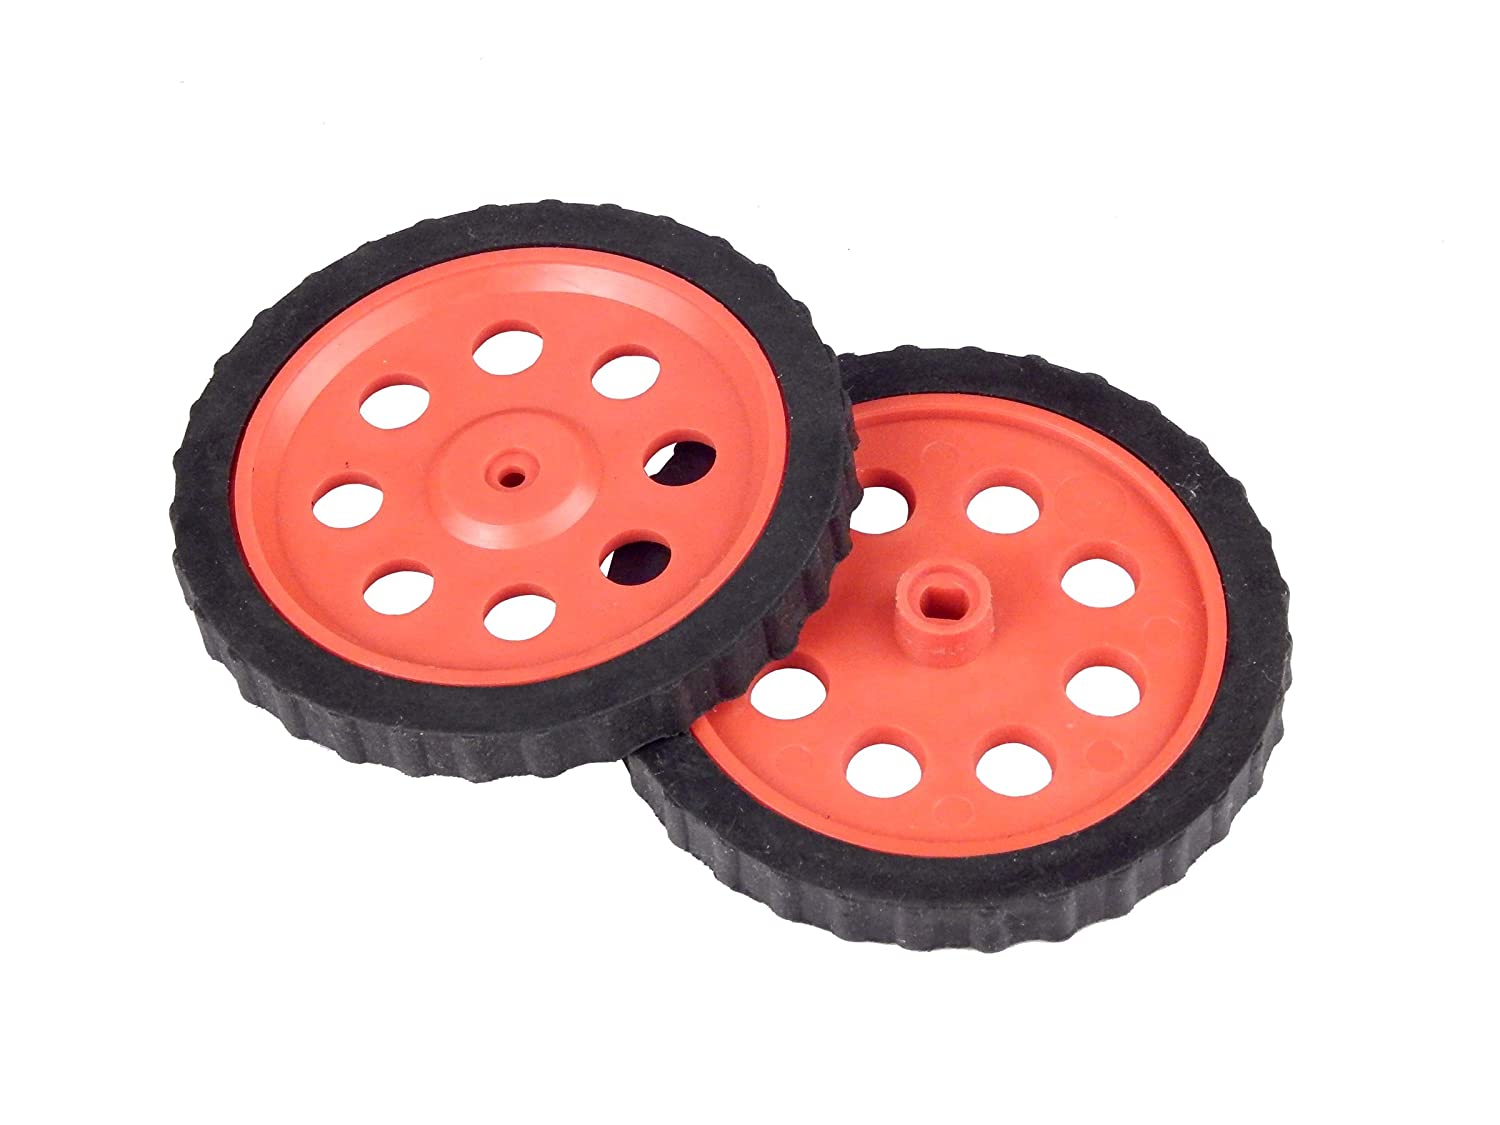
Wheels: Two wheels that drive the robot forward and backward.
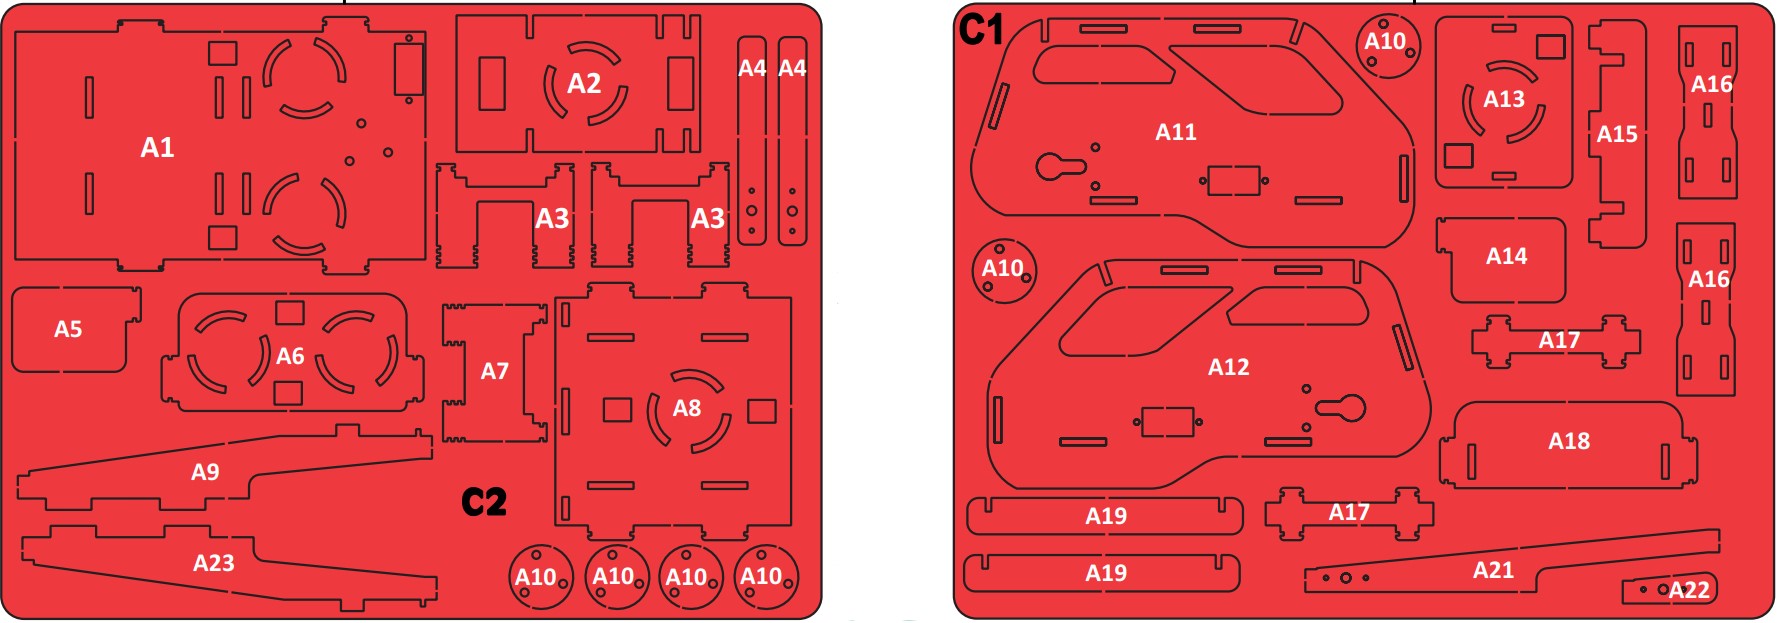
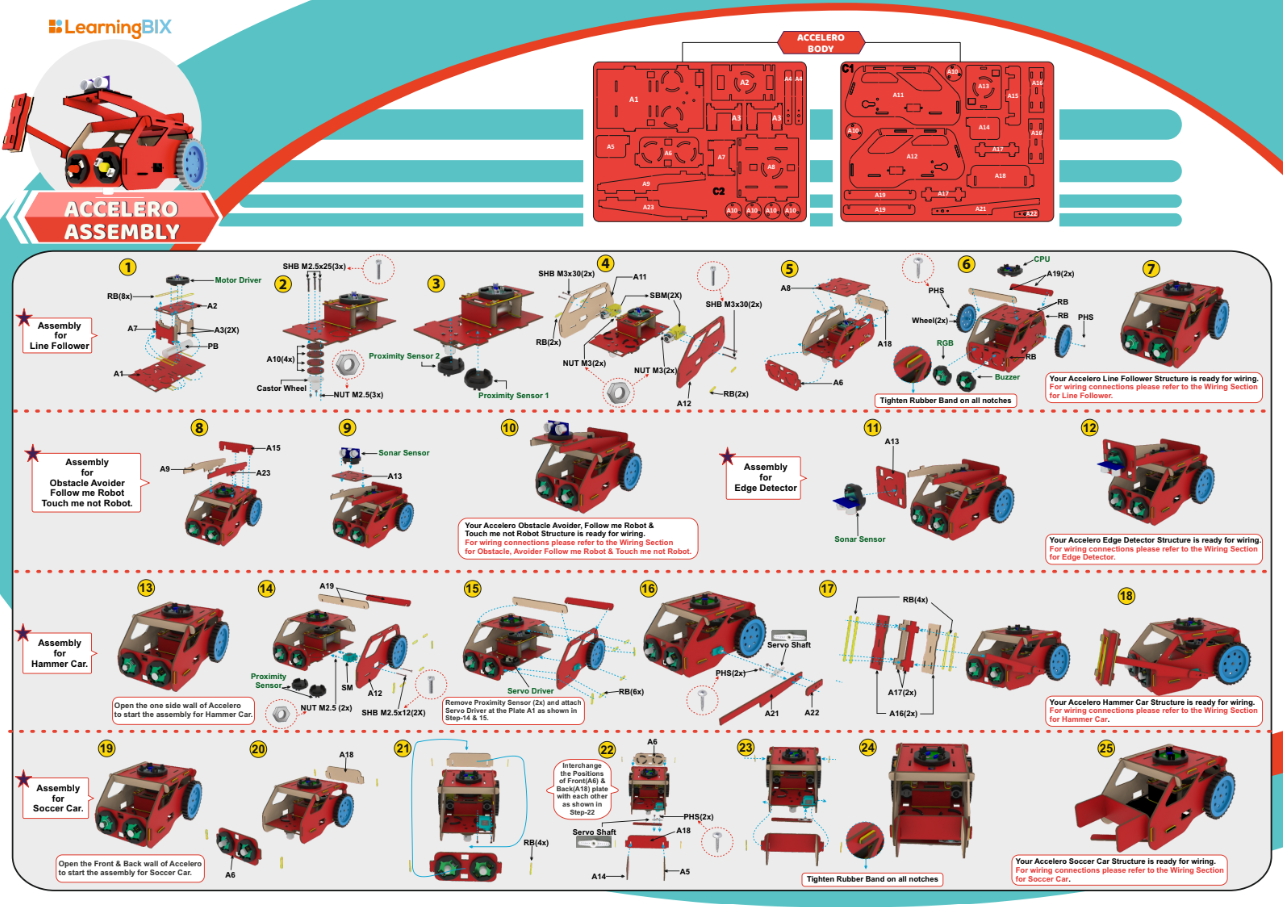
Accelero Body Sheet (C1 and C2): A sheet of MDF material that is used to create the body of the robot.
Rubber Bands: Rubber bands are used to attach the body parts to each other.

Screwdriver and Screw Fasteners: Used to attach components to the body of the robot.


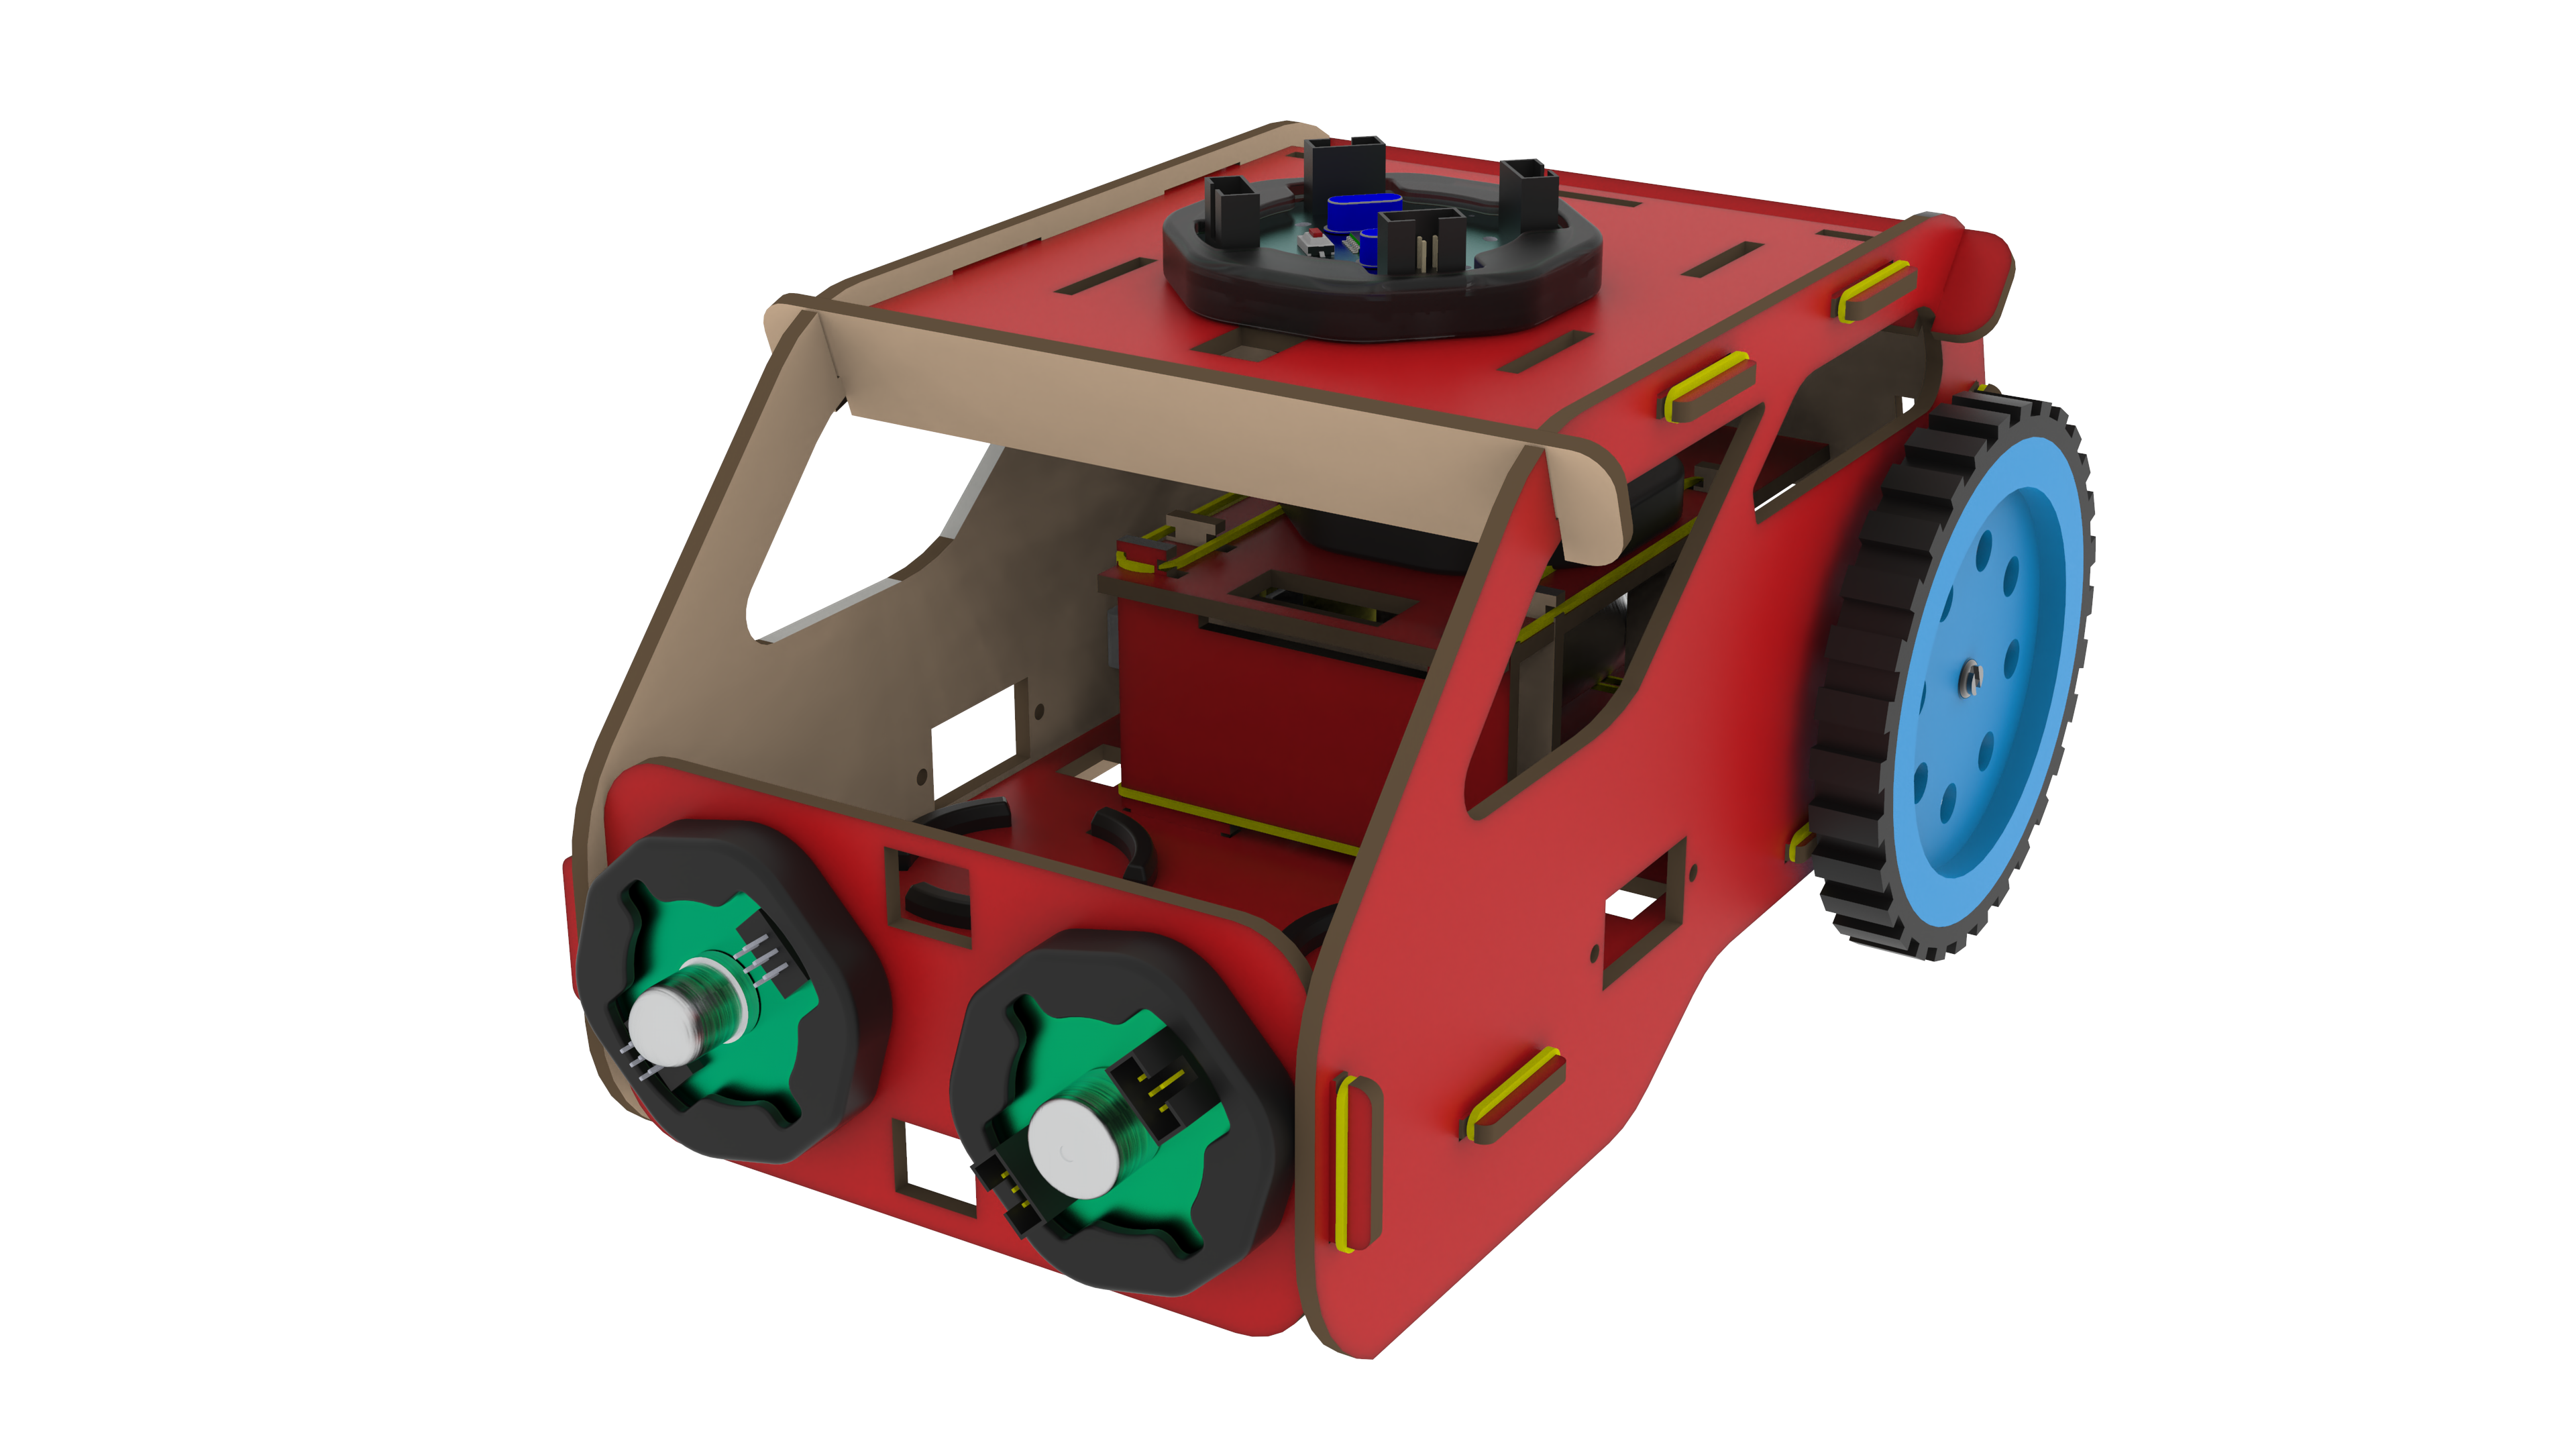
Building the Chassis
The robot car’s chassis should initially be constructed using the MDF sheet. Rubber bands can offer a versatile and customizable way to assemble pieces. Use the caster wheel at the front of the chassis and mount the two BO motors on the back two wheels. Mount all the electronics at their place.
Wiring the Circuit
- According to the diagram please connect all the wires.
- Use snap wires of different lengths to connect circuit blocks.
- Use long snap wires for circuit blocks that are farther apart.
Download Arduino IDE
You can take the following actions to download the Arduino IDE:
- Go to the official Arduino website at: www.arduino.cc
- Click on the “Software” menu item in the top navigation bar.
- Select the “Downloads” option from the drop-down menu.
- Scroll down to find the section for the Arduino IDE and select the appropriate version for your operating system (Windows, Mac, or Linux).
- Click on the download link for the selected version to start the download.
- Once the download is complete, run the installation file and follow the instructions to install the Arduino IDE on your computer.
You can launch the Arduino IDE and begin configuring your Arduino board after installation.
Install Library
Libraries are pre-written code modules that can be used to extend the functionality of the Arduino IDE and make it easier to write code for the Arduino boards. Installing a library saves time and effort as you don’t have to write the code for the required functionality from scratch. You can simply use the pre-written code in the library and modify it according to your needs.
To install the ZIP library in the Arduino IDE, you can follow these steps:
- Download the ZIP library from a trusted source such as the official Arduino library repository or a verified third-party library repository.
- Open the Arduino IDE on your computer.
- Click on the “Sketch” menu and select “Include Library” and then “Add .ZIP Library”.
- Navigate to the location where you saved the downloaded ZIP library, select the ZIP file and click on the “Open” button.
- Wait for the installation process to complete. You will see a notification in the Arduino IDE indicating that the library was successfully installed.
Writing the Code
Firstly, we have to include the modular library in the Arduino IDE. Then, initialize the IR sensor and motor driver in the setup() function. In the loop() function, we will read the value of IR sensor and check if the value is greater than 70. If it is greater than 70, then the robot will move left by calling the function steerBotLeftCurve() of the modular library. If it is less than 70, then the robot will move right by calling the function steerBotRightCurve().
The if-else statement is used to check the value of the IR sensor. If the value is greater than 70, the robot will move left. Otherwise, it will move right. This is a basic control statement that helps the robot follow the line.
Line Follower Robot Code using single IR
Uploading Code
After downloading the .ino file to your computer, you need to open it in the Arduino IDE and upload it to the CPU. Here are the steps to do so:
- Open the Arduino IDE software on your computer.
- Connect your CPU to the computer using a USB cable.
- In the Arduino IDE, click on “File” and then “Open“.
- Browse and select the .ino file that you downloaded.
- The code will open in a new window in the Arduino IDE.
- Before uploading the code to the CPU, make sure that the correct board type and serial port are selected from the “Tools” menu.
- To upload the code, click on the “Upload” button (right-pointing arrow) in the Arduino IDE toolbar. The IDE will compile the code, and if there are no errors, it will upload the code to the CPU.
- After uploading the code, the Arduino board will start running the program automatically.
Note: During the upload process, you may see some messages in the bottom section of the Arduino IDE. If the upload is successful, you will see a “Done uploading” message.
In summary, after downloading the .ino file, you need to open it in the Arduino IDE, select the correct board type and serial port, and then upload the code to the CPU. Once the upload is successful, the code will start running on the CPU.
Testing the Line Follower Robot Car
- Place a black line on a white surface or a white line on a black surface.
- Place the line follower robot at the starting point of the line.
- Turn on the robot and check if it follows the line accurately.
Conclusion
In this blog, we have discussed the line follower with a single IR sensor using modular library in Arduino IDE. We have also discussed the hardware requirements, hardware connections, coding section, and testing requirements. The line follower is a basic robot that is easy to make and can be used in many fields for automation.

Leave A Comment
Related Posts
Coding is generally considered a boring activity. After all, who wants to sit in front of a computer all day writing in a language that can’t even be read? But that is not all there is to code. It can be used for some really fun coding facts stuff, and there is so much amazing work that you can do only if you knew how to code.
5 Coding Facts That Blow Your Mind
Let us look at five great fun coding facts you might not know about coding.
You Can Make Games With Code
Coding is an umbrella term for the scores of languages and their versions that programmers use to make their applications. We have all played games, on consoles, our mobile phones, or our desktop computers and laptops, at some point in our life. It might not surprise you to know that these games are also created using code. The complex physics of the characters in these games, the design of the environment of the games, and each minute movement in the games have a piece of code behind them.
Game designers typically write in languages such as C++, C#, and Java. These are also some of the most popular kids coding languages, especially for children who like gaming. Coding courses are available widely in all of these languages and the broad domain of game design.
You Do Better At School If You Code
Making games and indulging in the fun applications of coding is all fine, but coding can have great advantages at school as well. Once you start taking classes that teach coding for kids, you will realize that coding requires a lot of brainpower as well. Coding even for the most fun tasks requires you to think quite a bit, and this sharpens your mind and increases your capability to think logically.
This logical capability can be of a lot of use to you at school. Especially in subjects like mathematics, you might find yourself topping the class simply because of the practice you got during coding! In fact, coding and mathematics have a kind of symbiotic relationship – what you learn in maths comes of use in code and vice versa.
You Can Follow Your Interest Using Coding
Regardless of what your favorite subject is, or what fields you are interested in, you will find a use for code everywhere. Be it through developing software, creating an all-new app, making a game, or building a simple utility, you will find that coding facts can be a way to enable you to follow your interests through a different path.
All subjects from science to social studies and from mathematics to philosophy use coding in some way for research or education. Be it sports or music, art or architecture, utilities that are made using code are prevalent in every field that you can think of. Taking simple online coding courses can qualify you and build your interest in creating such utilities.
You Can Predict Future Events Through Code
Did you know that predicting the future is an application of coding! Predictive modeling is a field of programming in which code is used to try and predict what will happen in the future on the basis of events that took place in the past. It uses concepts of artificial intelligence and machine learning to create algorithms that learn the behavior of past data and determine the course of future data.
Predictive modeling is one of the most futuristic applications of code and is used to determine everything from the next movie you will like on Netflix to whether it will rain tomorrow. You can opt for closing classes in machine learning to know more about the field, and create your own utilities to predict the future!
Coding Is Free!
You don’t need any sophisticated apparatus except your laptop for coding. All you need is the will to learn more and follow your interests through code. To learn to code you do not need to go to a special school or have any special capabilities. You can opt for free coding classes for kids which are held completely online and follow a completely hands-off approach in helping kids learn to code. There are also a vast number of coding sites for kids on which they can log in to learn basic coding facts for kids without even having to enroll in a class.
Conclusion
The future is already being written, and it is being written in code. Coding for kids classes can help kids of all ages currently going to school not just learn to code but also to have fun in the process. The above applications of code can be a major stepping stone to build the interest of kids in coding, after which they can hone their interests and new skills on even more advanced applications. A platform such as Learningbix can be an excellent way for you to get started.